Read with Claude
 Read with ChatGPT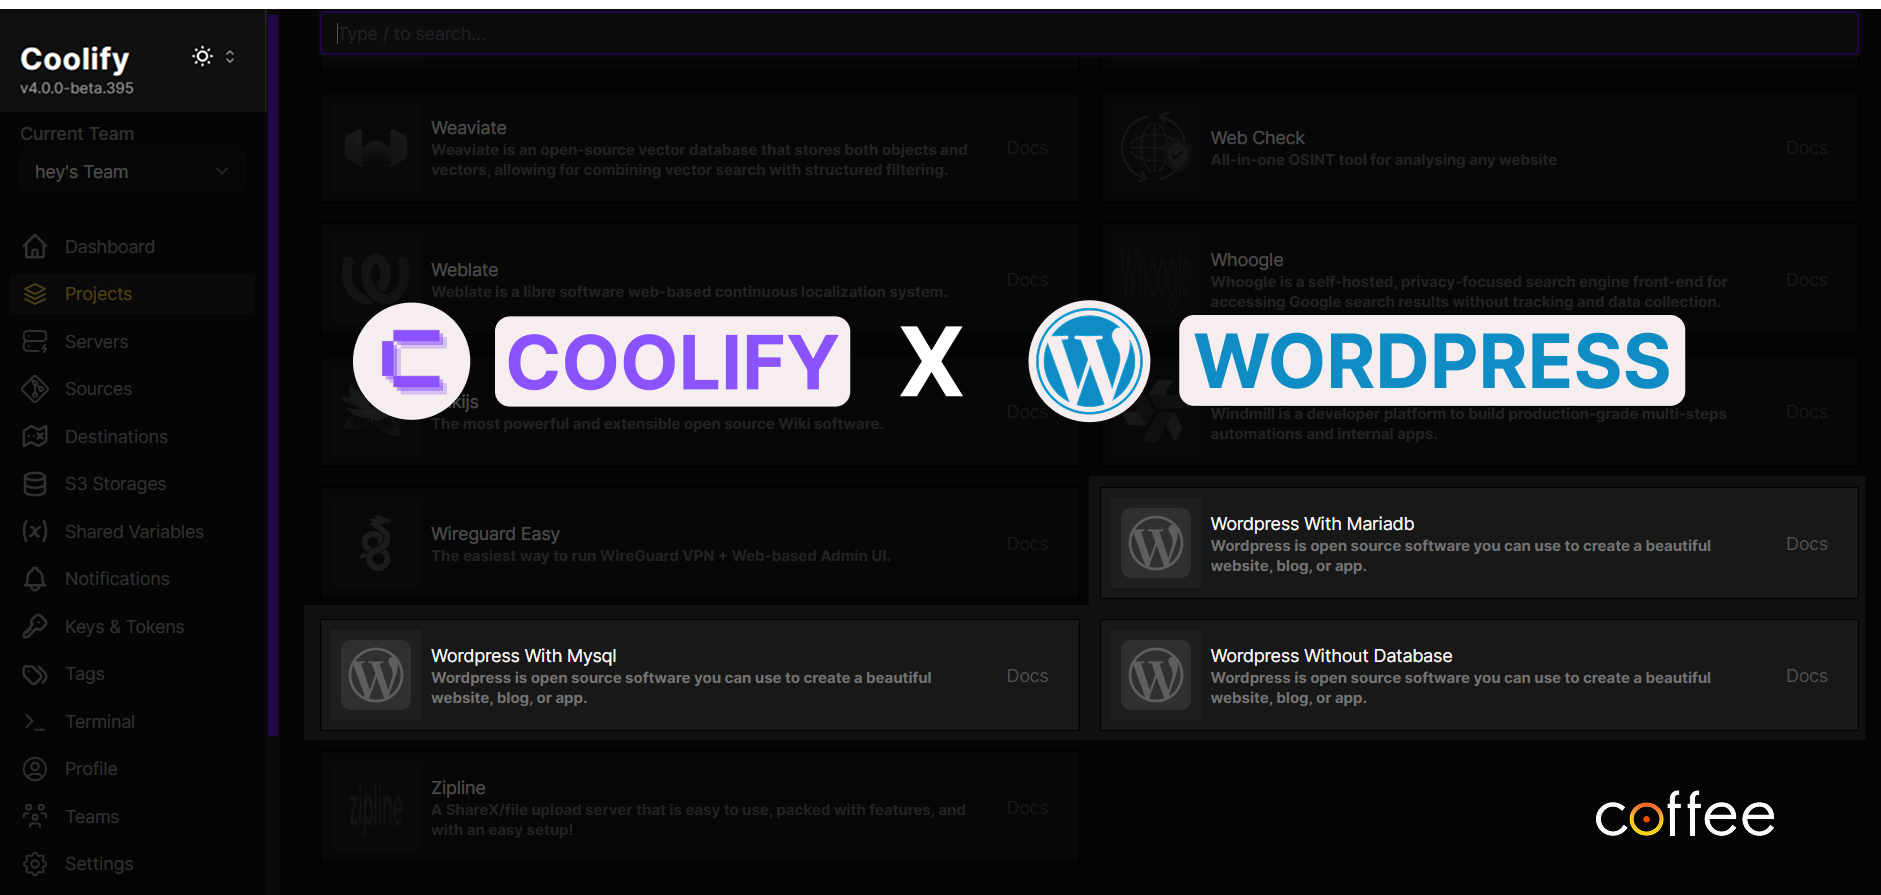
Coolify is an open-source self-hosted Platform as a Service (PaaS) that makes deploying and managing applications like WordPress and Dockerized apps in an easy way, which gives you full control over the applications.
Instead of dealing with command line, worrying about deep server knowledge or complicated setups to use it, you get a dashboard with Coolify where you can manage your apps and monitor status. In this article, we are going to setup WordPress on Coolify.
First things first: Connect to your server using SSH
Yes, I assured you that you would not need to deal with the command line. But for the initial setup, we do need to SSH to our server and install coolify. Once we pull the install script, coolify takes care of installing all the required dependencies and even provides us with a publicly accessible url in the process (connected to our IP ofc).
If you are looking for a reference on how to SSH your server, check out this article:
How to SSH to a remote server with a custom Host name (ssh coffeed)?
Once your secure SSH connection is in place, let’s move on to the steps for installing Coolify.
Installing Wordpress on Your Server
Step 1: Install Coolify
You can begin the installation of Coolify using the following command:
curl -fsSL https://cdn.coollabs.io/coolify/install.sh | bashIf you encounter any issues during installation, you can refer to the
Coolify Quick Installation guide.
This command will:
- Install Coolify and its dependencies
- Set up Coolify as a service
- Automatically start the Coolify dashboard
By default, you can access the dashboard at:
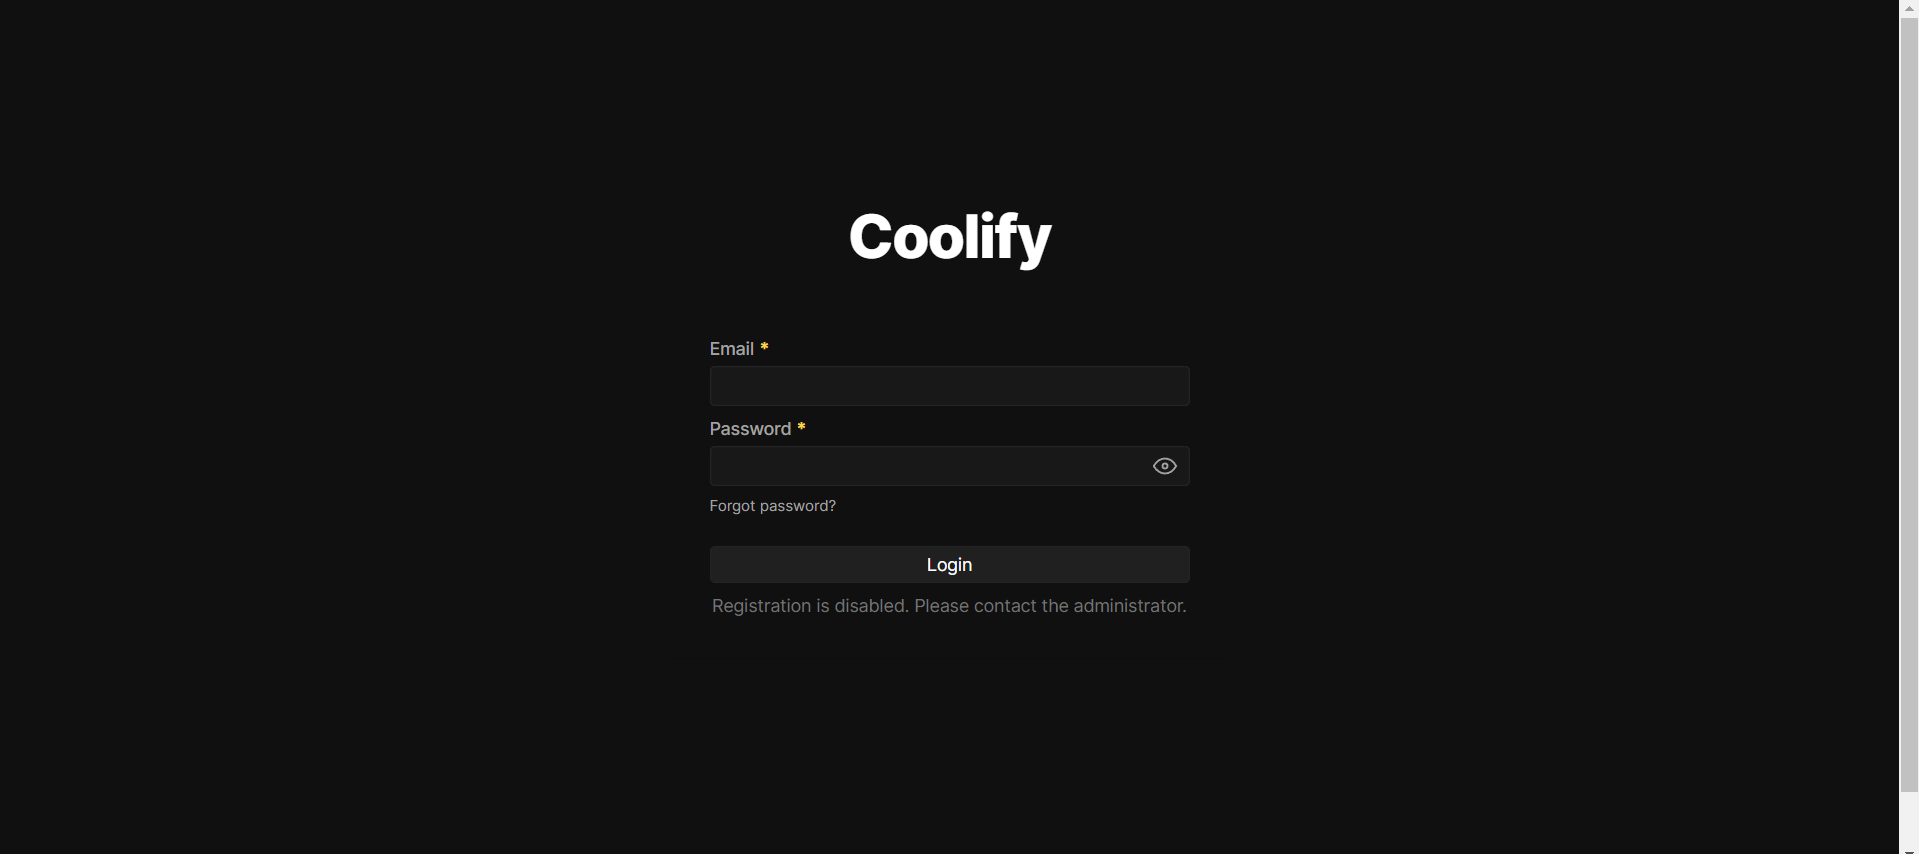
http://your-server-ip:(port-number)You will be greeted by a register screen, the first time you open the Coolify dashboard. Once you create a new account, you can then login to the dashboard.
Step 2: Setting up Wordpress in Coolify
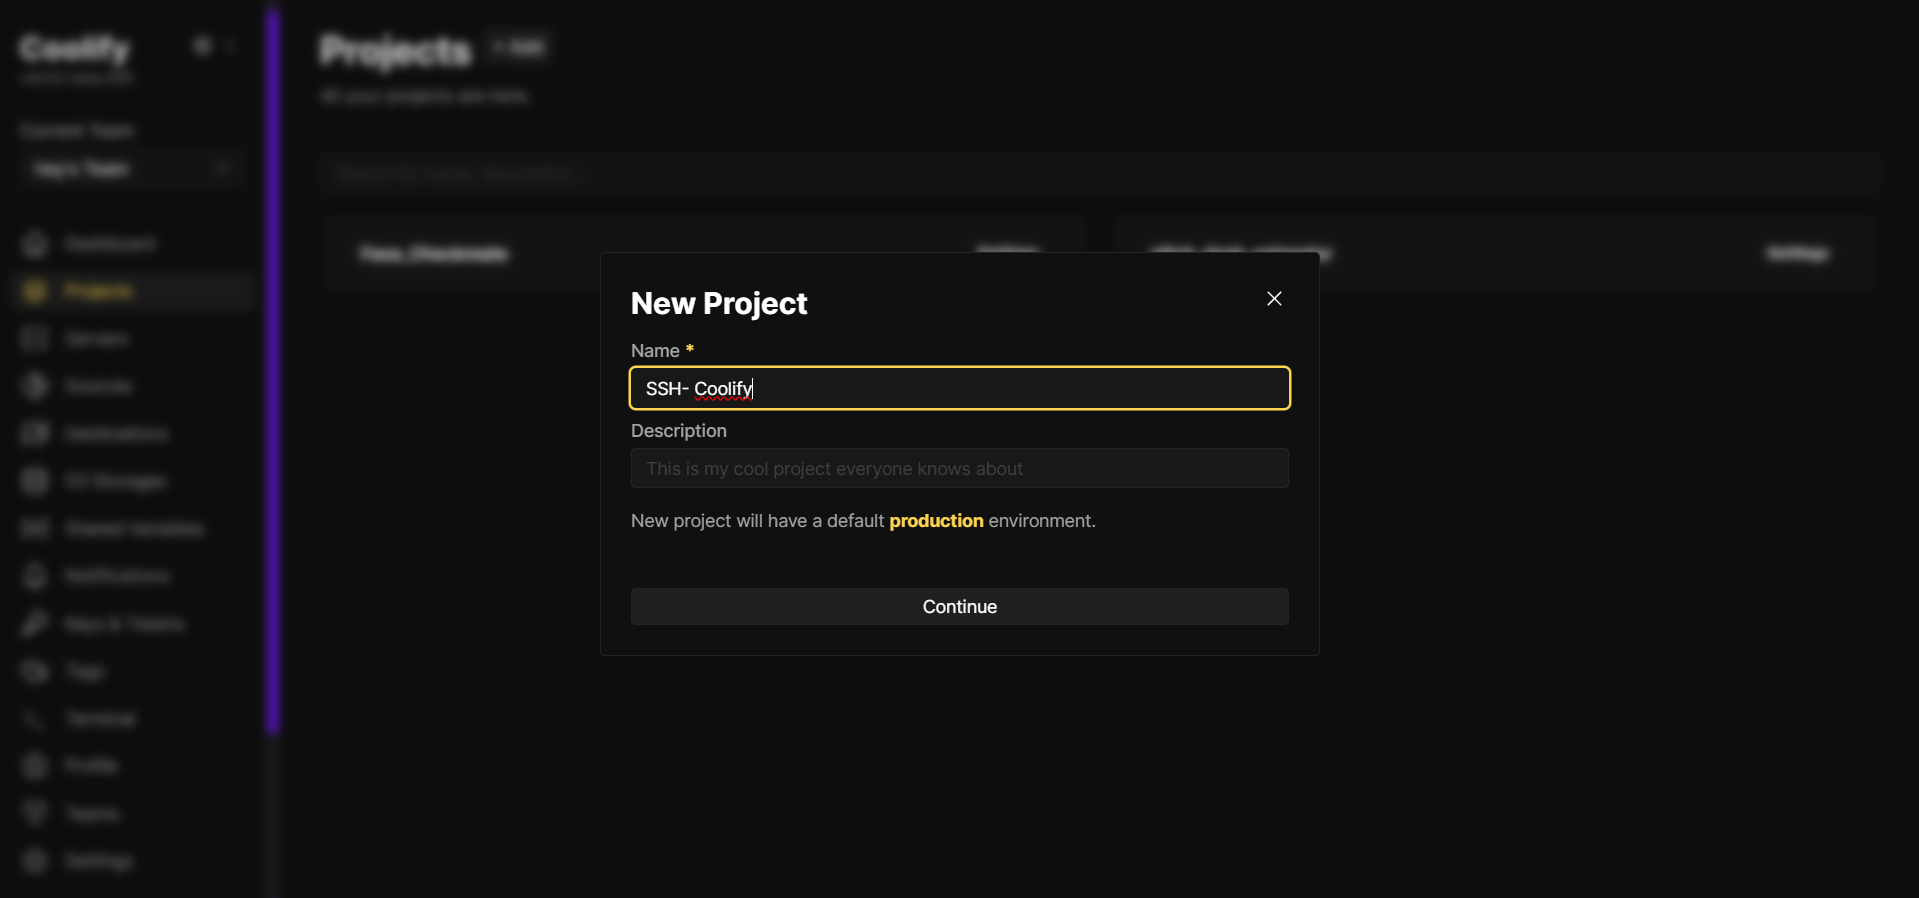
Once logged in, you’ll see the Coolify dashboard. Navigate to the “Projects” section and create a new project. Enter a project name and optionally a description.
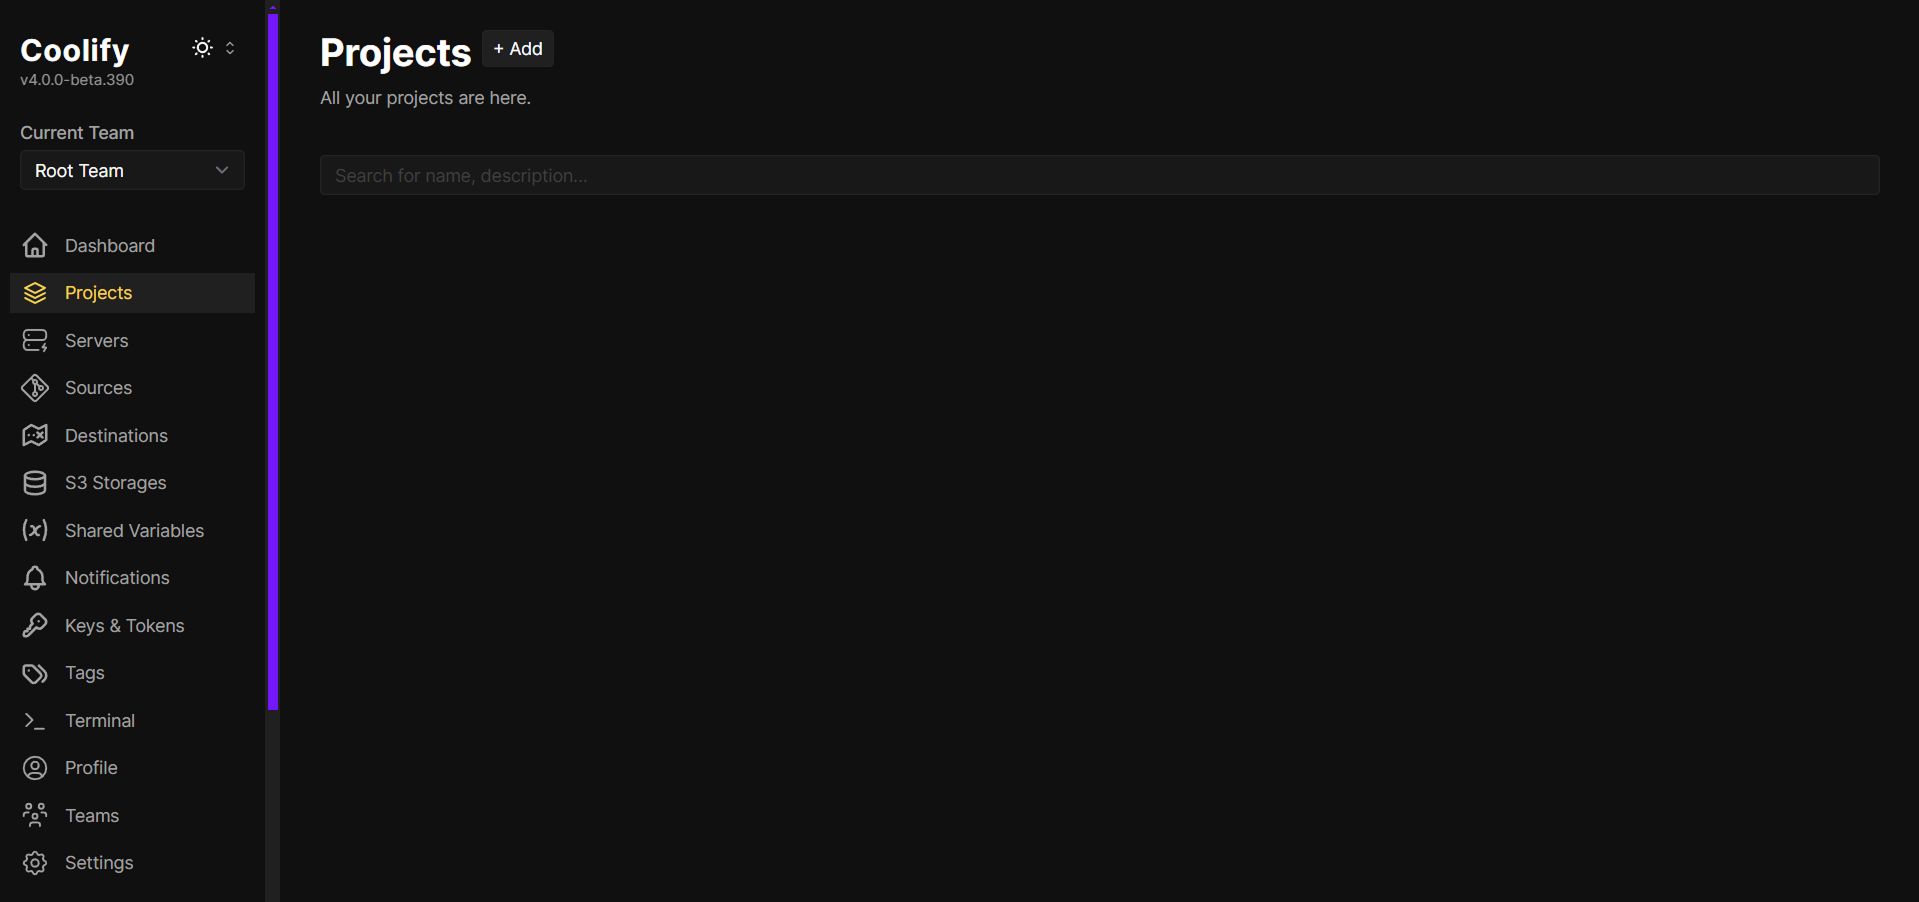
Projects are where you can manage different applications. Consider a project as group, where you can have multiple apps. Perhaps you would want to create one for frontend, one for backend. In our case, we will just need one for Wordpress.
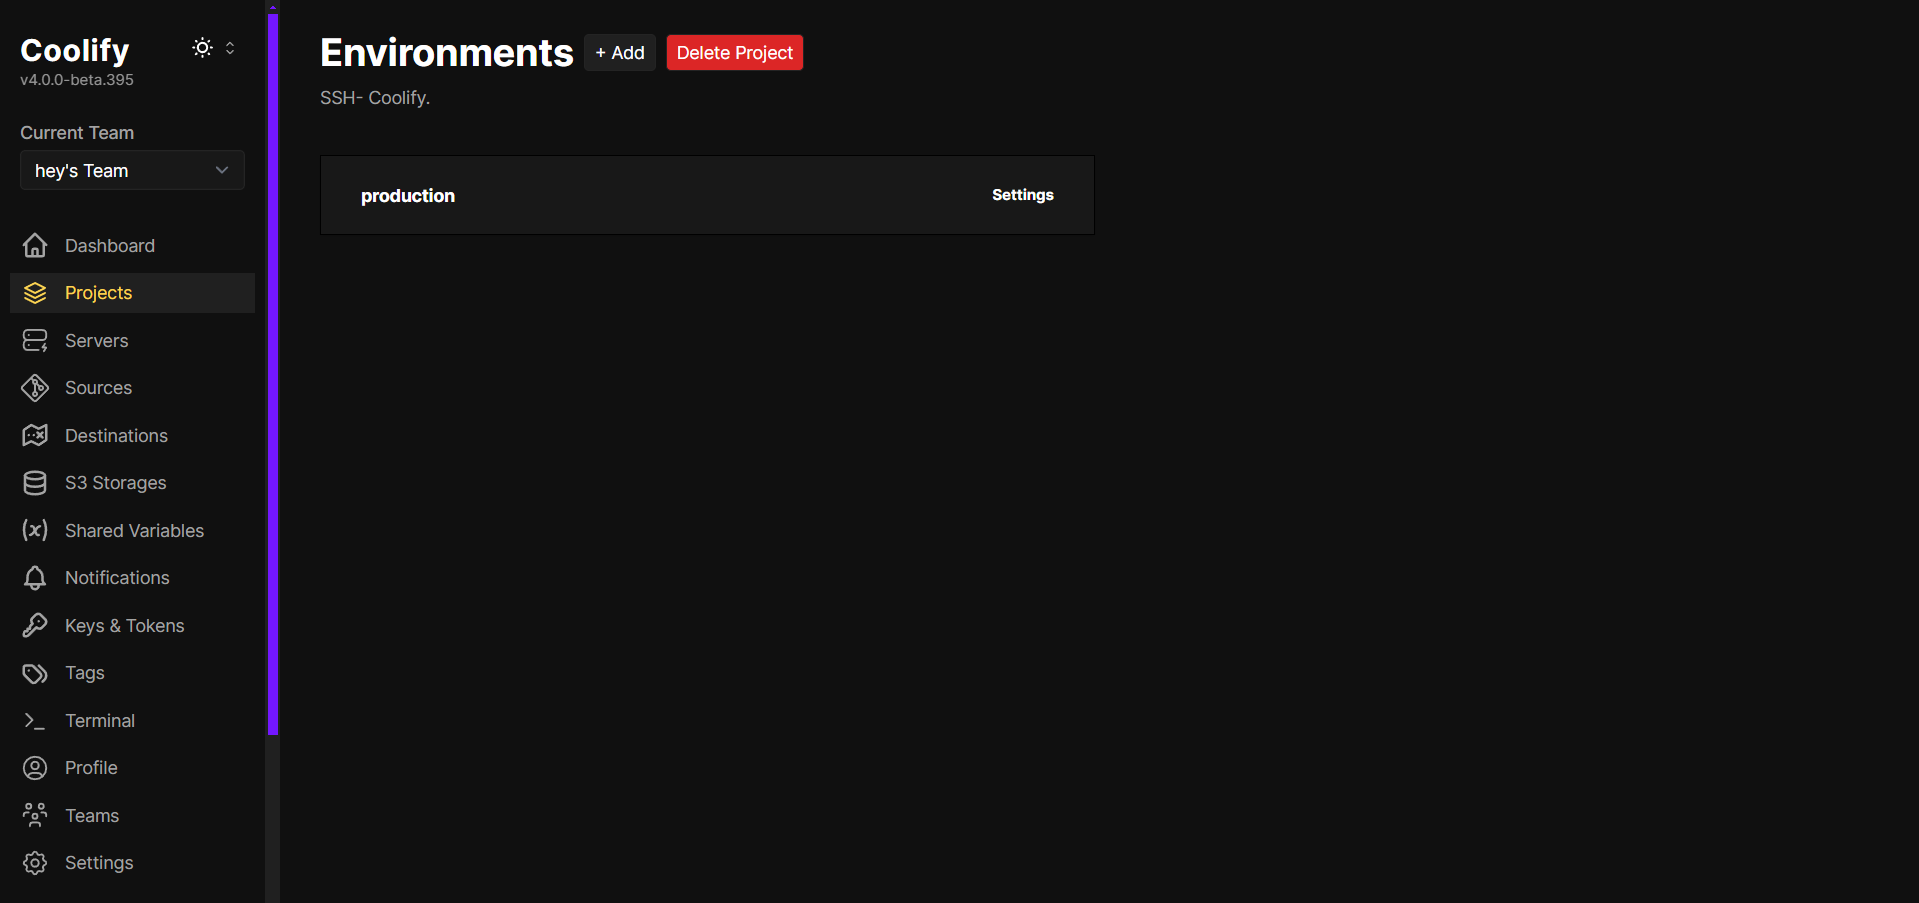
You’ll now see the Environments section. Environments are isolated spaces where your applications run. You can create multiple environments such as development, staging and production, to separate different versions of your app.
By default, Coolify provides a ‘production’ environment which we will use for this setup.
Step 3: Adding a resource in Coolify
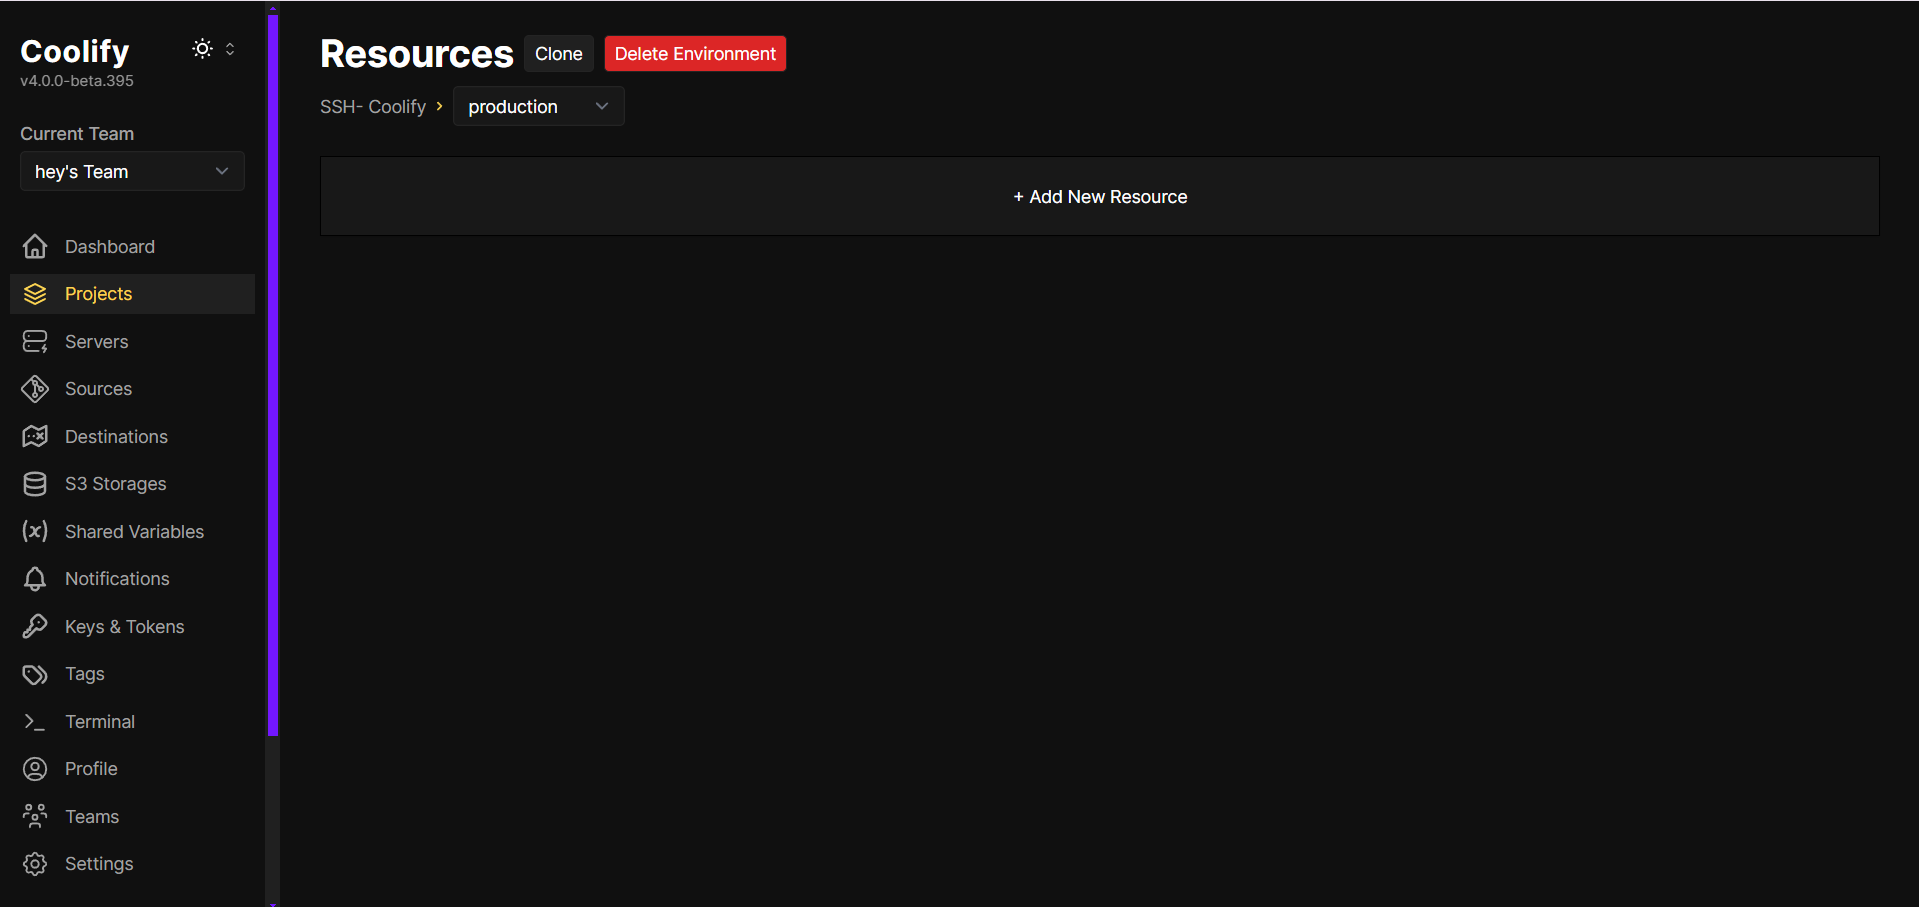
The Resources section in Coolify allows you to add and manage different services within your project. Here you can deploy applications like WordPress, databases, or other tools. Click on ‘Add New Resource’ to begin adding a service to your environment.
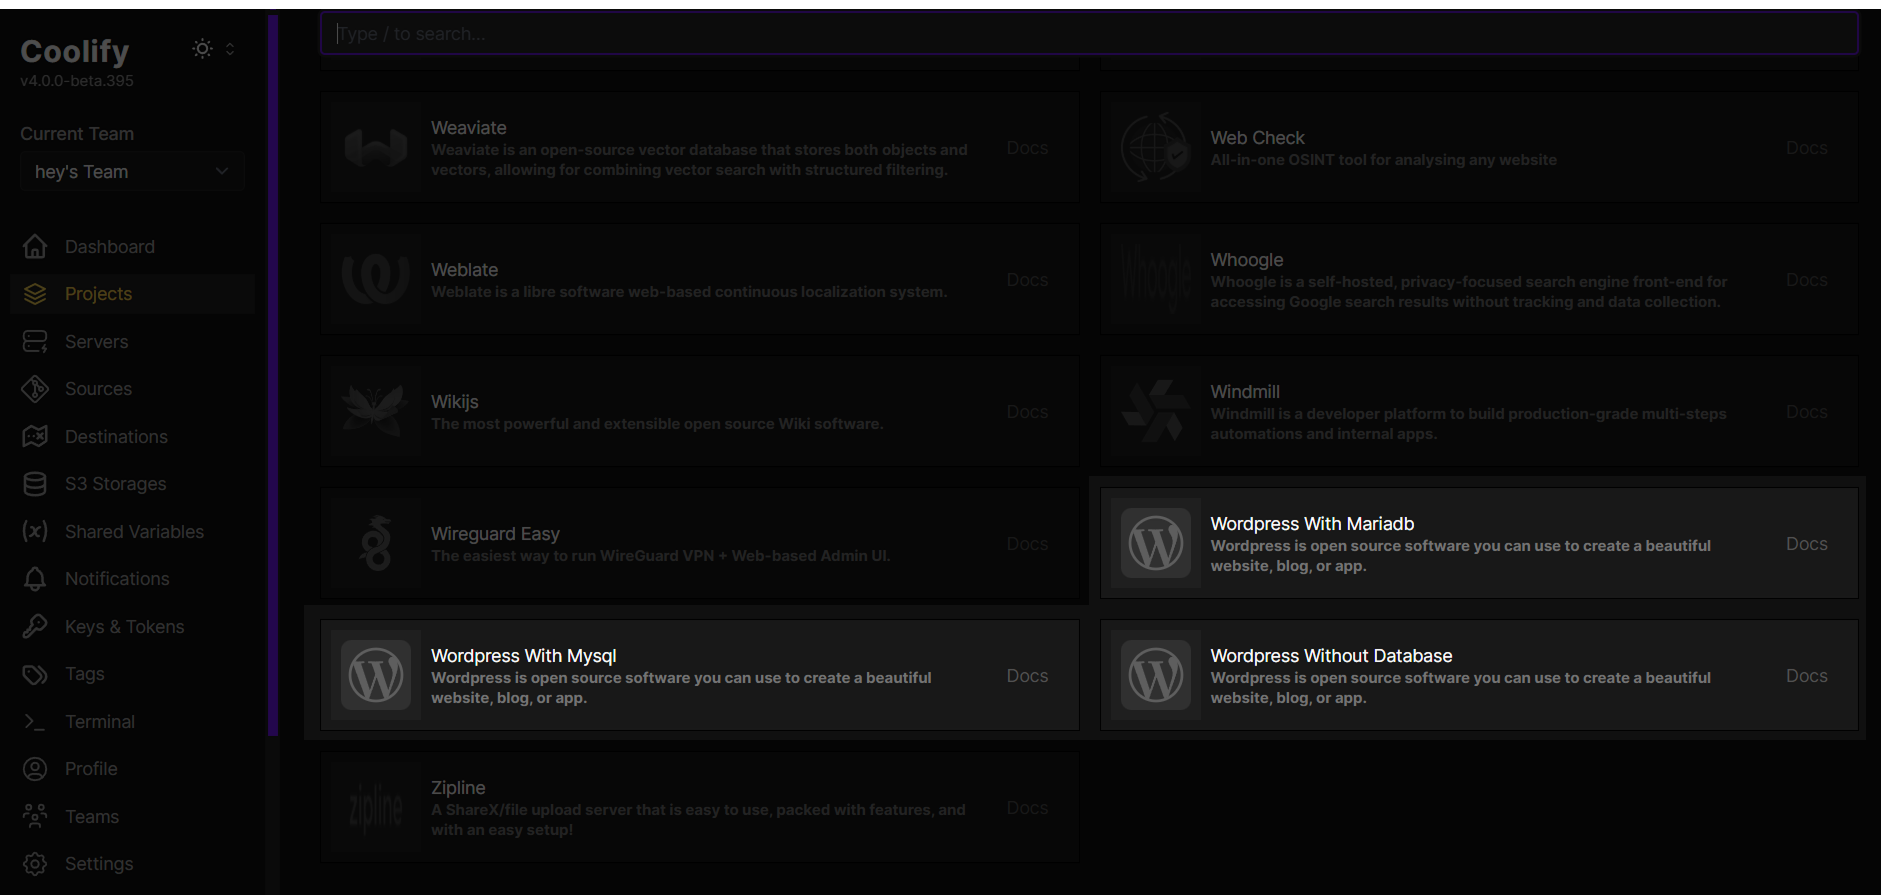
Scroll down to find WordPress in the list of available resources (it’s at the bottom). Here, you’ll see three database options:
- WordPress with MySQL,
- WordPress with MariaDB, and
- WordPress Without Database.
MySQL is the most common choice, known for its stability and wide support. MariaDB is a faster, open-source alternative that works just like MySQL, but with better performance. WordPress Without Database requires you to set up your own database manually.
Choose the one that fits your needs and configure your WordPress admin credentials to complete the setup.
Step 4 : Deploy WordPress
Enter your domain in the domains field and in the right side, you’ll find the “Deploy” button. Click it to begin the installation process and wait for the deployment to finish.
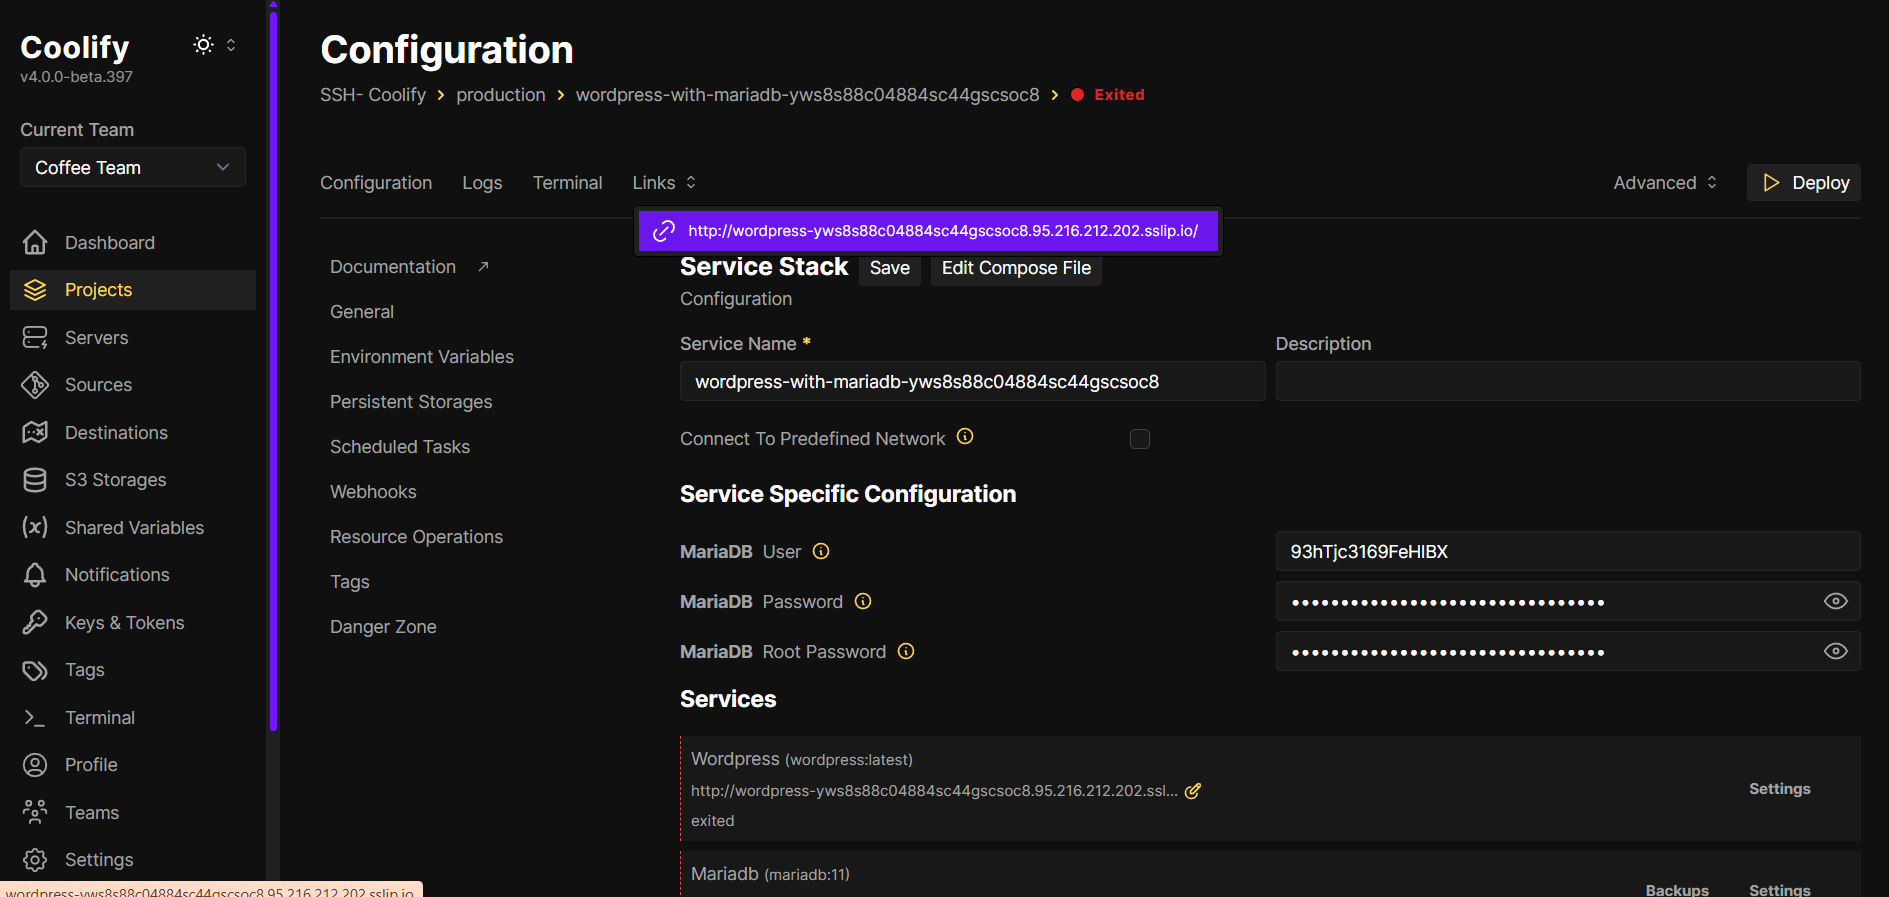
Use the links button at the top of the project dashboard to visit your live site.
Good work! Your WordPress site is now up and running!
Why This Setup is a Game-Changer?
Setting up WordPress in Coolify using SSH simplifies server management and deployment, giving you more control over your applications. By configuring an SSH connection, you can securely access your server without repeatedly typing long commands. Coolify further simplifies this by providing an easy-to-use interface, allowing you to install and manage WordPress with just a few clicks.
Now it’s time to customize your WordPress site.
If you encounter issues, be sure to check the Coolify documentation or drop a message in the comments below and we can discuss.