 Read with Claude
 Read with ChatGPT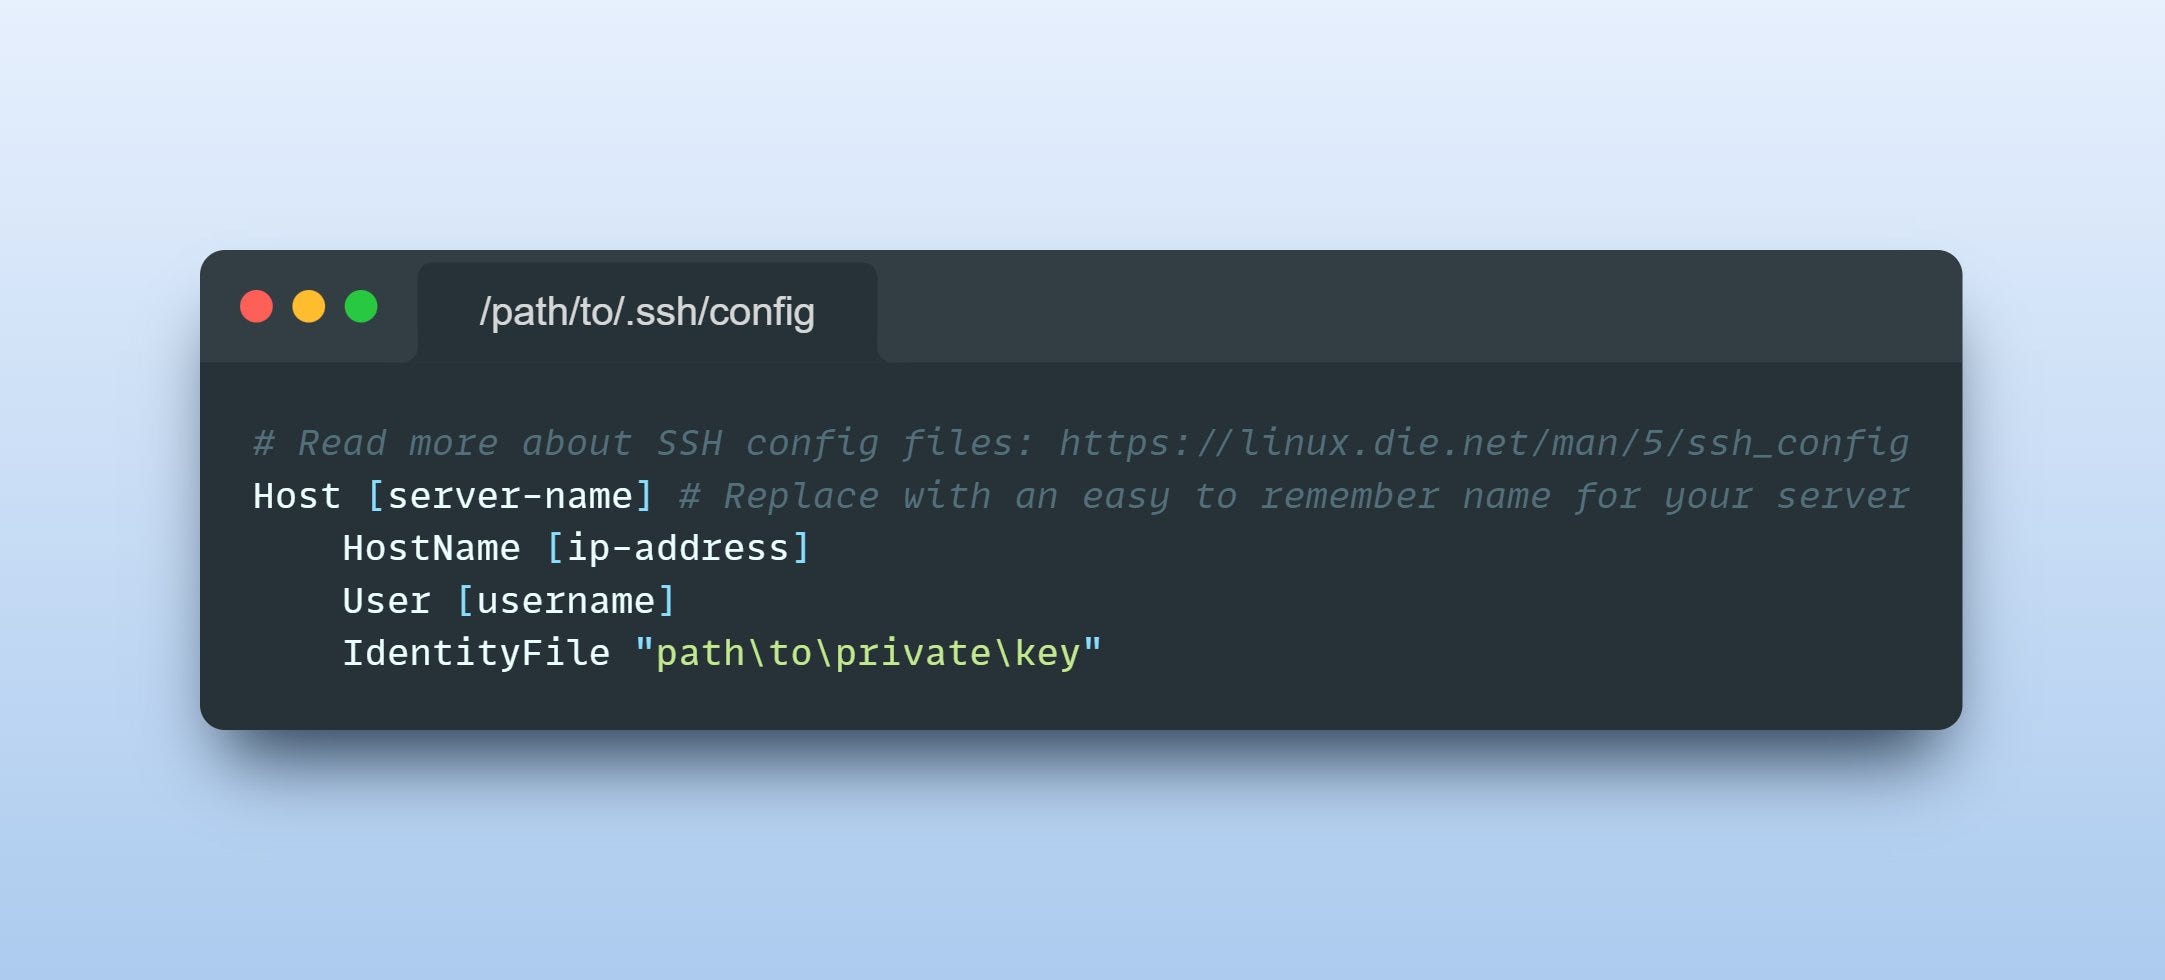
SSH is the best way to connect to your remote servers. Most of the time, you would make use of PuTTy to connect to the servers, preconfiguring the path to your ssh key along with the username and IP.
There are a few of us, who live on the edge and connect to the server directly from the browser using the “Connect to Client” option provided by our server providers. I never understand how they can stand the low resolution, laggy access to the terminal, but to each their own I suppose…
Coming back to the regular method of connecting to the server from the cli, usually, you would run the following command in the terminal to connect.
ssh -i [your_private_key] [username]@[ip-address]The -i flag indicates the use of the identity file, which is the [private_key] path set above. You may also have to enter password of the associated private key (if you had set one).
Since this process of connecting over ssh, involves remembering the above three parameters, I have got a couple of tips for making it a whole lot easier.
Tip 1: Use your domain name instead of IP
You can use your domain name (like example.com) instead of the IP address.
ssh -i [your_private_key] [username]@[domain-name]Now, instead of three parameters, all you have to do is remember only the path to the [private_key] and the [username]. Still a kind of pain, especially if you are dealing with a number of servers (perhaps for multiple clients or multiple staging environments).
That brings me to tip numero duo…
Tip 2: Setup up your ssh config file
Alternatively, you can set up the details in the ssh config file. The config file is located in the ".ssh" folder of your user profile (%userprofile%\.ssh\config).
Host coffeed
  HostName 1.2.3.4
  User coffee
  IdentityFile "path/to/private_key"
Once you have figured out the location of the config, all you need to do is add a new Host with a [server-name] and then declare the HostName, User and IdentityFile as shown in the image below:
Now, you no longer have to remember the [username],[ip_address], [domain_name]or [private_key] you can directly access your server by using the [server-name]. All you need to do is run:
ssh [server-name]and voila…
Read more about SSH config files at: https://linux.die.net/man/5/ssh_config