Read with Claude
 Read with ChatGPT
Dialogflow from Google is a chatbot development framework that can give you a quick start to develop a bot without depending on complex code or ML models. In this article, I’ll outline the step-by-step process of building a chatbot using Dialogflow and establishing a webhook connection using Python.
Webhooks enable seamless integration between the different platforms and will allow us to add a layer upon the bot. Integrating with external platforms allows the chatbot to do complex operations, fetch real-time information, and access data from various sources.
What are we building?
In this article, we are going to create a chatbot, which connects to OpenAI through our webhook and send the response back to the user. By the end of this article, you will know to integrate a third party platform with your Dialogflow chatbot seamlessly.
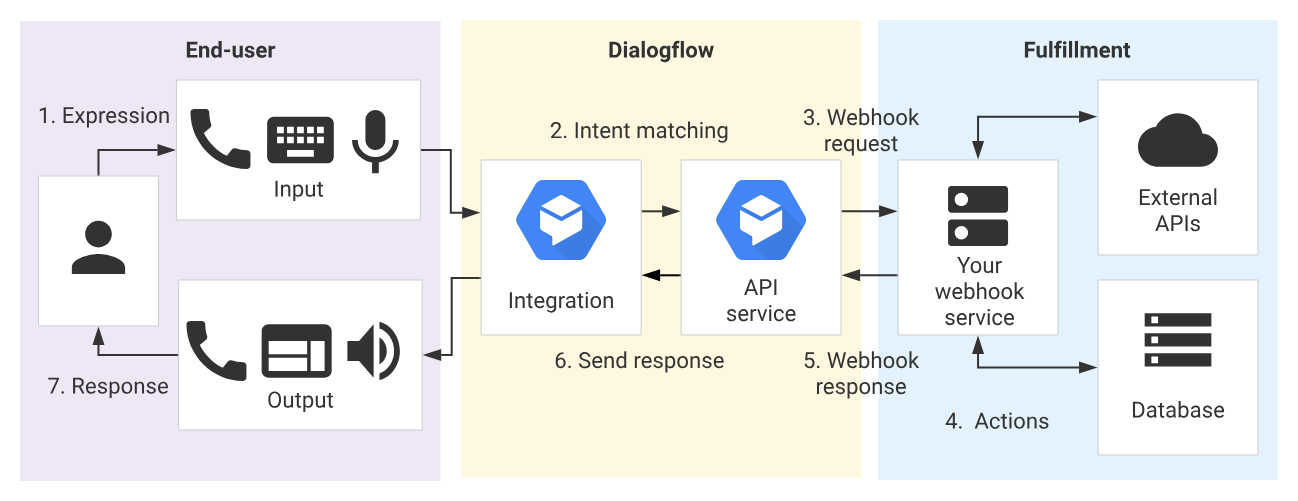
We will write our webhook functionality in python and host the code using Replit. Replit is an Integrated development environment that can be used to host our functional logic.
Replit can be an effective choice for setting up and experimenting with the webhook connection. This will provide us a url which we can connect Dialogflow to. Keep in mind, however, Replit is generally not recommended for production purposes.
Getting Started with Dialogflow
To get started, you have to create an account in Dialogflow. The agent handles the conversations with the end-users/customers. It analyses user inputs/queries and responds with pre-built responses.
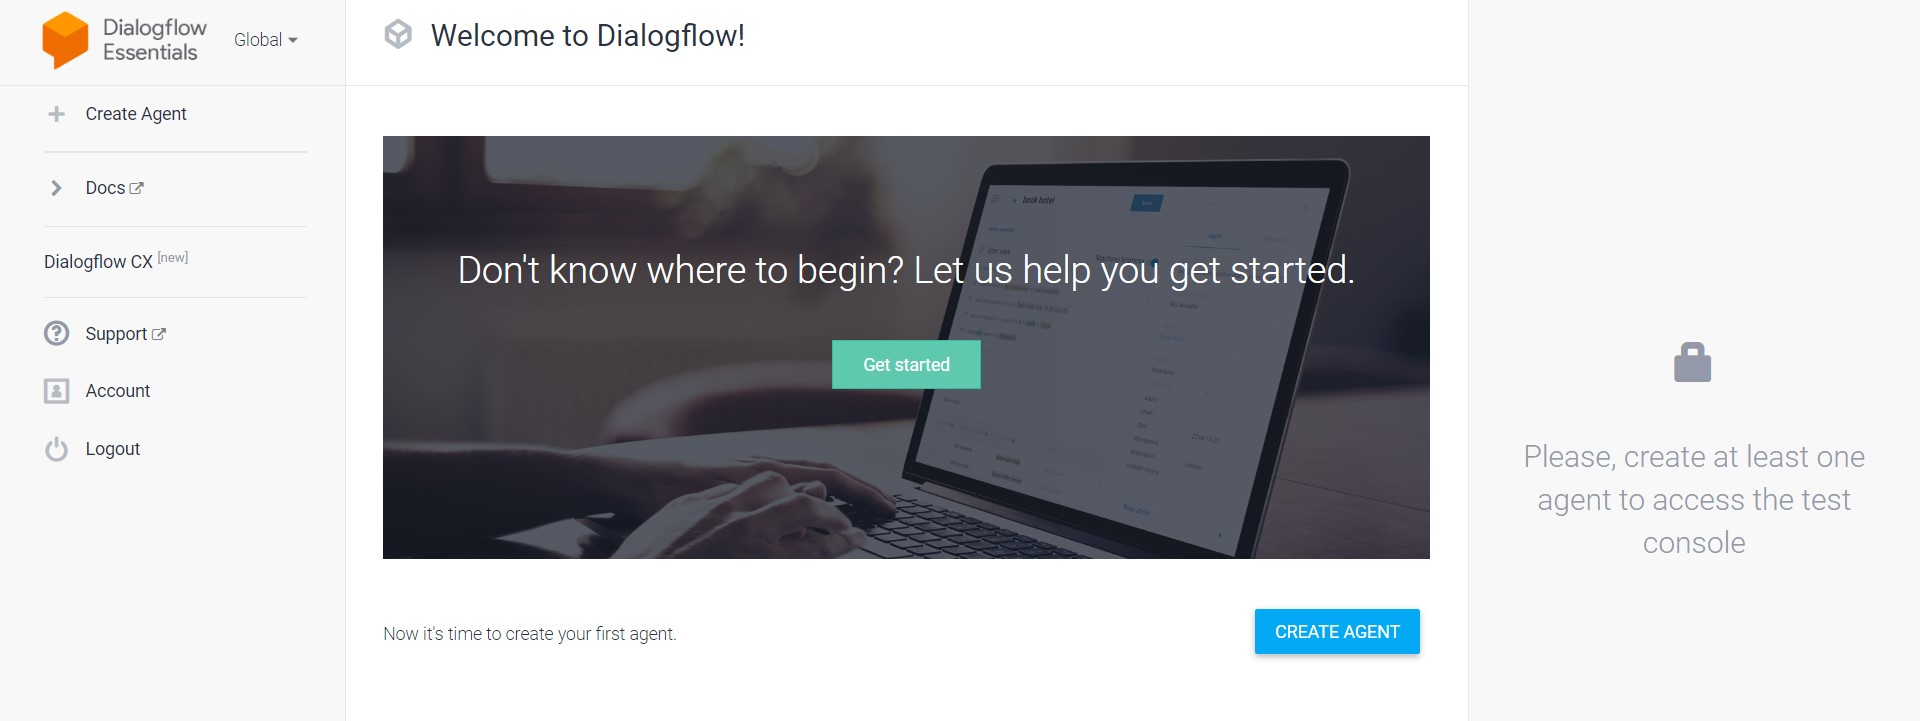
Create an agent: On the Dialogflow screen, click the “+ Create Agent” button, and there you should give the agent a name and save it. Now, your agent is created.
Working with Intents
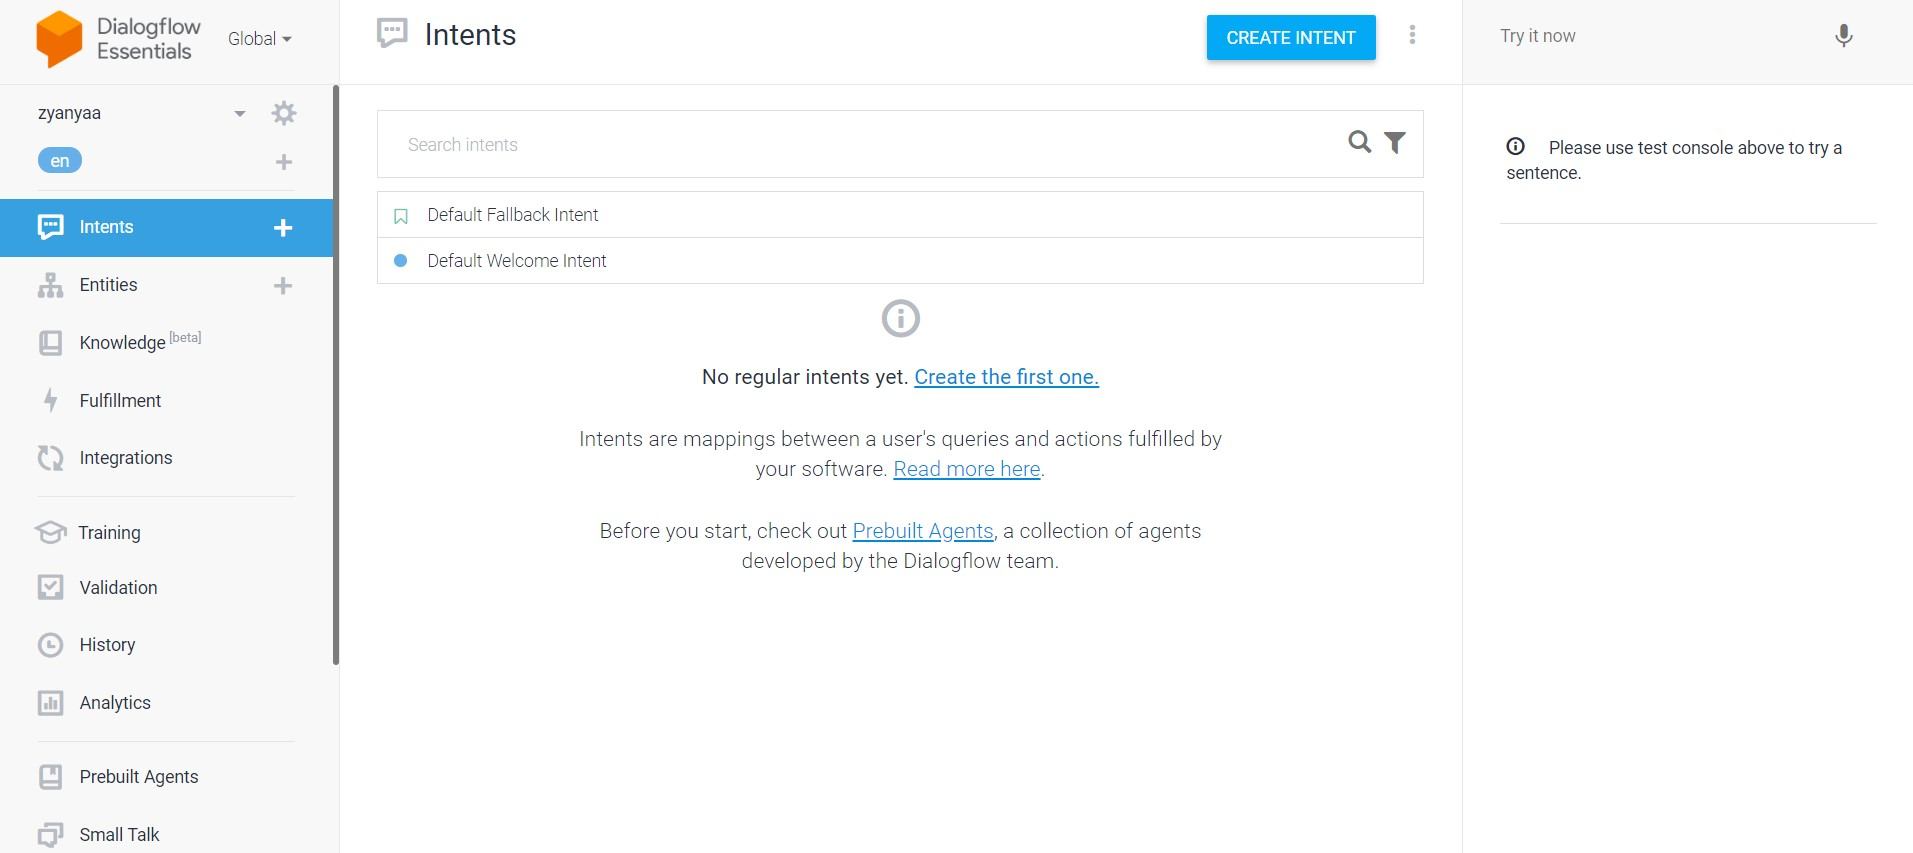
Intents are used to categorize a user’s intentions into separate categories. Dialogflow comes with two default intents out of the box:
- Default Welcome Intent: Default Welcome Intent is usually used to send a welcome message or introduction.
- Default Fallback Intent: When the agent is unable to match the user’s input to a specified intent, this intent is triggered. It provides a generic response to the unexpected query.
Click on “Create Intent” to create your first intent.
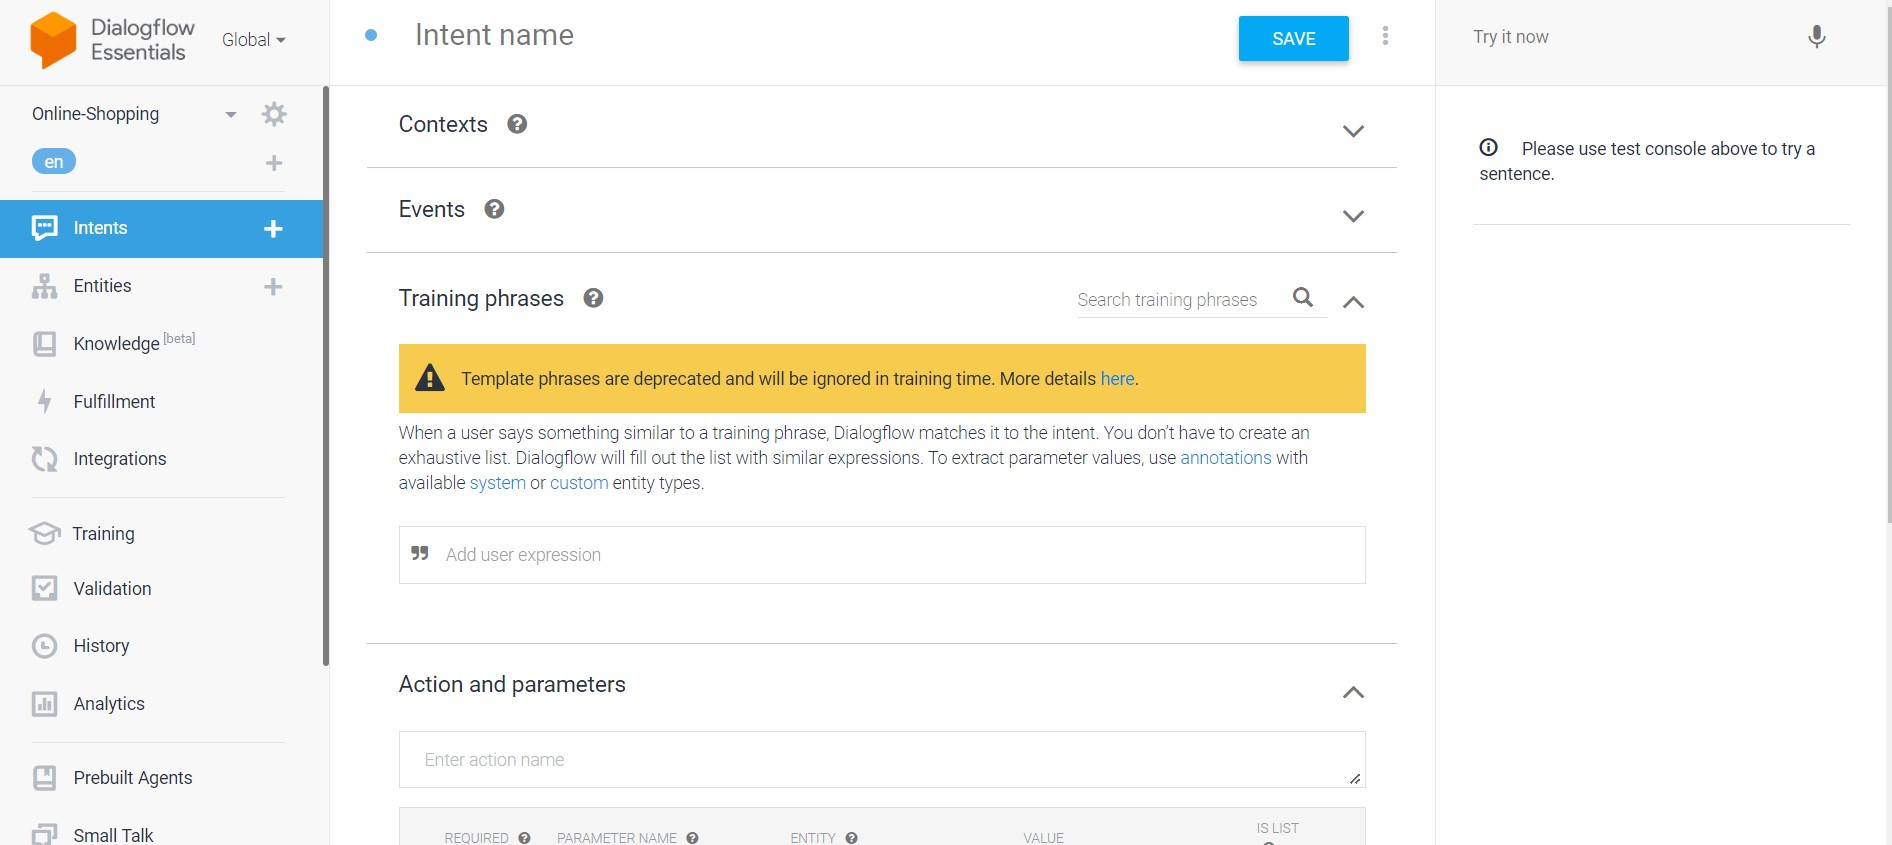
There, you are required to provide
- Intent name,
- Training phrases: A set of phrases that may be asked by the end users of the chatbot.
- Actions: An action is a task or operation associated with fulfillment or webhook functionality that can be performed when this intent is matched.
- Parameters: Parameters are used to extract specific information from the user’s input and match it with the intent. Allows the chatbot to gather only the important details necessary to fulfill the user’s request.
While actions and parameters are optional components, they play a key role in enhancing the bot’s performance.
Followup Intents: These intents automatically set the contexts. It inherits the context from the parent Intent.
Working with OpenAPI and GPT API
Let’s see how to integrate this chatbot with OpenAI. For this, you should have an OpenAI API key. To generate an OpenAI API key, follow these steps:
- Go to the OpenAI website and create an account if you haven’t already.
- Once you log in, On the “Apps” page select API.
- On the home page, click on the profile icon in the top right corner. From the dropdown menu, select “View API keys”. You can find your API key there.
Setting up the logic in Replit
Now that you have obtained your OpenAI API key, it’s time to set up the development environment.
1. Create a new Repl
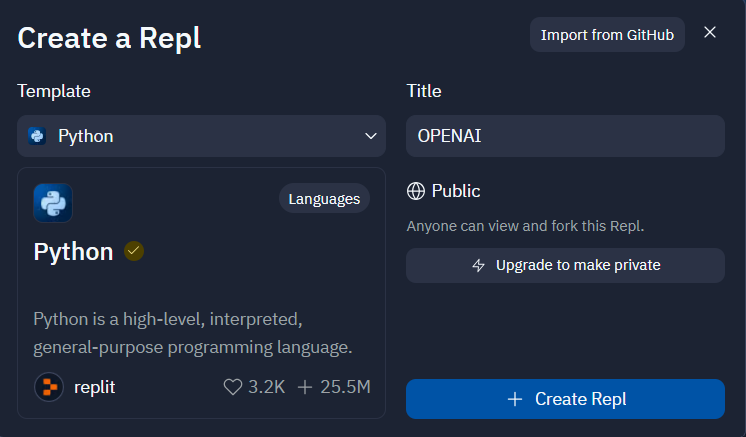
Go to Replit and create a new repl. Choose Python as a template language and name your repl.
2. Create the OpenAI helper
Created a folder named “helper” and add an openai_api.py file. We require the following libraries to work with OpenAI
- openai — library to access the OpenAI sdk
- dotenv — library to access variables from the environment file
Create a fucntion called text_completion that receives prompt string and calls the OpenAI API using openai.Completion.create.
import os
import openai
from dotenv import load_dotenv

load_dotenv()

openai.api_key = os.environ['OPENAI_KEY']

def text_completion(prompt: str) -> dict:
  '''
    Call Openai API for text completion
    Parameters:
        - prompt: user query (str)
    Returns:
        - dict
    '''
  try:
    response = openai.Completion.create(model='text-davinci-003',
                                        prompt=f'Human: {prompt}\nAI: ',
                                        temperature=0.9,
                                        max_tokens=150,
                                        top_p=1,
                                        frequency_penalty=0,
                                        presence_penalty=0.6,
                                        stop=['Human:', 'AI:'])
    return {'status': 1, 'response': response['choices'][0]['text']}
  except:
    return {'status': 0, 'response': ''}
This block makes use of the necessary modules ‘os’, ‘openai’, and ‘dotenv’, gets the API Key from the environment variable, interacts with the OpenAI and returns the response as text.
3. Setting up the routes for the webhook
Create a new folder I named it “src”. In that folder, create a file app.py. This file will hold the routes that interacts with the OpenAI API for text completion.
- “/” — This route defines the home route of the Flask application. When accessed, it returns the string “OK”.
@app.route('/')
def home():
return 'OK'- “/dialogflow/es/receiveMessage” — This is the main route, intended to handle POST requests from Dialogflow. It receives JSON data from the request, calls the
text_completionfunction with aquery_text, and prints the result. Depending on theresultstatus, it returns a JSON response with the fulfillment text.
@app.route('/dialogflow/es/receiveMessage', methods=['POST'])
def esReceiveMessage():
    try:
        data = request.get_json()
        result = text_completion(query_text)

        if result['status'] == 1:
            return jsonify(
                {
                    'fulfillmentText': result['response']
                }
            )
        else:
            return jsonify(
                {
                    'fulfillmentText': "Couldn't fetch response for query: " + query_text
                }
            )
    except:
        print("an error occurred")
        pass
    return jsonify(
        {
            'fulfillmentText': 'Something went wrong.'
        }
    )
Here is the entire code of app.py:
from flask import Flask, request,jsonify
from helper.openai_api import text_completion

app = Flask(__name__)

@app.route('/')
def home():
    return 'OK'

@app.route('/dialogflow/es/receiveMessage', methods=['POST'])
def esReceiveMessage():
    try:
        data = request.get_json()

        result = text_completion(query_text)
        print(result)

        if result['status'] == 1:
            return jsonify(
                {
                    'fulfillmentText': result['response']
                }
            )
        else:
            return jsonify(
                {
                    'fulfillmentText': "Couldn't fetch response for query: " + query_text
                }
            )
    except:
        print("an error occurred")
        pass
    return jsonify(
        {
            'fulfillmentText': 'Something went wrong.'
        }
    )
4. Set up environment variables
Now, you have to add the API key to secrets. So, that it won’t be misused.
- On the left sidebar, under the ‘Tools’ section, click on the ‘Secrets’ icon to open the ‘Secrets’ page.
- From there, select ‘New secret’ and enter the API name (
OPENAI_KEY) in the ‘Key’ field, and the corresponding API key in the ‘Value’ field.
4. Run the Flask app
Create a main.py file. This is where initiate a simple Flask app and run it on port 5000.
from src.app import app

if __name__ =='__main__':
   app.run(
     host='0.0.0.0',
     port=5000,
     debug=True
   )
The above code runs the Flask application in the specified port and host and enables the debug mode for development. Upon running this code, the required packages will be installed automatically.
You will get a response like this.
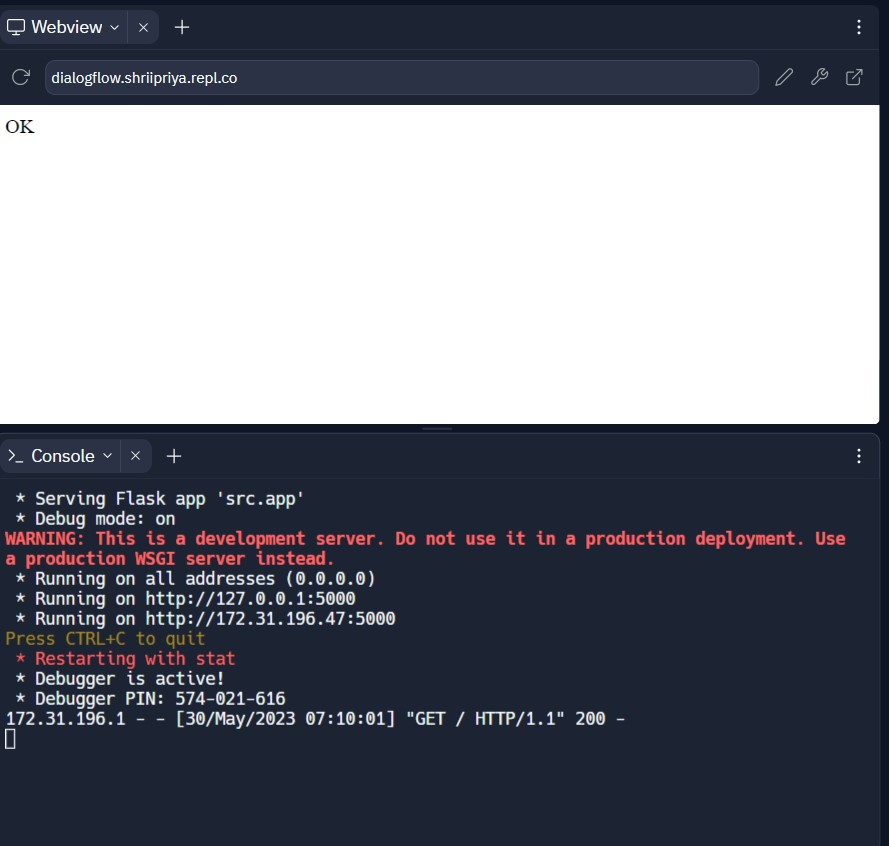
Open this link on your browser. Then, Copy the URL.

Paste the URL in Dialogflow fulfillment followed by the ‘/dialogflow/es/receiveMessage’ as it is the path.
Enable webhook on the Fallback Intent. So when the user sends a message that the bot doesn’t understand. Fallback Intent will be triggered and it send a request to the webhook.
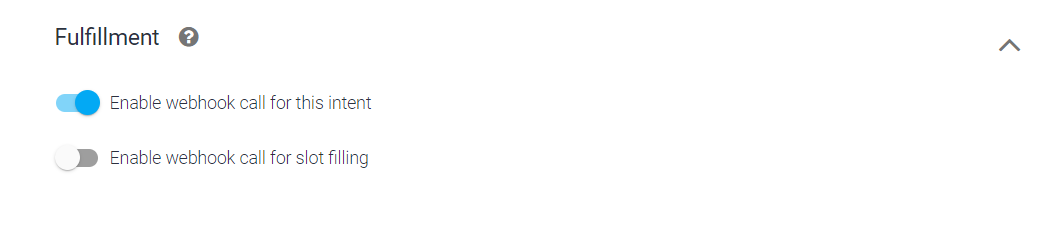
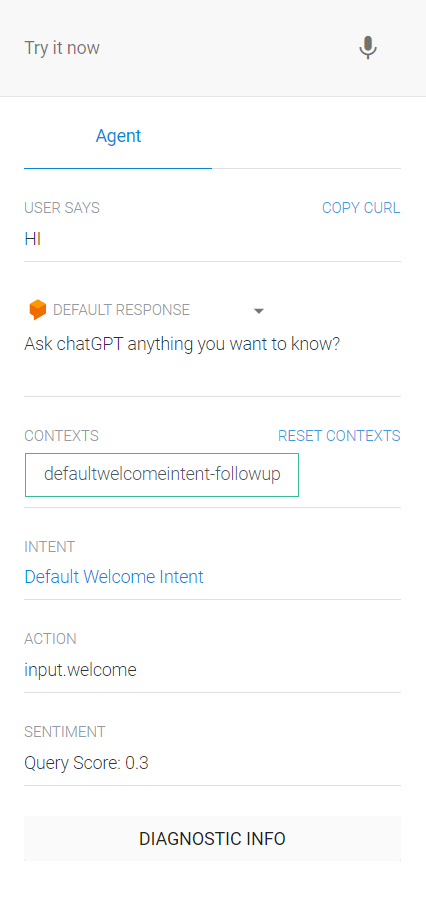
Now, let’s check if it’s working. Here, the user says “hi” and the response is triggered from the Default Welcome Intent.
When the user asks a question like ‘What is AI?’, which doesn’t match with any of the specific intent it falls under the fallback intent and triggers the webhook to send back the response from OpenAI.
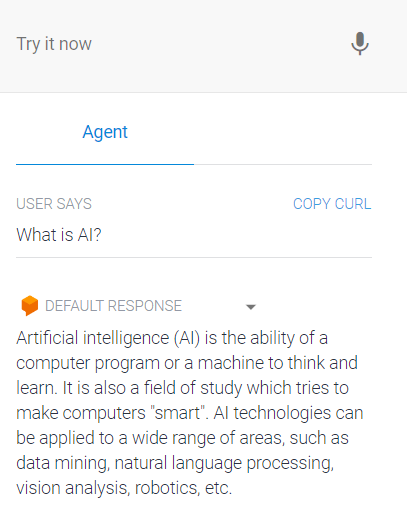
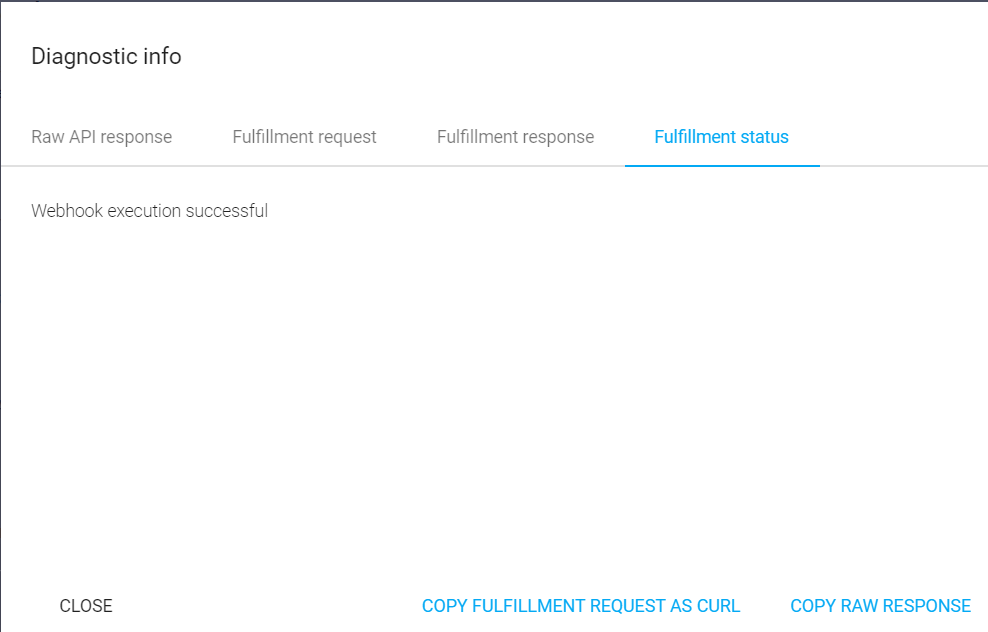
When the webhook is successfully executed, it will appear like this as you click on the diagnostic information under the fulfillment status.
I hope now, that you have a solid understanding of webhook fulfillment and how the chatbot can be integrated with OpenAI.