Read with Claude
 Read with ChatGPT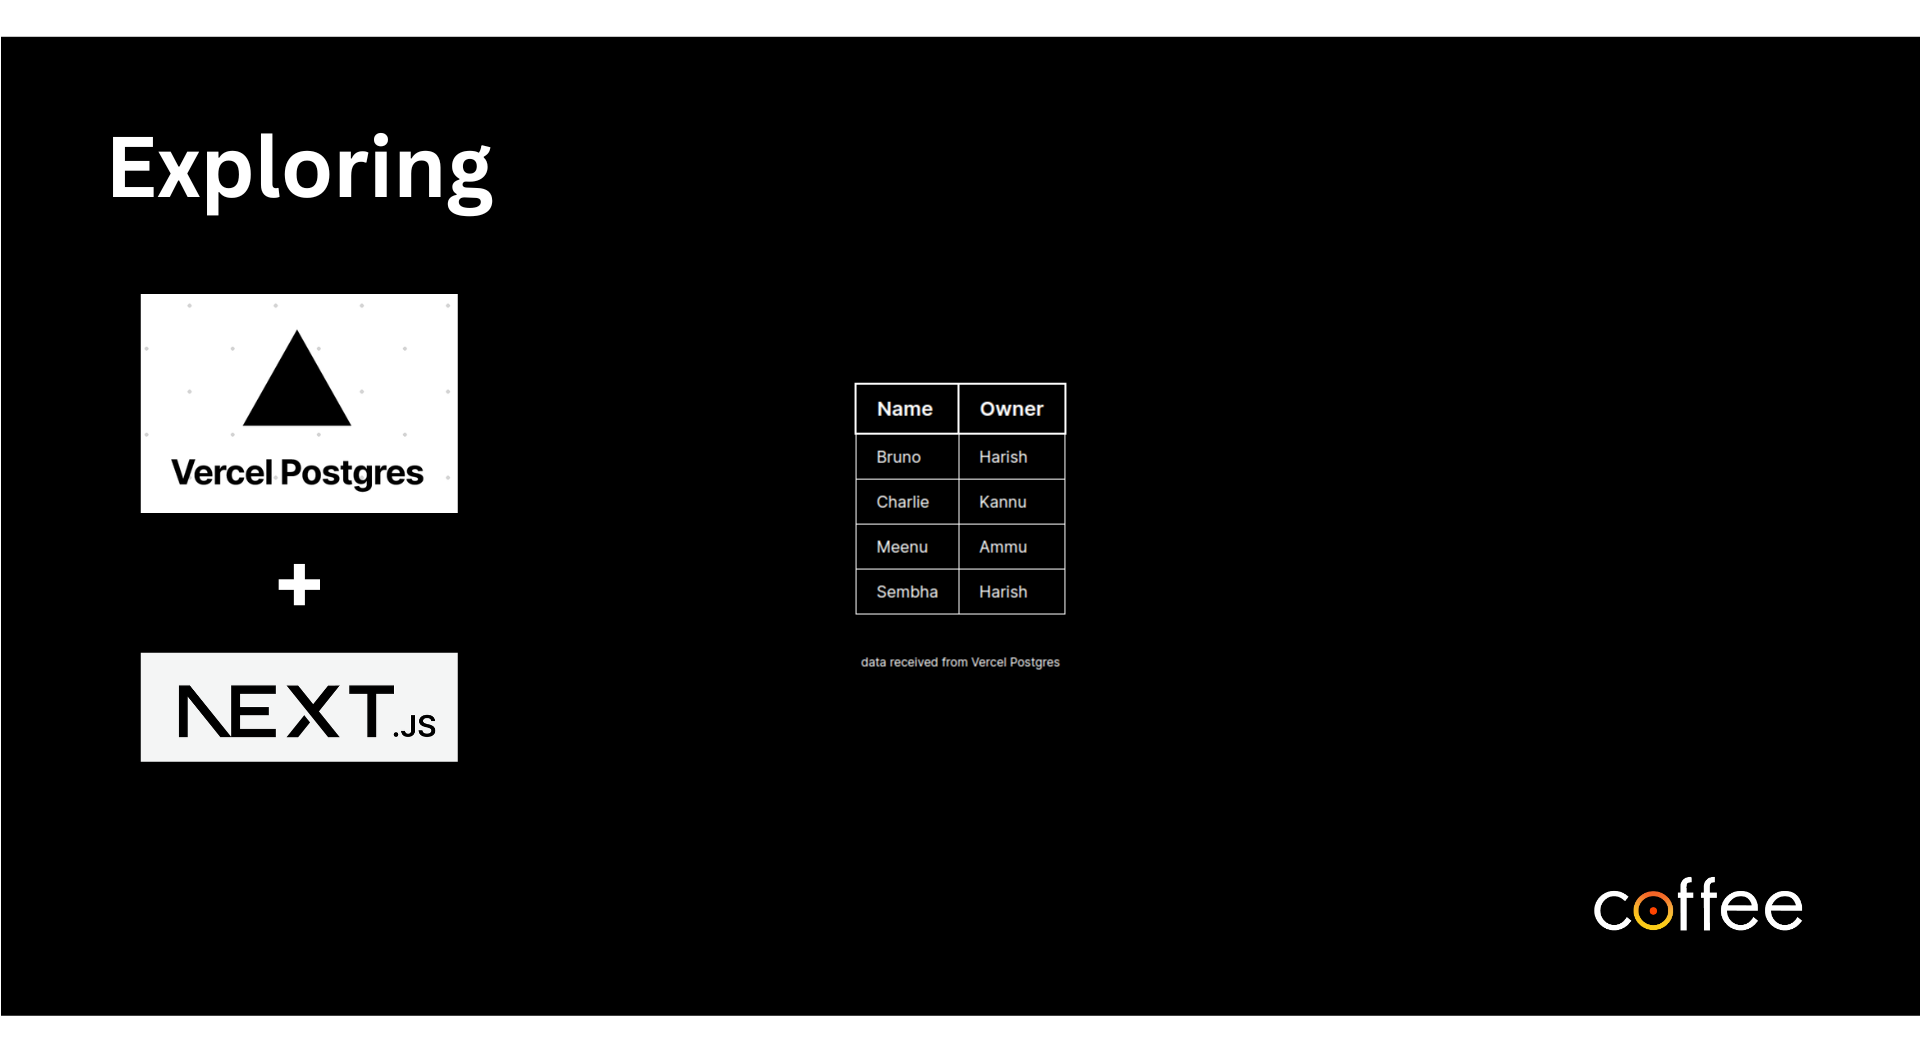
Hola readers!!! Vanakkam Makkale!!! 👋
Recently, Vercel announced a few new storage offerings on their platform: a key-value storage solution using Redis, a full Postgres database, and blob storage for your static files. In this article, I wanted to take the opportunity to explore the Vercel Postgres, a serverless SQL database built for the frontend, powered by Neon.
Vercel Postgres is designed to work seamlessly with the Next.js App Router (introduced in version 13), components and other frameworks like Next and SvelteKit, making it easy to fetch data from your Postgres database to render dynamic content on the server at the speed of static.
We can use Vercel Postgres to query, insert, update, or delete data directly inside your components, providing us with powerful server-first data mutations and less client-side JavaScript.
Getting Started with Vercel
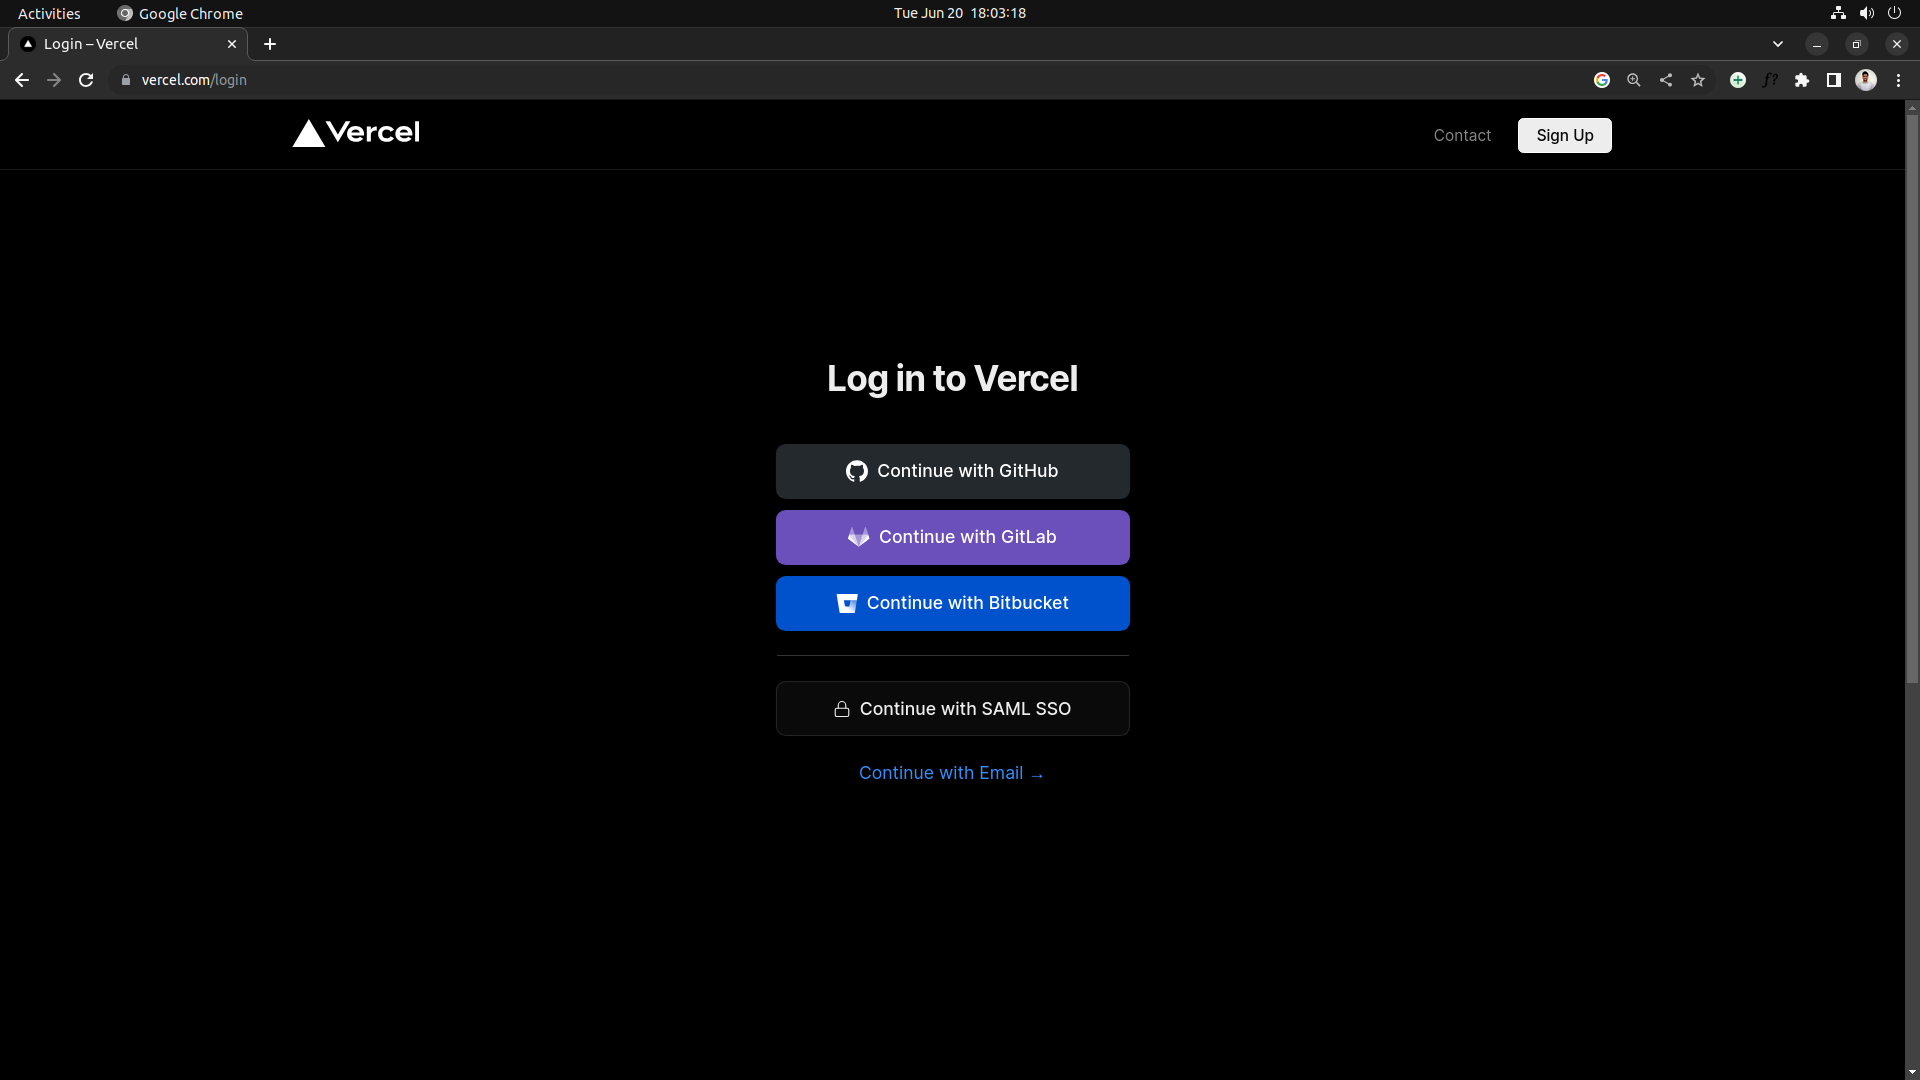
Log in to Vercel or create an account on Vercel, if you do not have one.
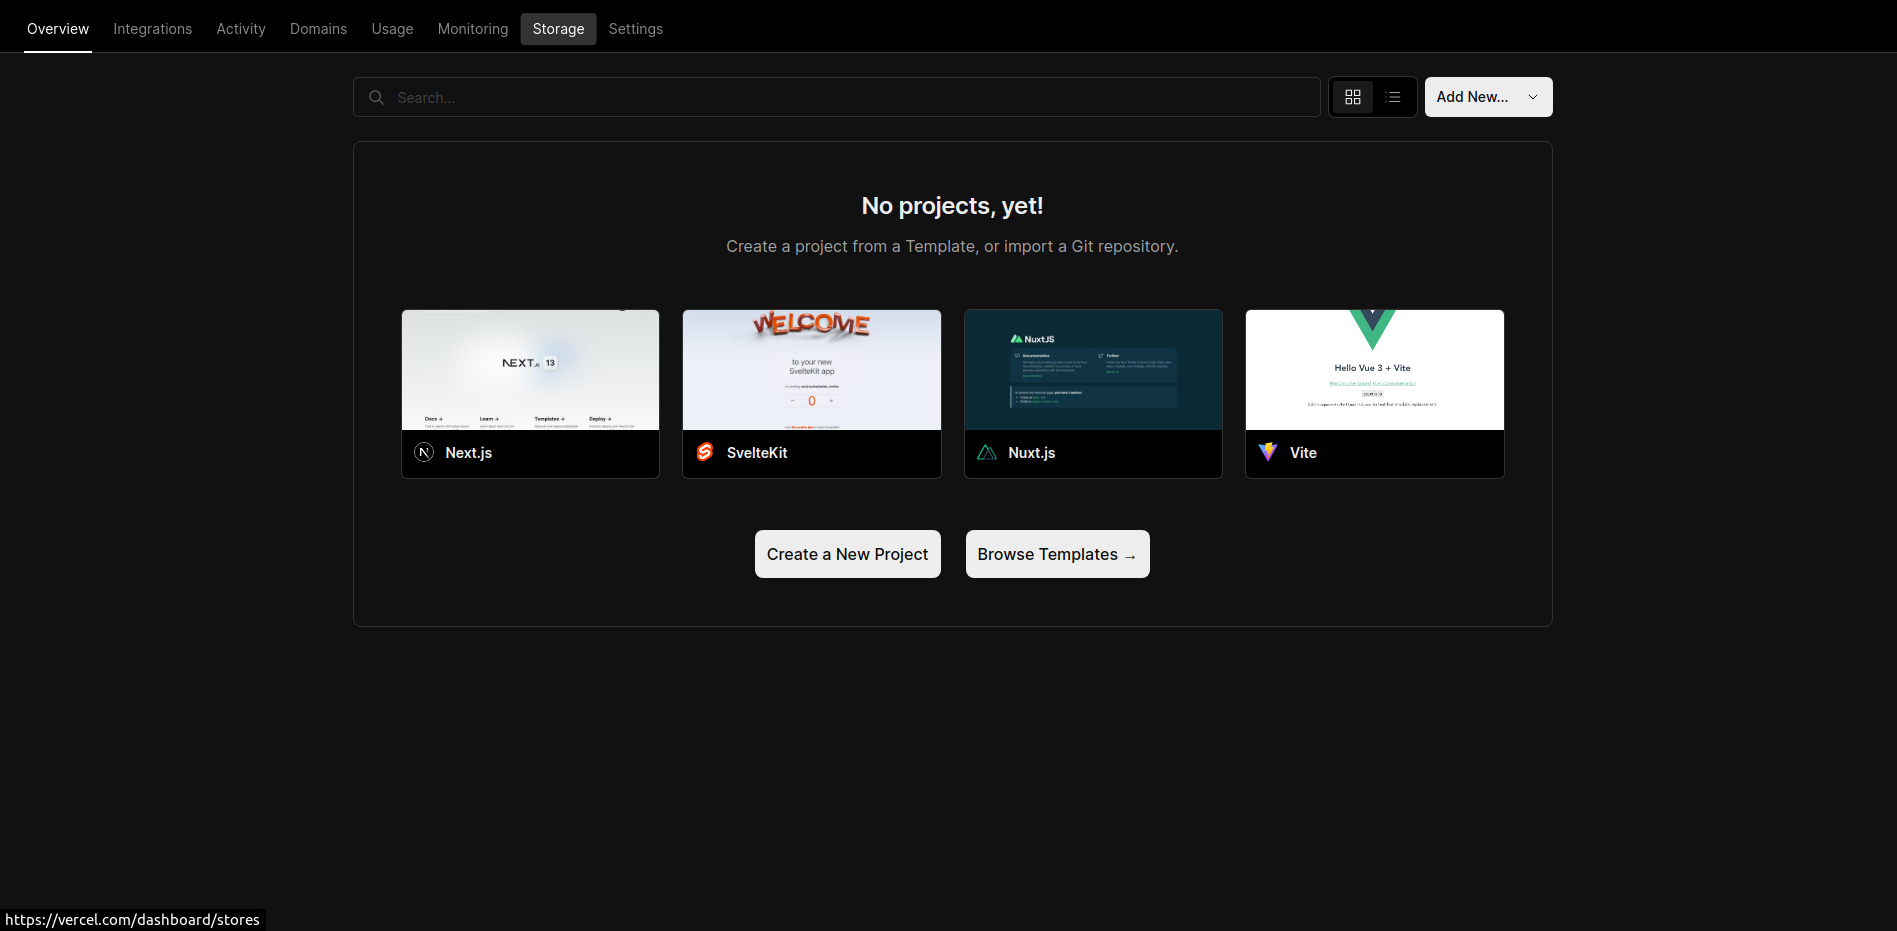
After creating an account on Vercel, we have to create a new project from a template or by importing a Git Repository.
Setting up a GitHub repository: Let’s go to GitHub (or your favourite platform) and create a repository.
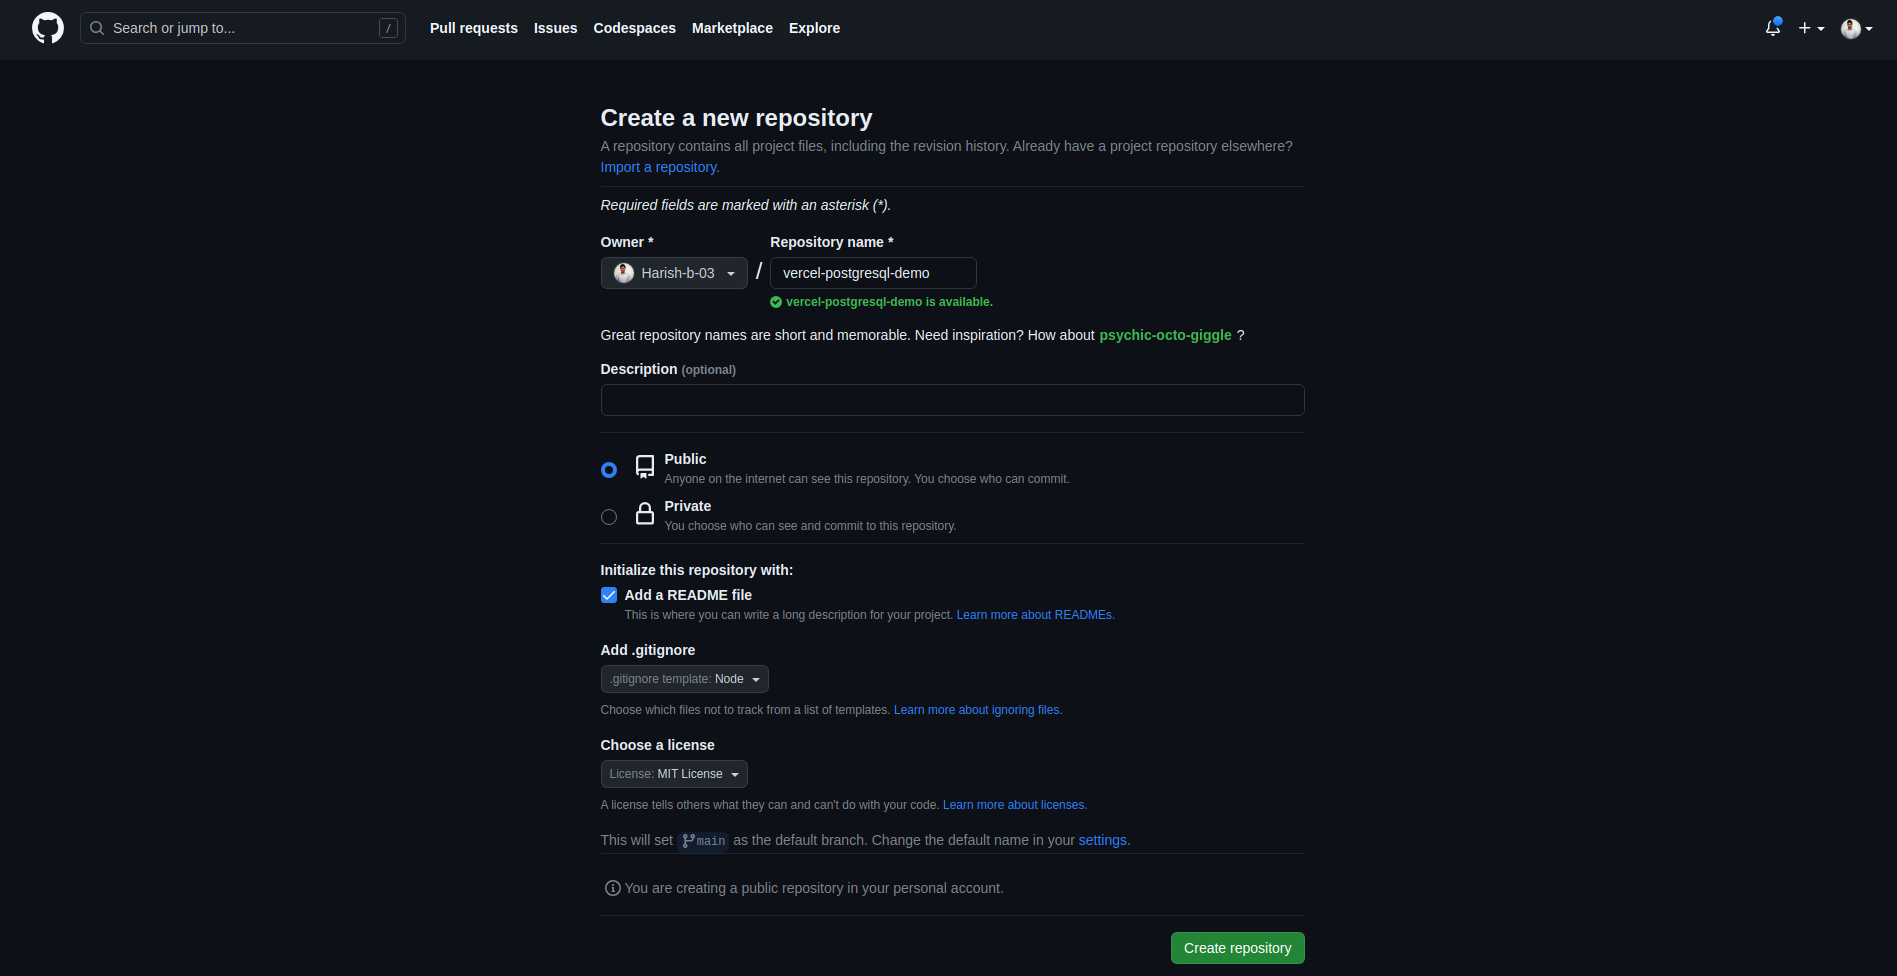
- Name: Let’s give a name to our project, “vercel-postgresql-demo”
- Public or Private: It’s upto you whether you want this repo to be public or not.
- Check the “Add a README file” (optional).
- Let’s choose “Node” for the “Add .gitignore” (optional)
- Choose MIT License (or any other license) for license (optional).
- Click on “Create repository” button
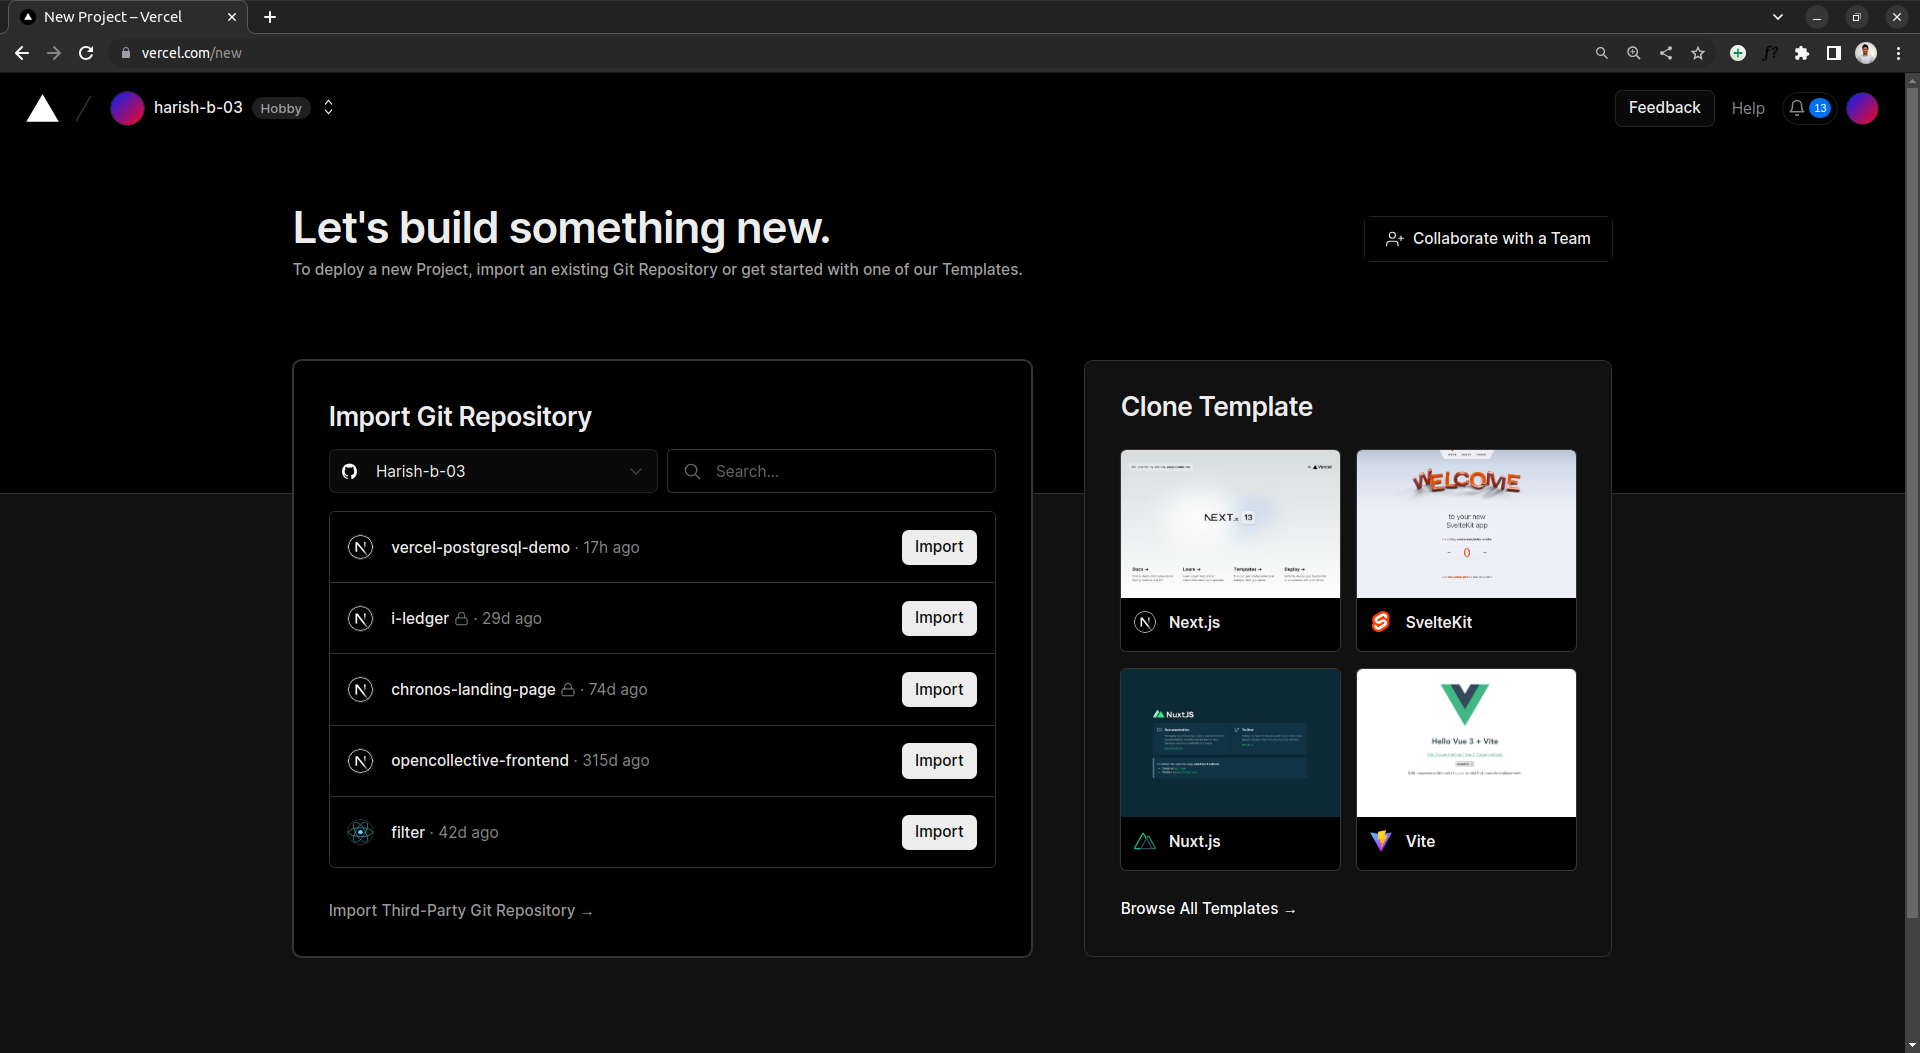
Let’s go back to vercel.com and now we can import the project that we have created now.
Give a name to the project and select “Next.js” for the framework. We will be using Next.js 13 and its new app router feature.
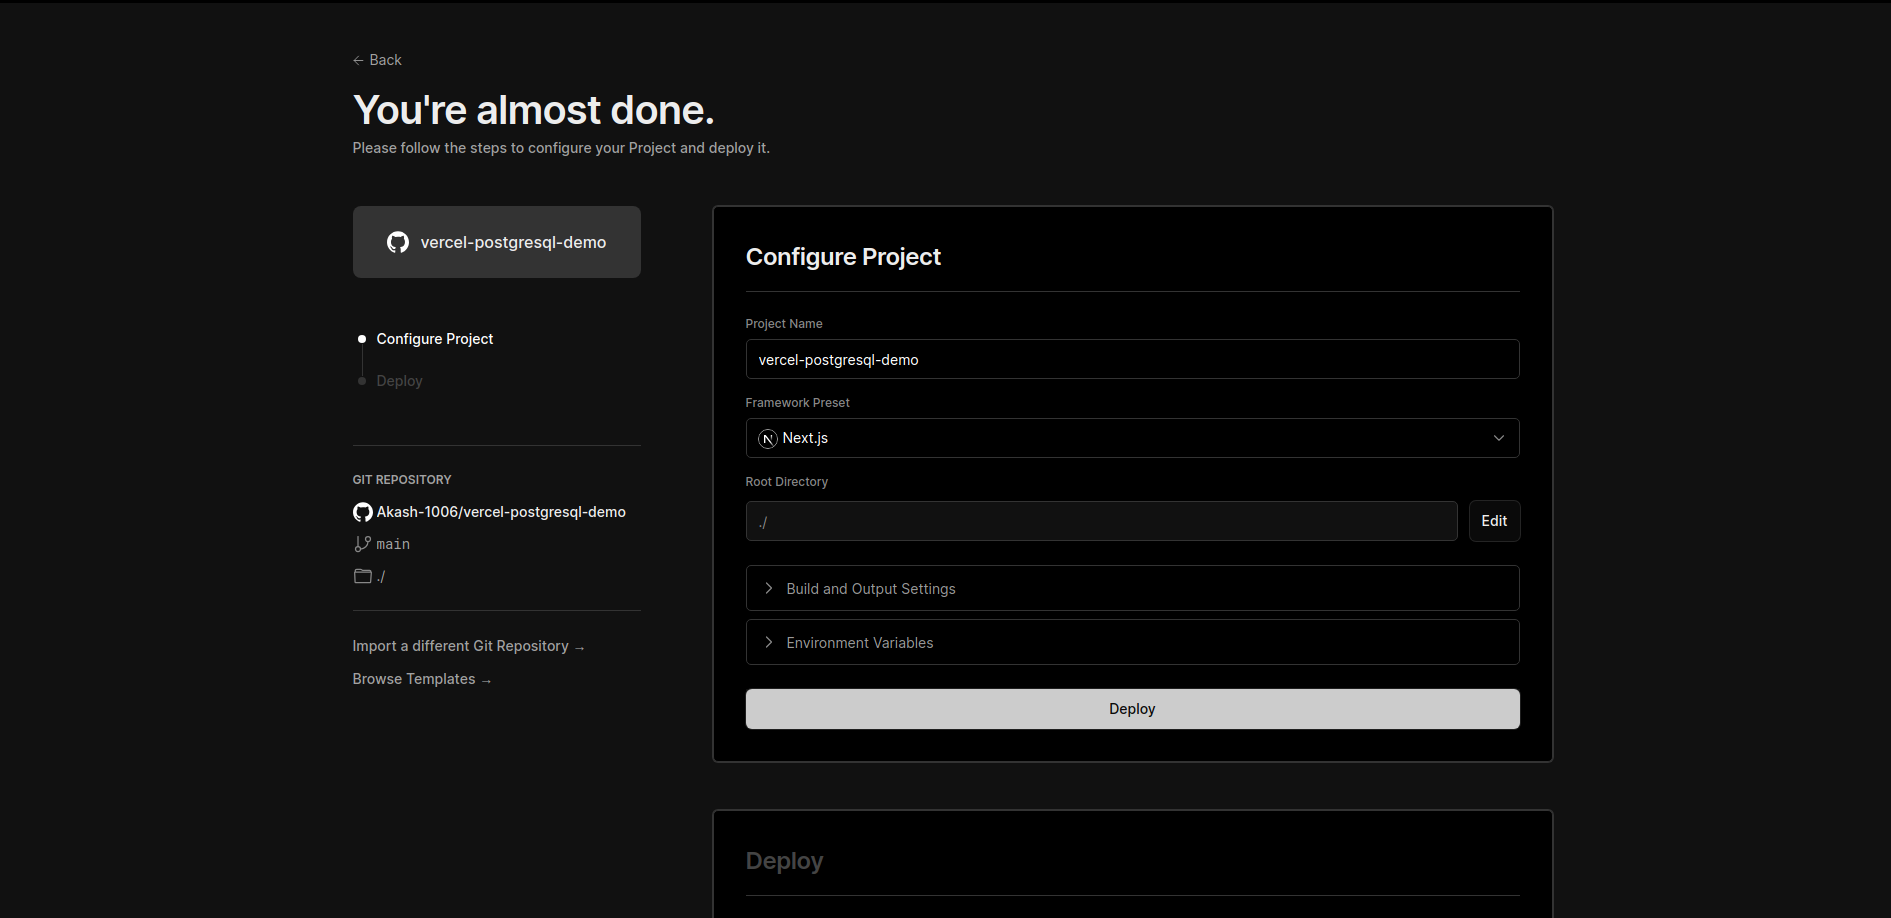
Click on the “Deploy” button. At this stage, the deployment will fail as we didn’t start to work on the project. Don’t worry, we will fix it.
Creating the Database
Let’s create our postgresql database.
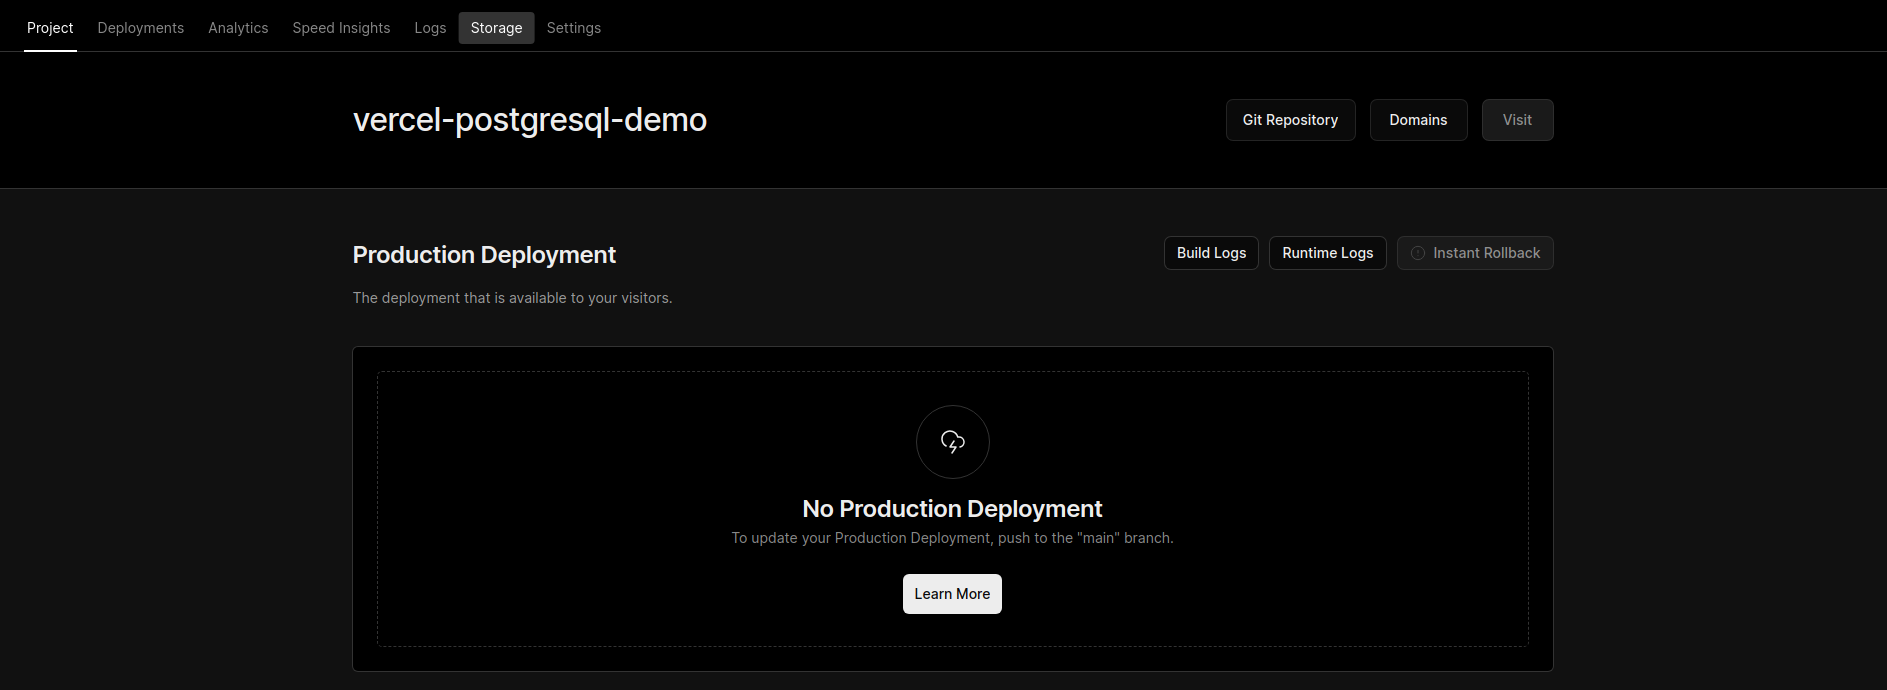
First, go to the project page and then select the Storage tab and click on the “Create Database” button.
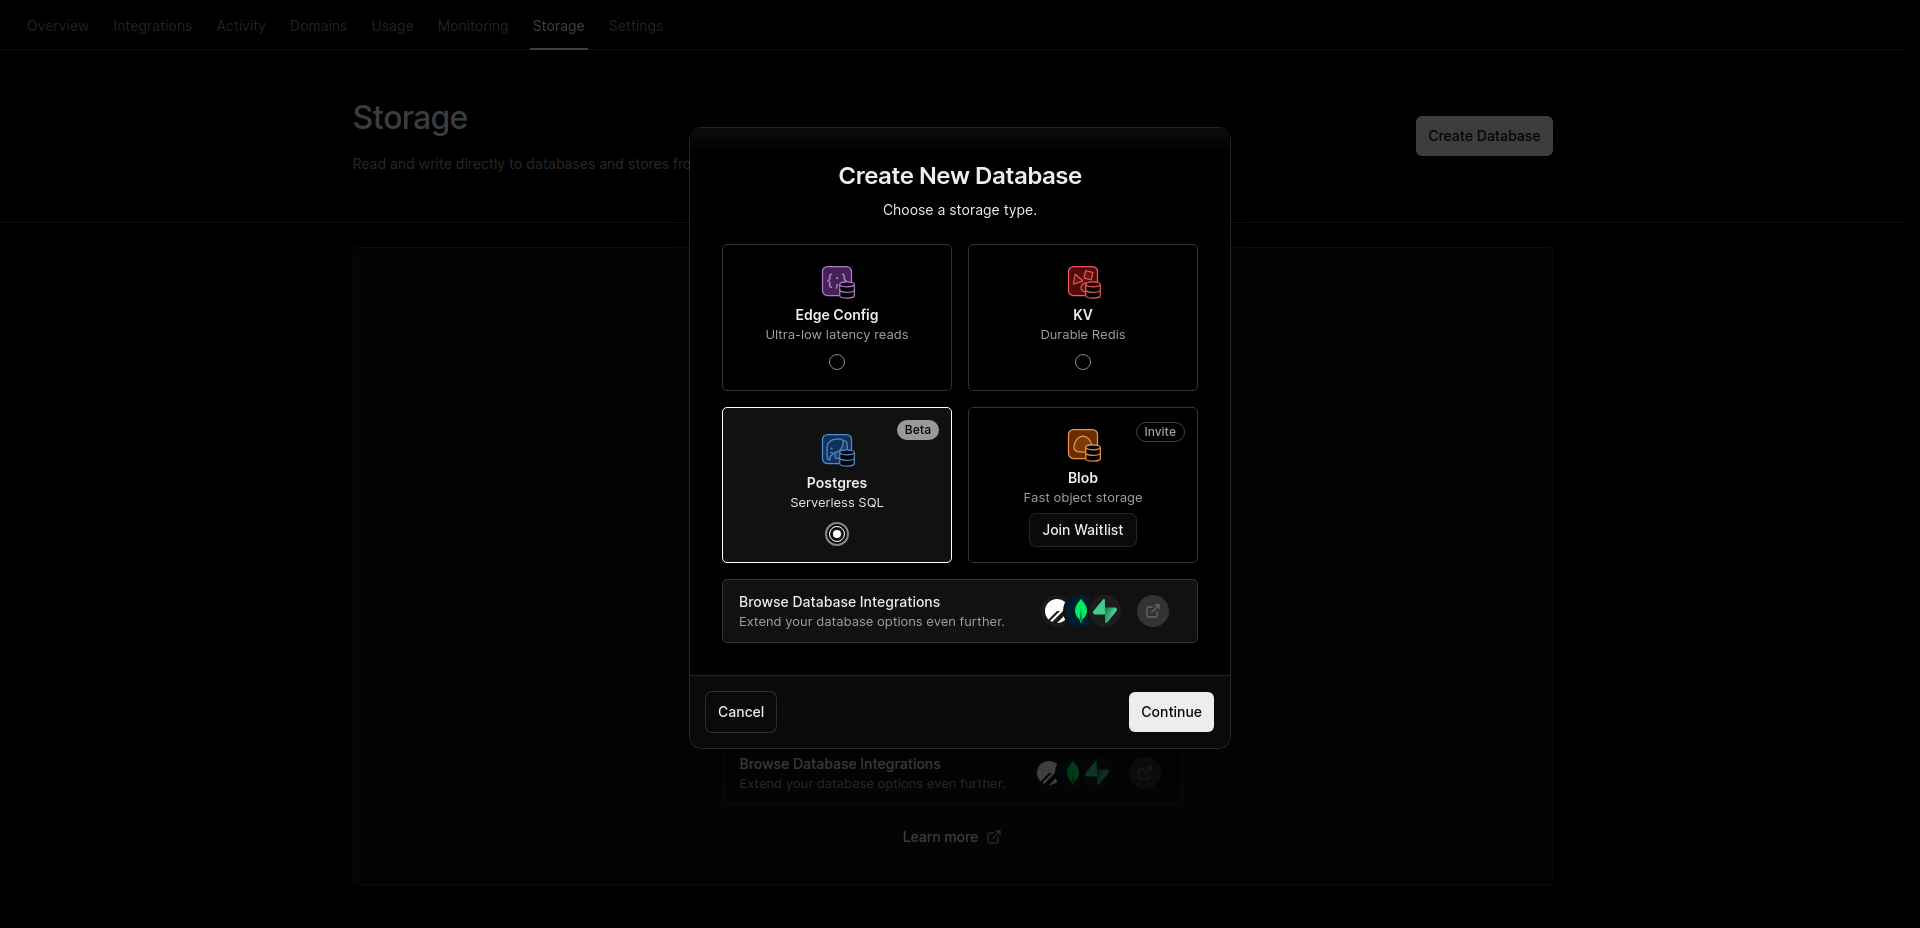
Here, we can see all the available storage services from vercel. Let’s create Postgres Database by selecting the Postgres option and click on the “Continue” button.
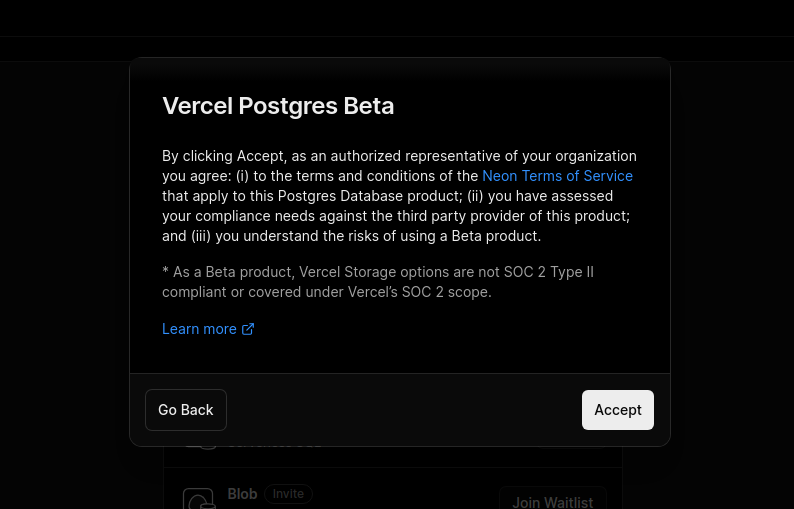
Click on the “Accept” button after thoroughly reading the terms and conditions 🙂.
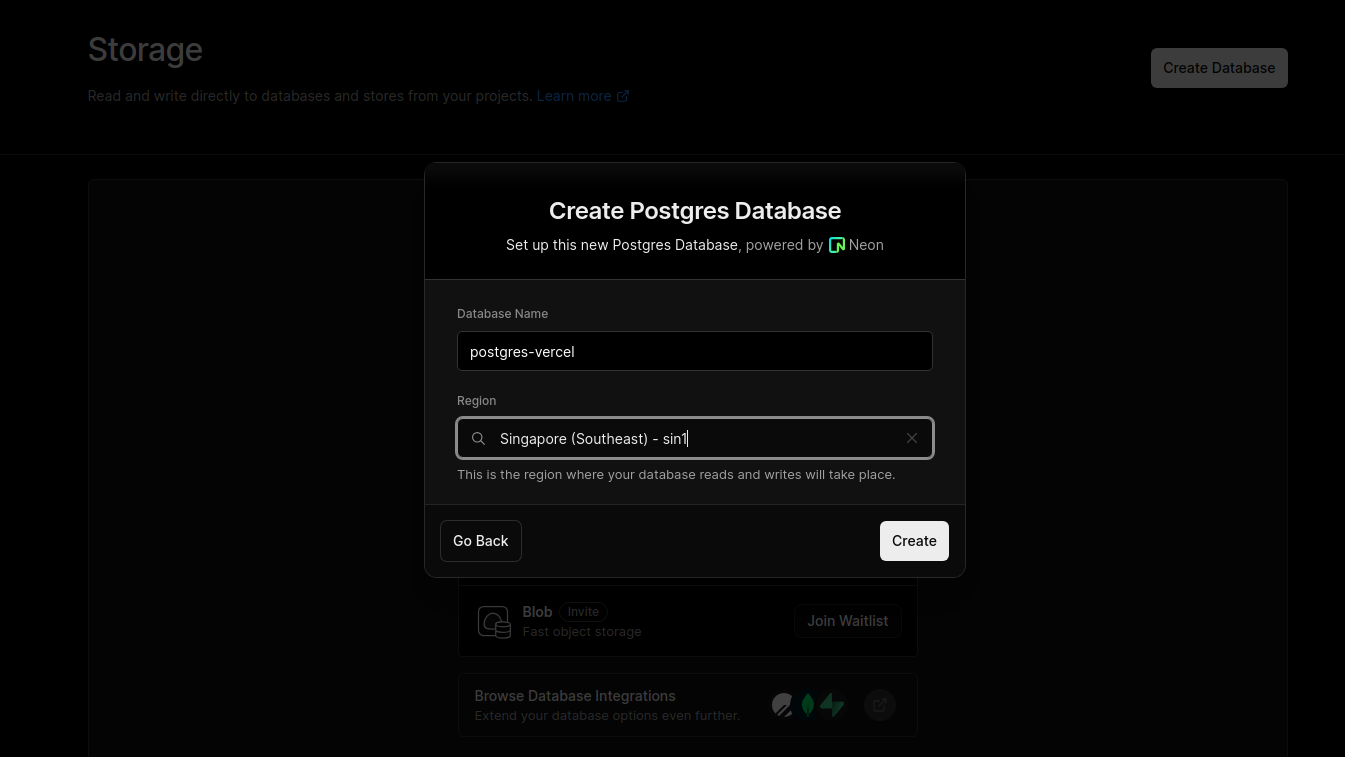
Let’s give a name to our database, let it be “postgres-vercel” and select the region of your choice. Finally click on the “Create” button.
Success!!! We have successfully created a Postgres Database on vercel.
Connecting the Database to our Vercel project
Let’s connect the database to our Vercel project. Go to the project dashboard and select the Storage tab
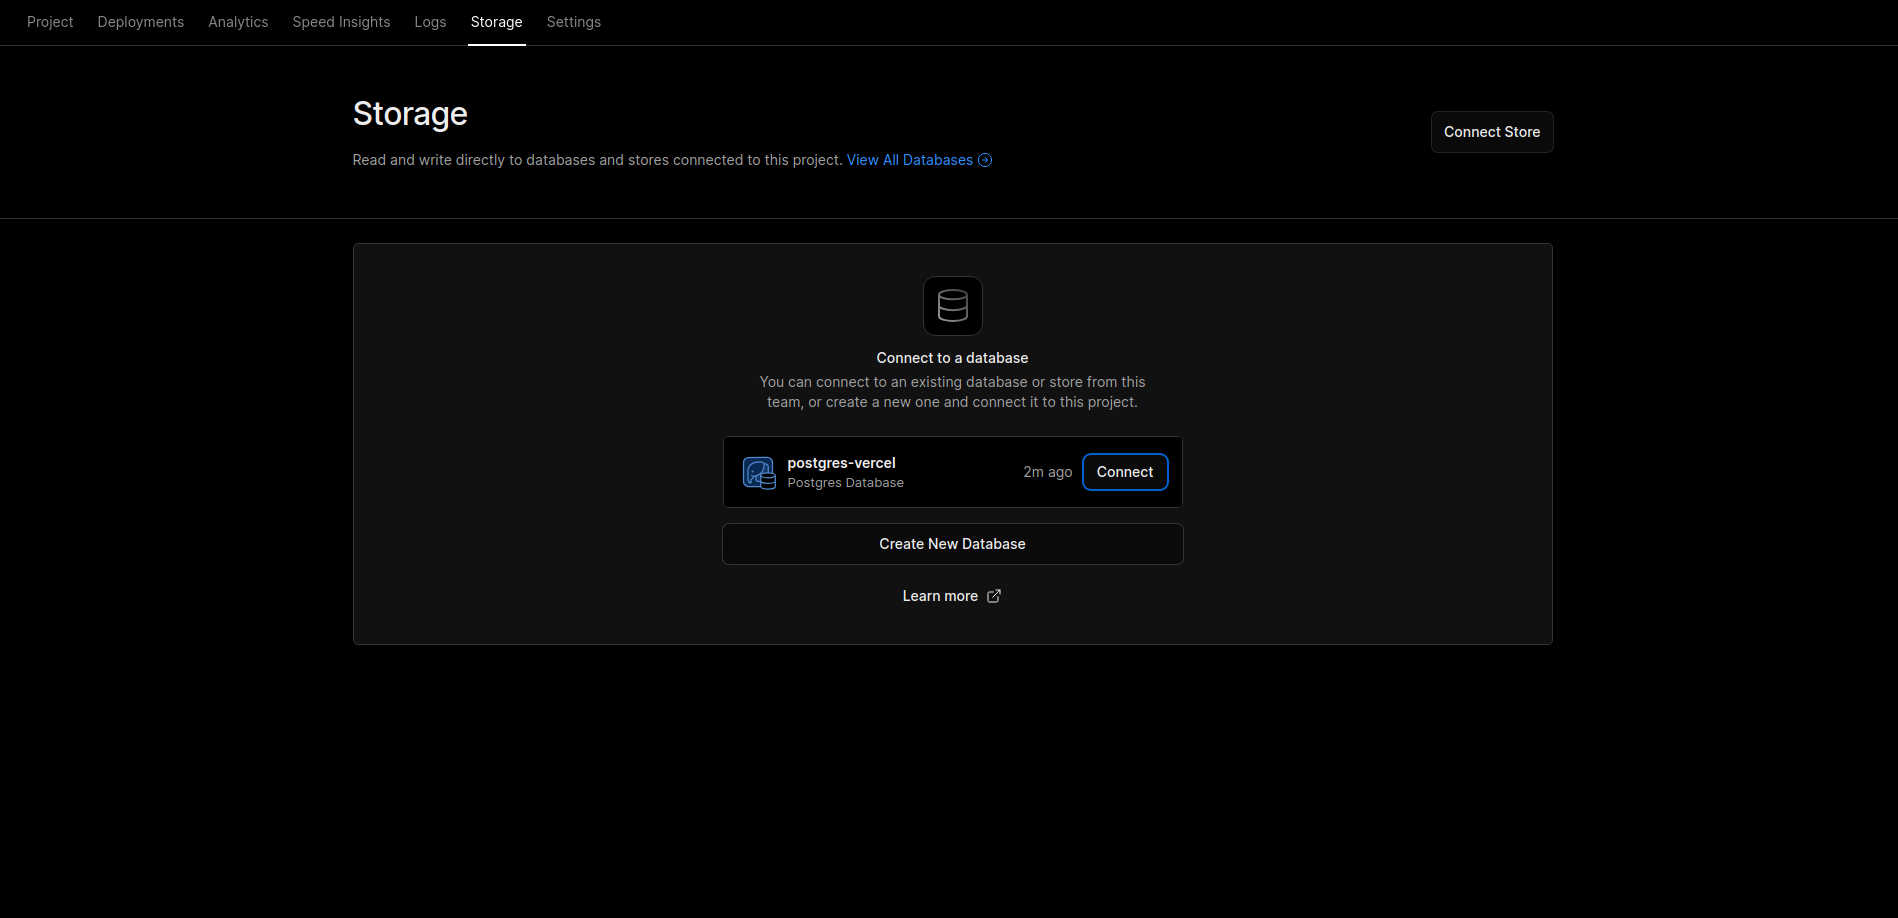
Here we can see our database, so let’s connect it by clicking on the “Connect” button.
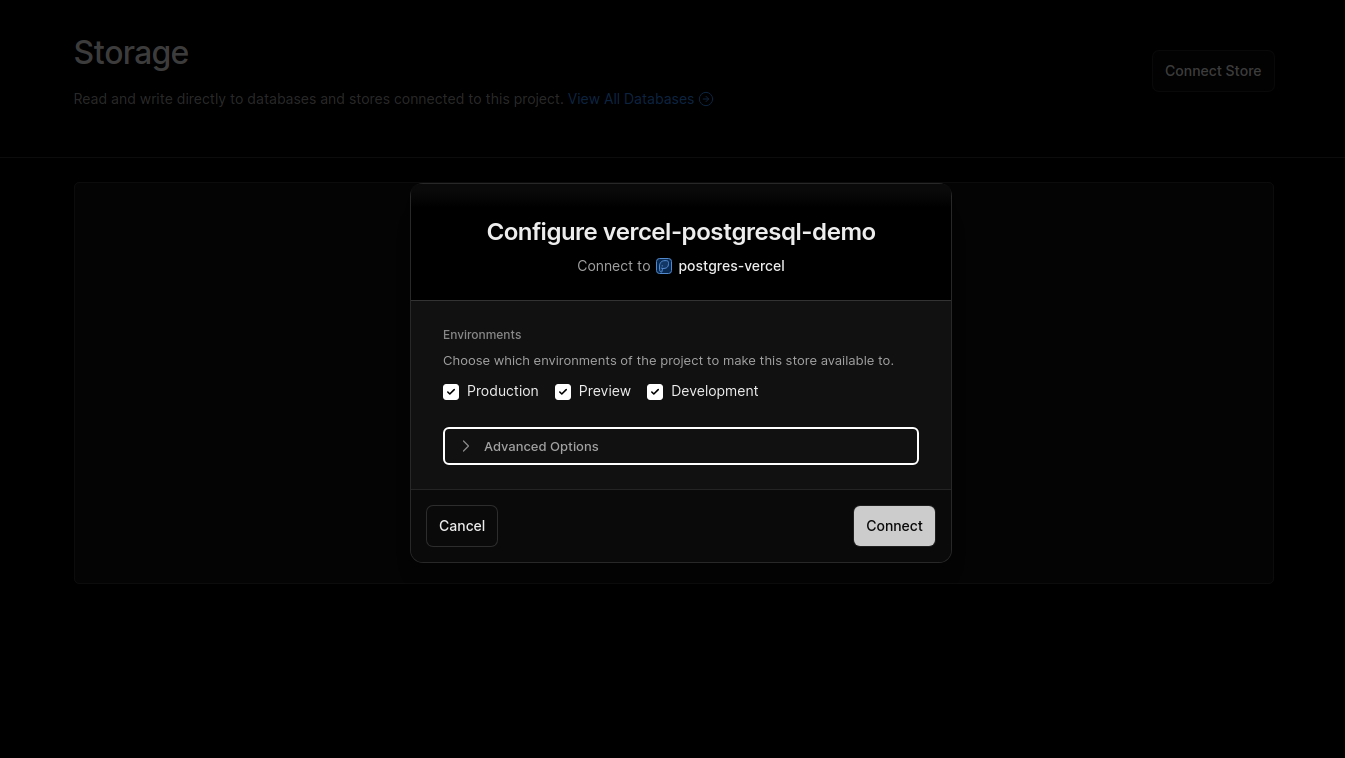
Let’s use the default options and click on the “Connect” button.
If we get this success message, then we have connected the database to our project successfully.
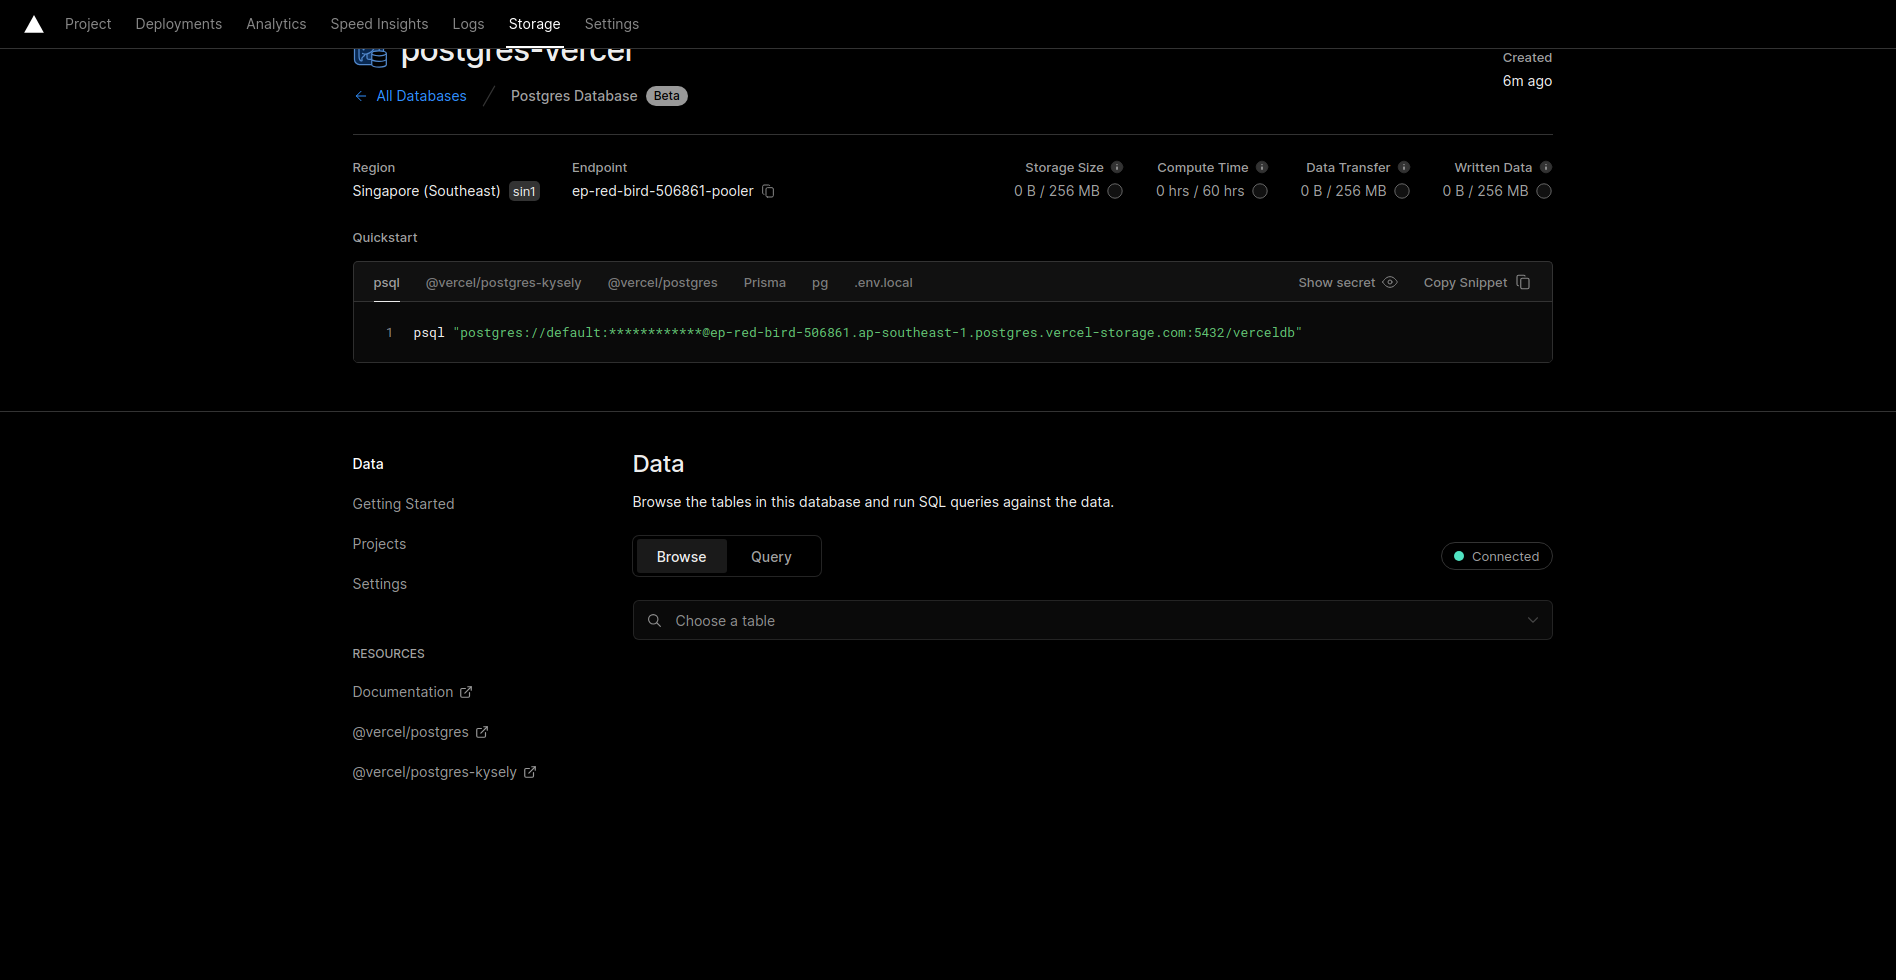
There we go, we can see our database.🎉🎉 Select the Query tab and we can see an input box where we can run our SQL queries
Creating a table & Adding to It
Let’s create a table without wasting any time.In the input box, run:
CREATE TABLE Pets ( Name varchar(255), Owner varchar(255) );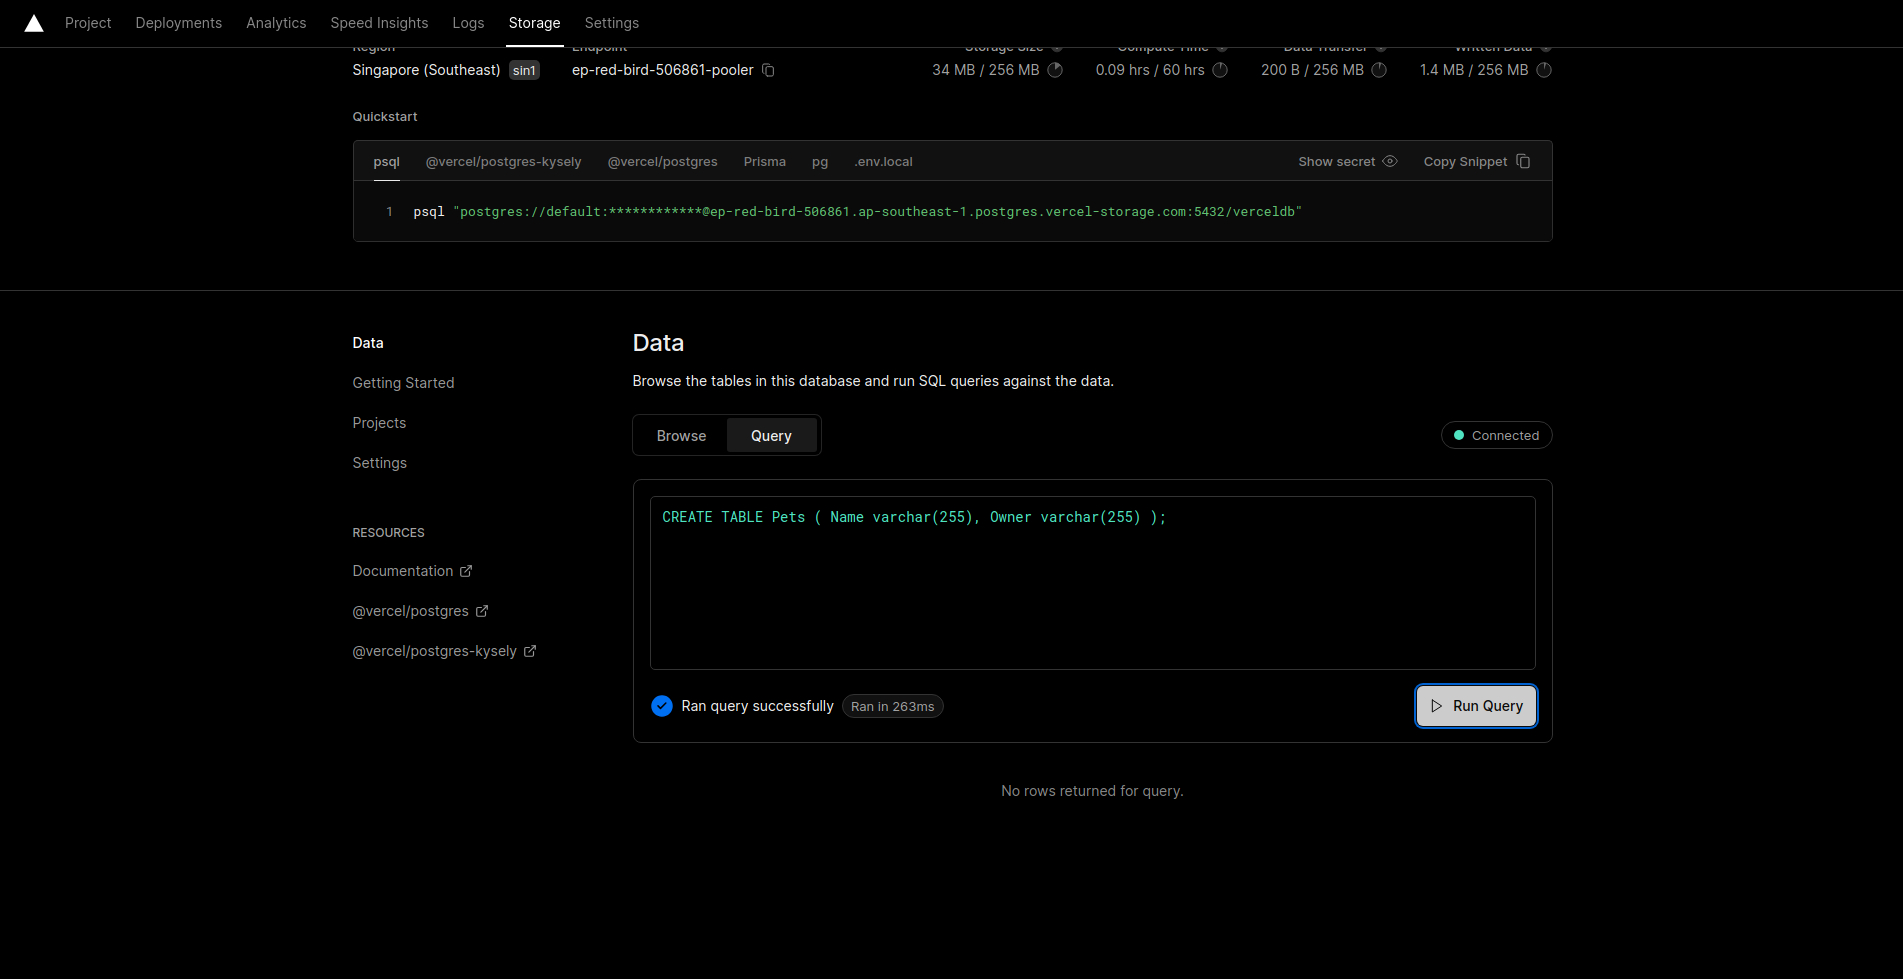
And here, we can see our table.
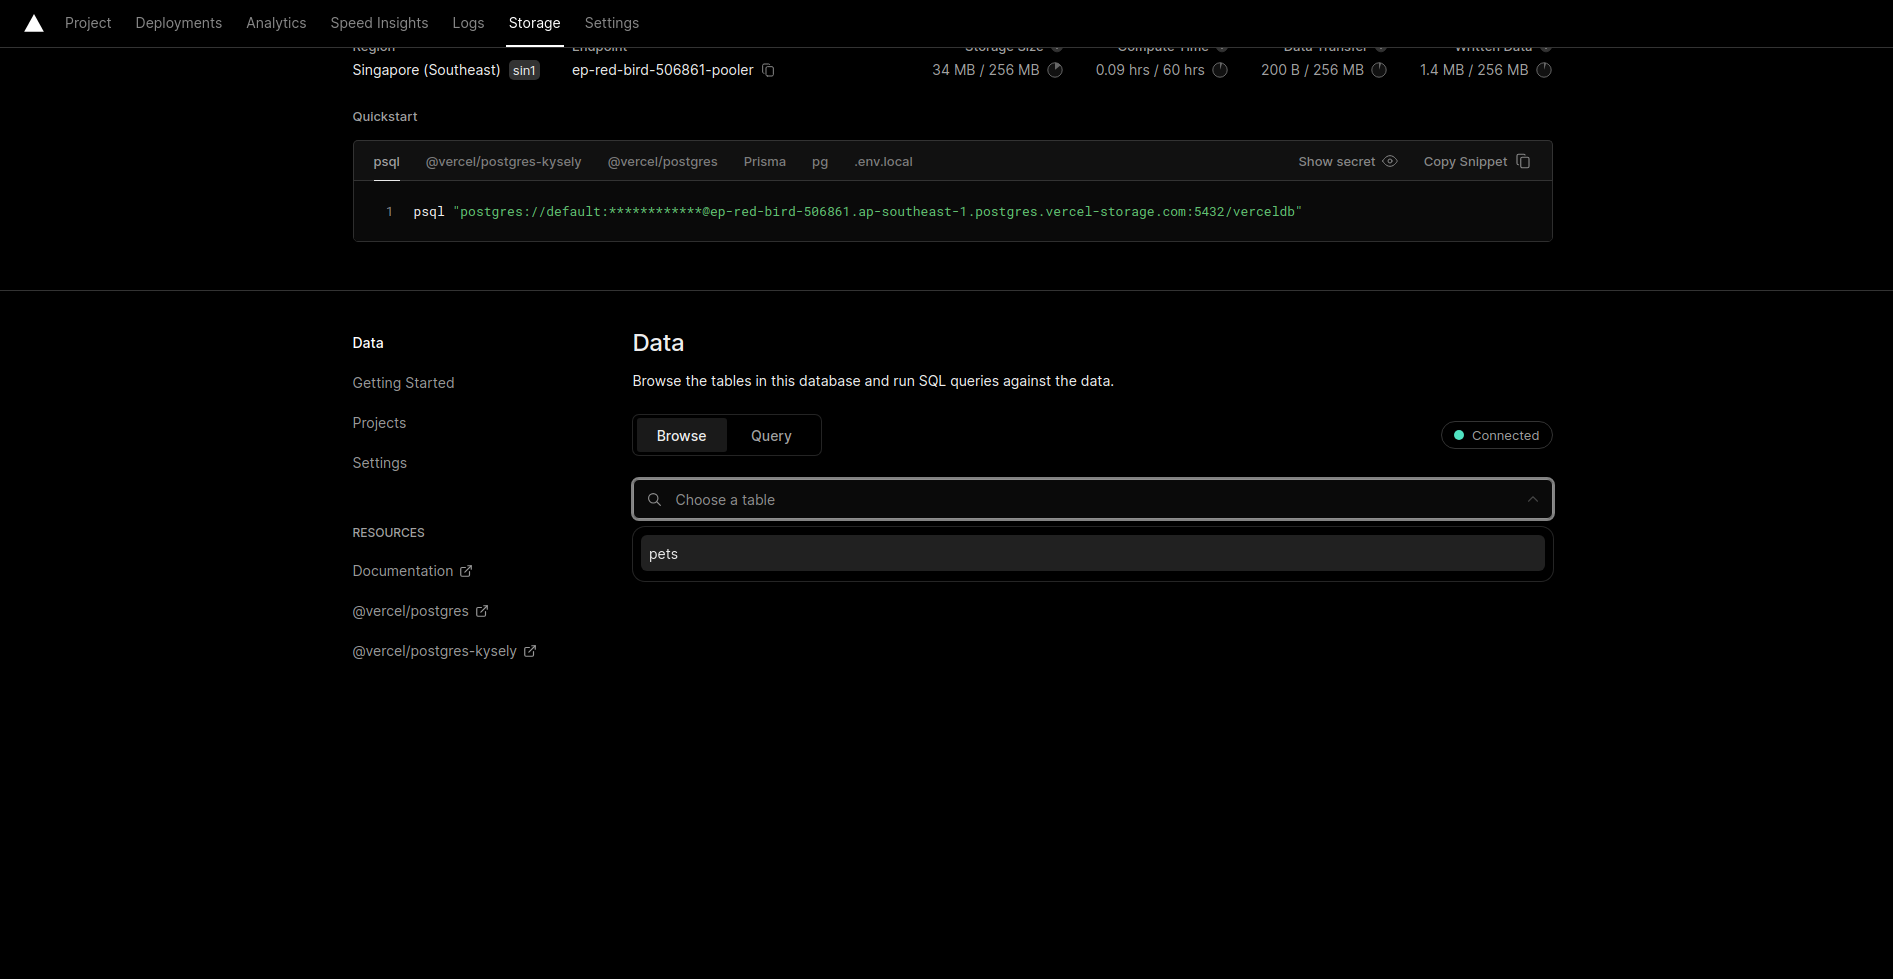
INSERT INTO Pets (Name, Owner) VALUES ('Bruno', 'Harish');Let’s check our table now
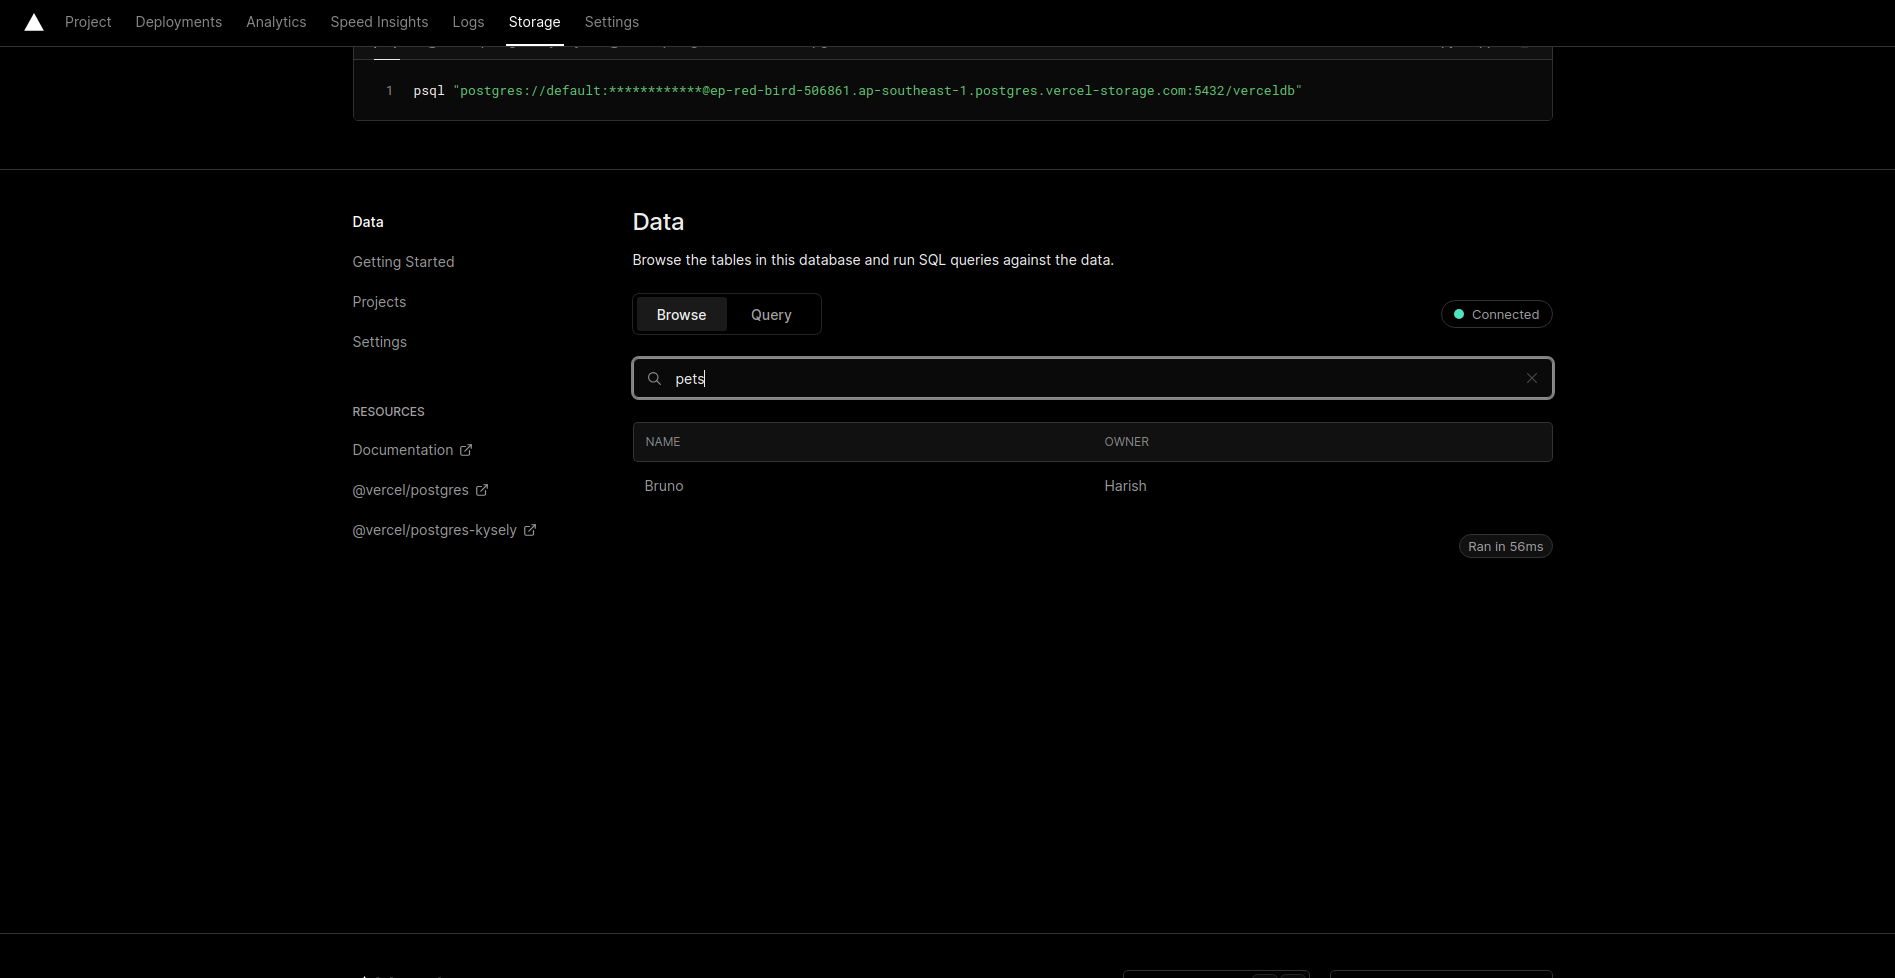
INSERT INTO
  Pets (Name, Owner)
VALUES
  ('Charlie', 'Kannu'),
  ('Nandu', 'Ammu'),
  ('Meenu', 'Ammu'),
  ('Sembha', 'Harish'),
;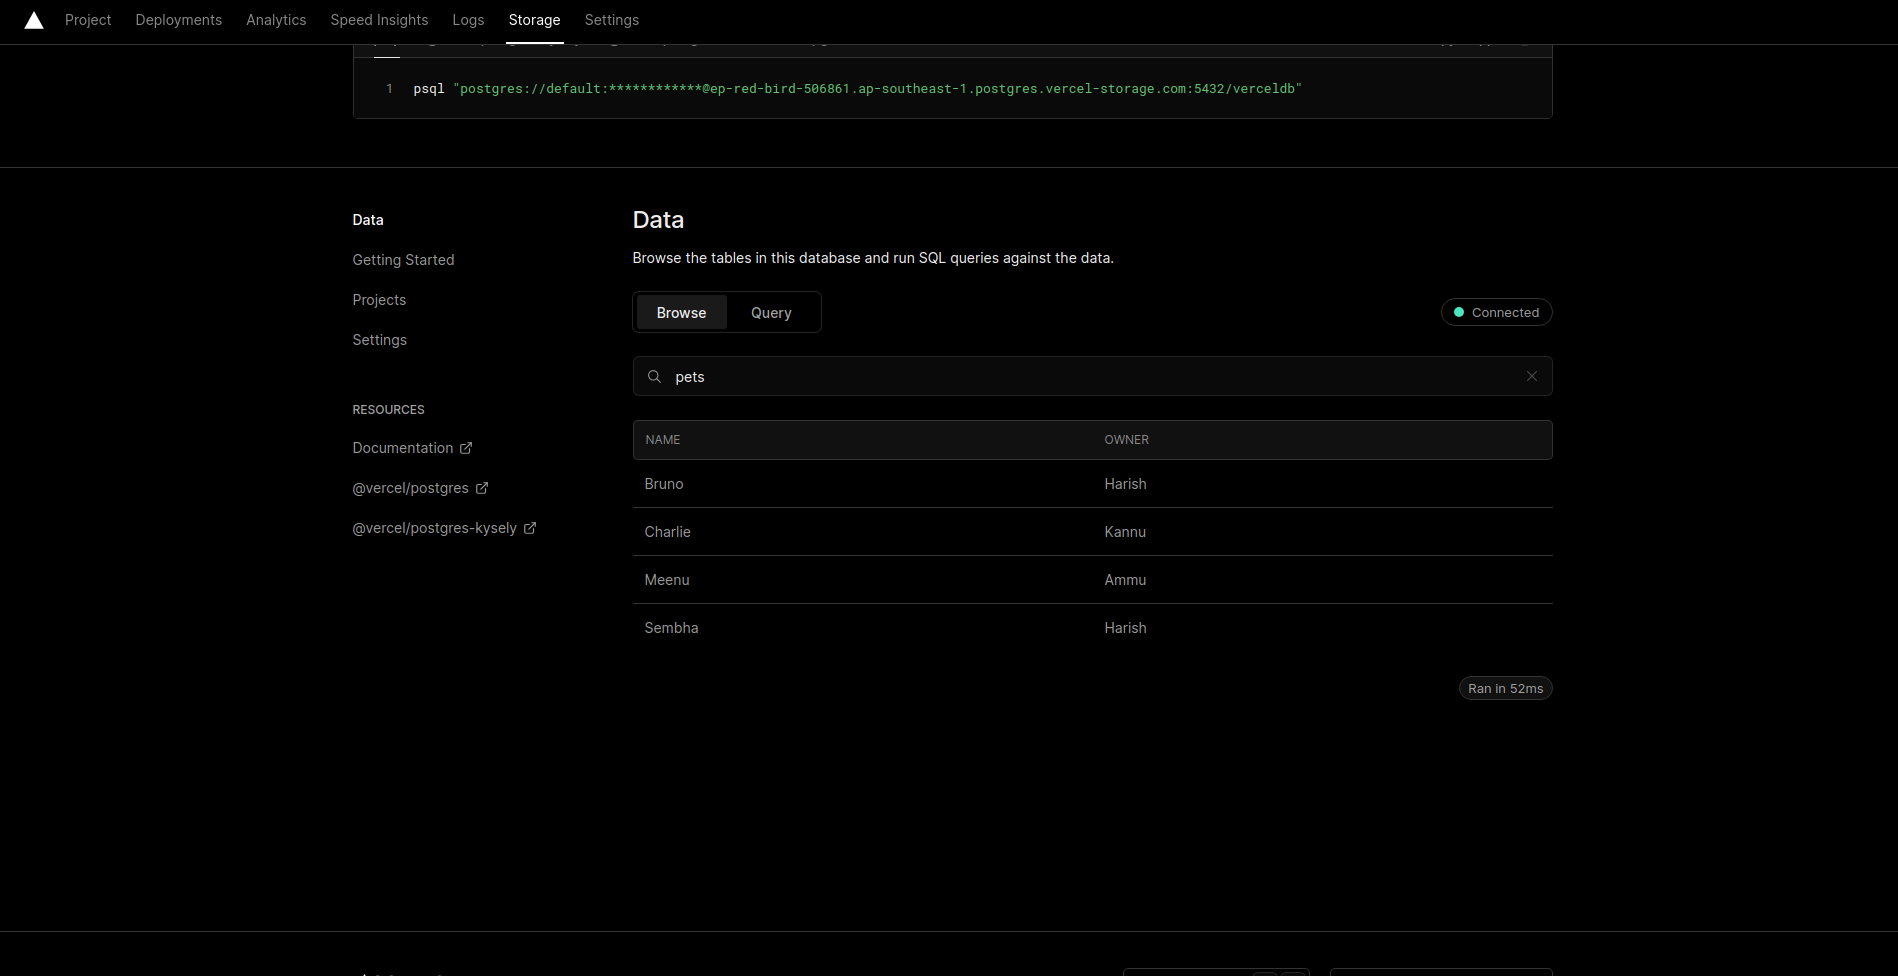
Okayyyy!!! This data is enough for now. We have successfully created our table for Pets and added entries. Let’s move on to set up our project to get data from our database.
Setting up the Next.js Project
Let’s get the URL of our repo from GitHub
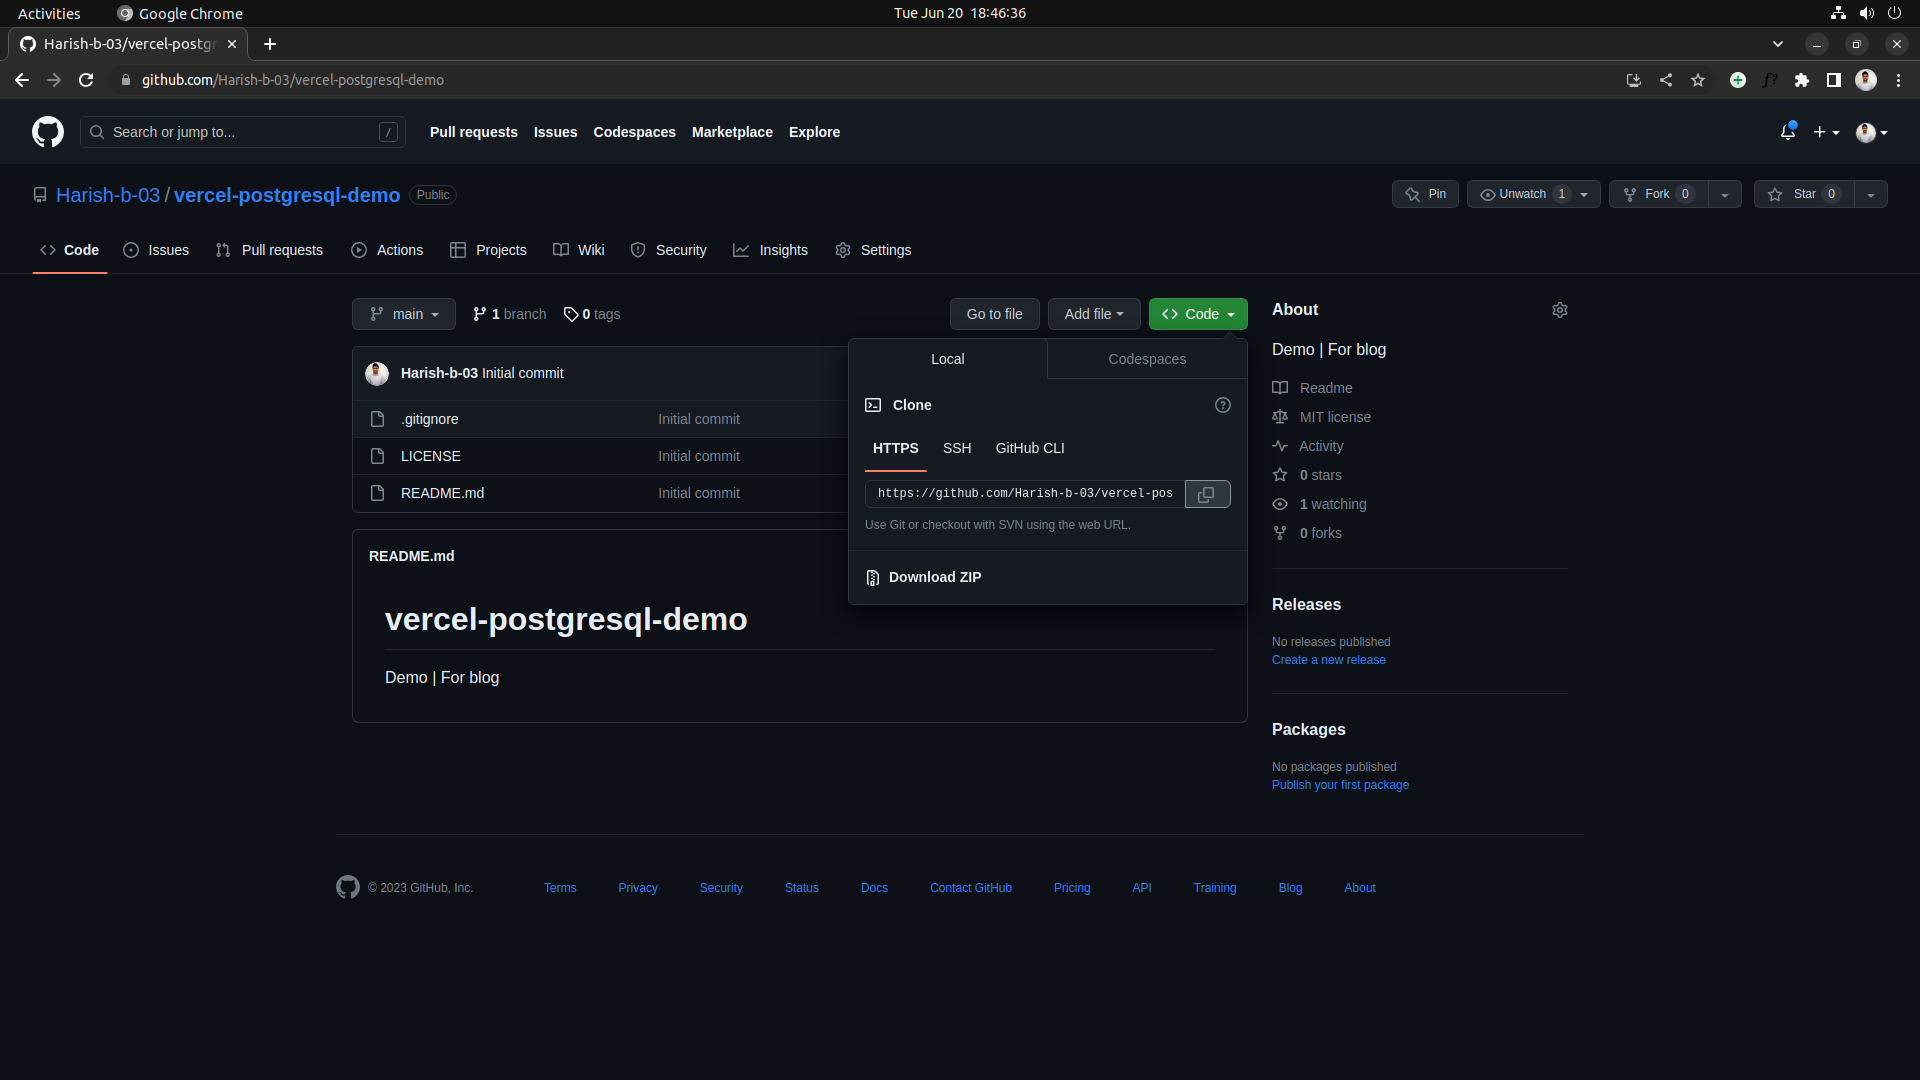
Let’s create a directory in our local machine and clone the git repo.
git clone <REPO_URL>Change the directory, by
cd ./<PROJECT_NAME>Let’s create a NextJS app using
npx create-next-app@latest .Configure the project by choosing the options.
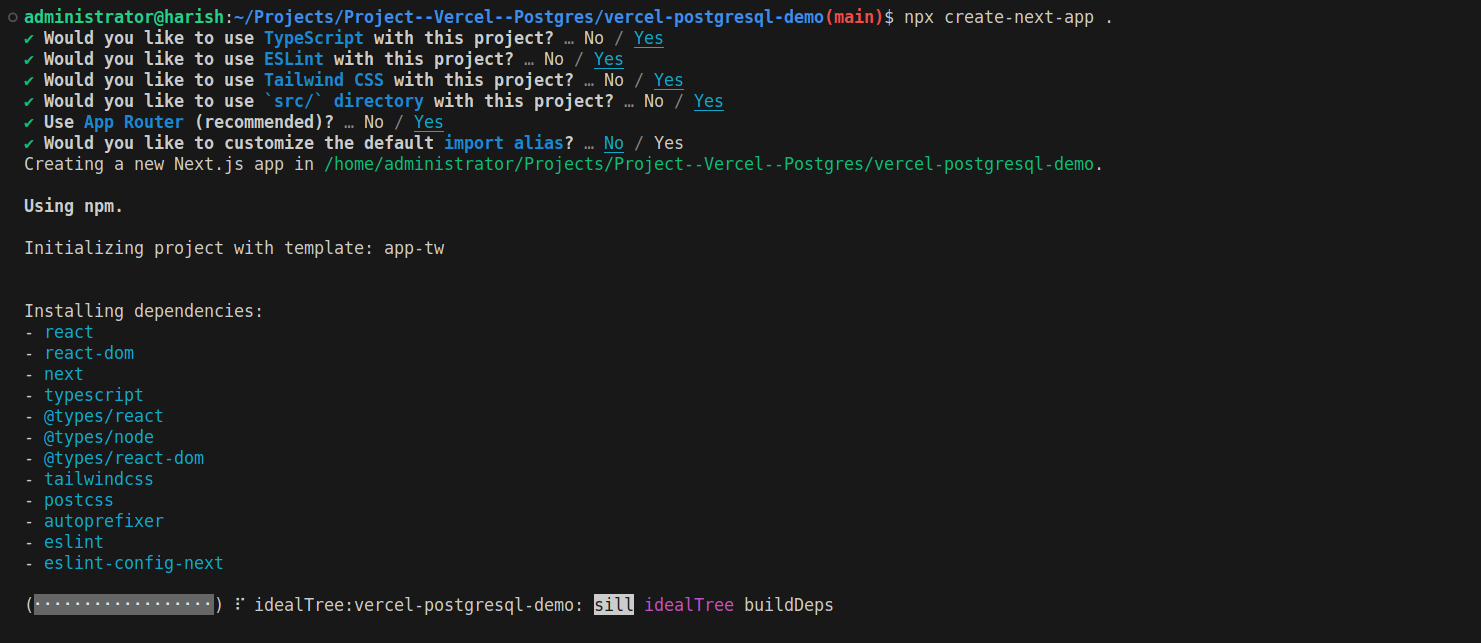
It is absolutely up to you how you want to configure or setup your project.
Note: I am gonna use the latest App Router feature of NextJS 13. If you want to use Page Router feature then select “No” for “Use App Router” while creating the project.
Let’s make our initial commit. Select the “Source Control” in your VSCode and let’s commit our changes with a commit message.
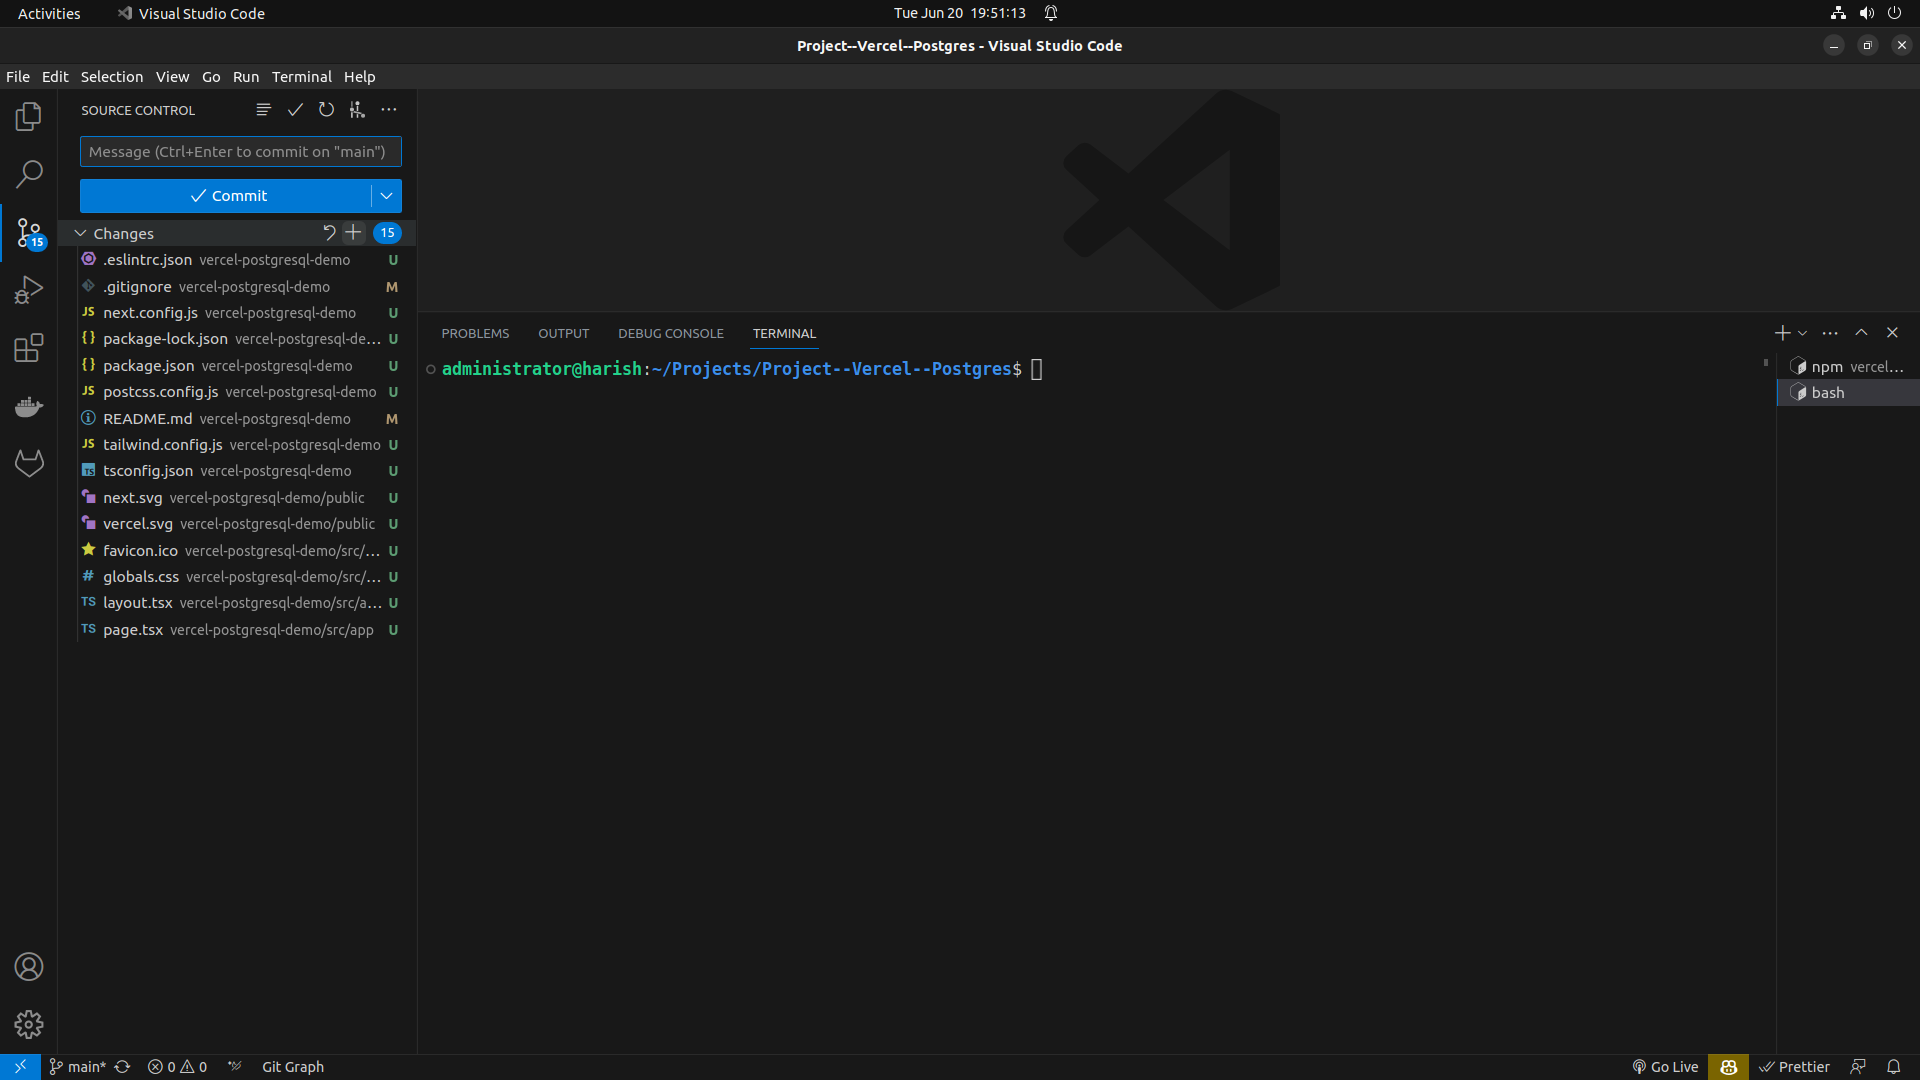
or by
git commit -m "Commit message"Connecting to Vercel
Let’s install the latest version of Vercel CLI
npm i -g vercel@latest
and then install the Vercel Postgres package
npm i @vercel/postgres
vercel linkselect the login method, and get authenticated


- Choose Y for “Set up
<PROJECT_NAME>?“ - Select the scope for our project
- Choose Y for “Link the existing project?”, as we have already created our database and project.
- Enter the name of our Vercel project
Now, we have successfully linked our project to Vercel. When we created our Postgres database, our API URL and credentials were created as environment variables. We’ll need to pull the latest environment variables from Vercel to get our local project working with the Postgres database.
vercel env pull .env.development.local
This should create a .env.development.local file with all environment variables required for our project.
Creating an API endpoint
Let’s create a folder named api inside the app folder. Then, create a folder name get-pets inside api folder and create a file named route.ts inside the get-pets folder.
Let’s write a function (handler) to get data from the Vercel Postgres database.
// app/api/get-pets/route.ts

import { db } from '@vercel/postgres';
import { NextResponse } from 'next/server';

export async function GET() {
  const client = await db.connect();
  let pets;

  try {
    pets = await client.sql`SELECT * FROM Pets;`;
  } catch (error) {
    return NextResponse.json({ error });
  }

  return NextResponse.json({ data: pets });
}
Good To Know: **sql** is a function that translates your query into a native Postgres parametrized query to help prevent SQL injection.
Note: As we have already pulled the env variables from vercel earlier, it will be used here to connect to the database and retrieve data from it.
Soooooo…. our API endpoint is now ready and we create a simple home page and calls this internal NextJS API to get our data.
Calling the Internal API
Let’s create an async function to call our internal API and call this function from an useEffect hook. To check, we can console log the data returned to us.
  const getData = async () => {
    await fetch('/api/get-pets')
    .then( res => res.json() )
    .then( data => {
      console.log(data.data.rows);
    })
    .catch( err => console.log(err) )
    .finally( () => {
      setLoading(false);
    })
  }
Let’s add an useEffect block to call this function whenever this component is rendered.
  useEffect(() => {
    getData();
  }, [])
And, we can remove all the content inside the return block expect <main></main> . So, now our home page will be like:
"use client"

// app/page.tsx

import { useEffect, useState } from "react"

export default function Home() {

  const getData = async () => {
    await fetch('/api/get-pets')
    .then( res => res.json() )
    .then( data => {
      console.log(data.data.rows);
    })
    .catch( err => console.log(err) )
    .finally( () => {
      // set loading to false
    })
  }

  useEffect(() => {
    getData();
  }, [])

  return (
    <main>
    </main>
  )
}
Note: We have to use "use client" in the component, as we have used useEffect hook and we will be using useState hook later. By default, all parent components (am referring to the components that are at the top-level or not inside any client component) are server components where we cannot use hooks.
Then, run
npm run devOpen up a browser and type localhost:3000, we can see our app is running (blank screen without any error messages, as we have not completed our home page).
Let’s open the console.
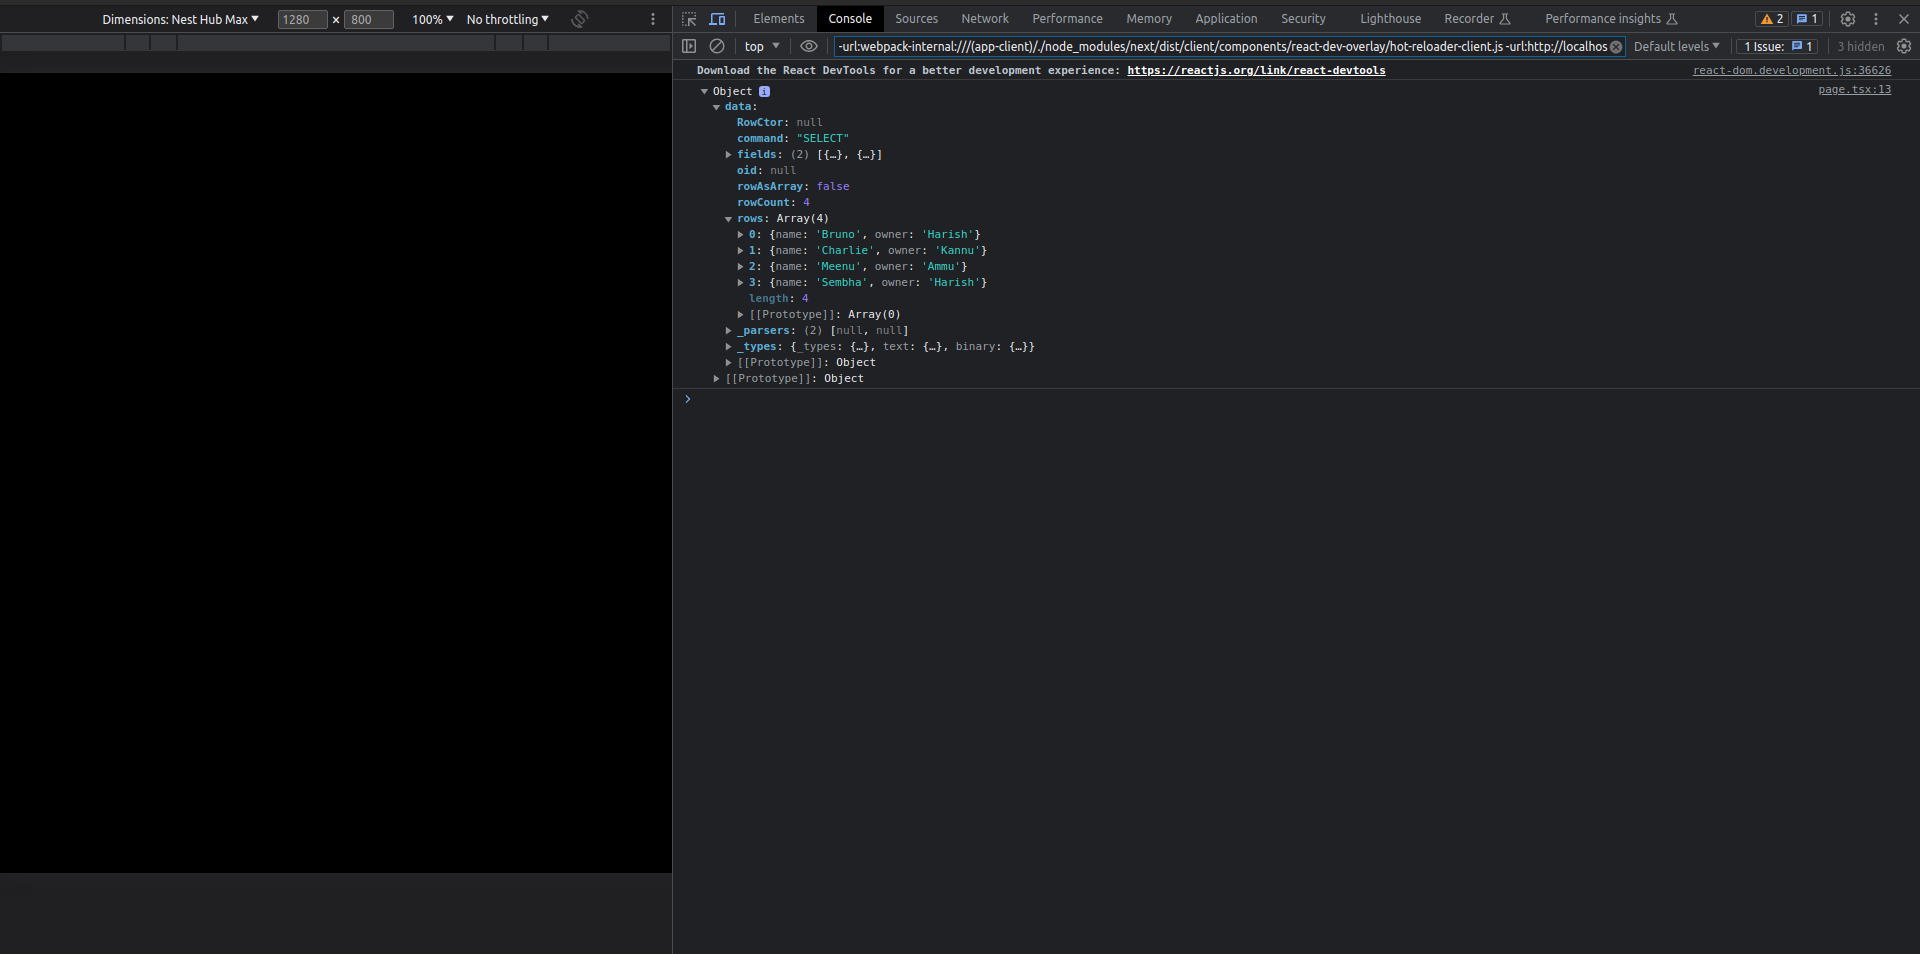
It’s working perfectly, as the data is being displayed in the console. So, let’s save the data in a state variable.
  // Modified getData function

  const [pets, setPets] = useState([]);
  const [loading, setLoading] = useState(true);

  const getData = async () => {
    await fetch('/api/get-pets')
    .then( res => res.json() )
    .then( data => {
      setPets(data.data.rows);
    })
    .catch( err => console.log(err) )
    .finally( () => {
      setLoading(false);
    })
  }

  useEffect(() => {
    getData();
  }, [])
Let’s render our data.
<main className="h-screen flex justify-center items-center">
  {
    loading?
      <div>
        Getting data from Vercel Postgres database...
      </div>
    :
      <div className="w-fit flex flex-col justify-center items-center">
        <table className=" border border-white">
          <thead className="font-semibold text-xl">
            <tr className="">
              <td>
                Name
              </td>
              <td>
                Owner
              </td>
            </tr>
          </thead>
          {
            (pets.length > 0)?
            <tbody>
              {
                pets.map((pet:any, index) => (
                  <tr>
                    <td>
                      {pet.name}
                    </td>
                    <td>
                      {pet.owner}
                    </td>
                  </tr>
                ))
              }
            </tbody>
            :
            <tbody>
              No data available
            </tbody>
          }
        </table>
        <div className="mt-10 text-xs ">
          data received from Vercel Postgres
        </div>
      </div>
  }
</main>
Here is how it looks when loading:
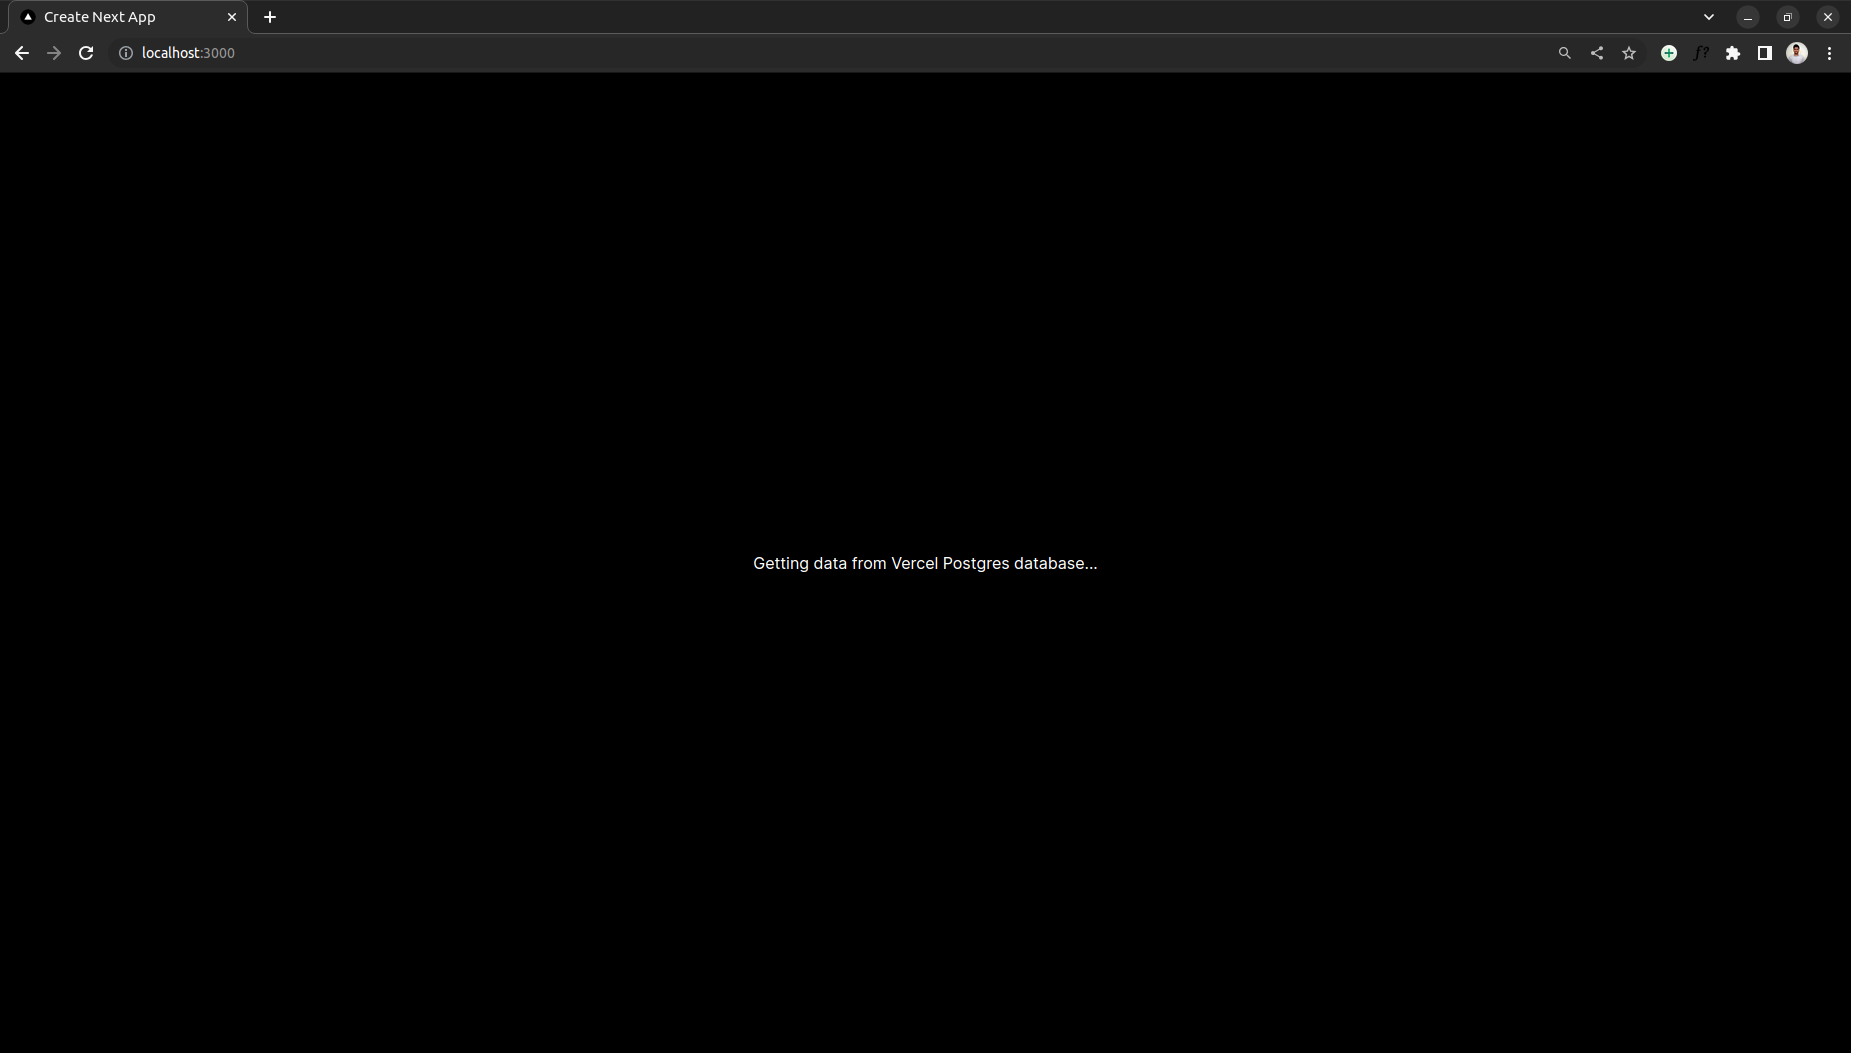
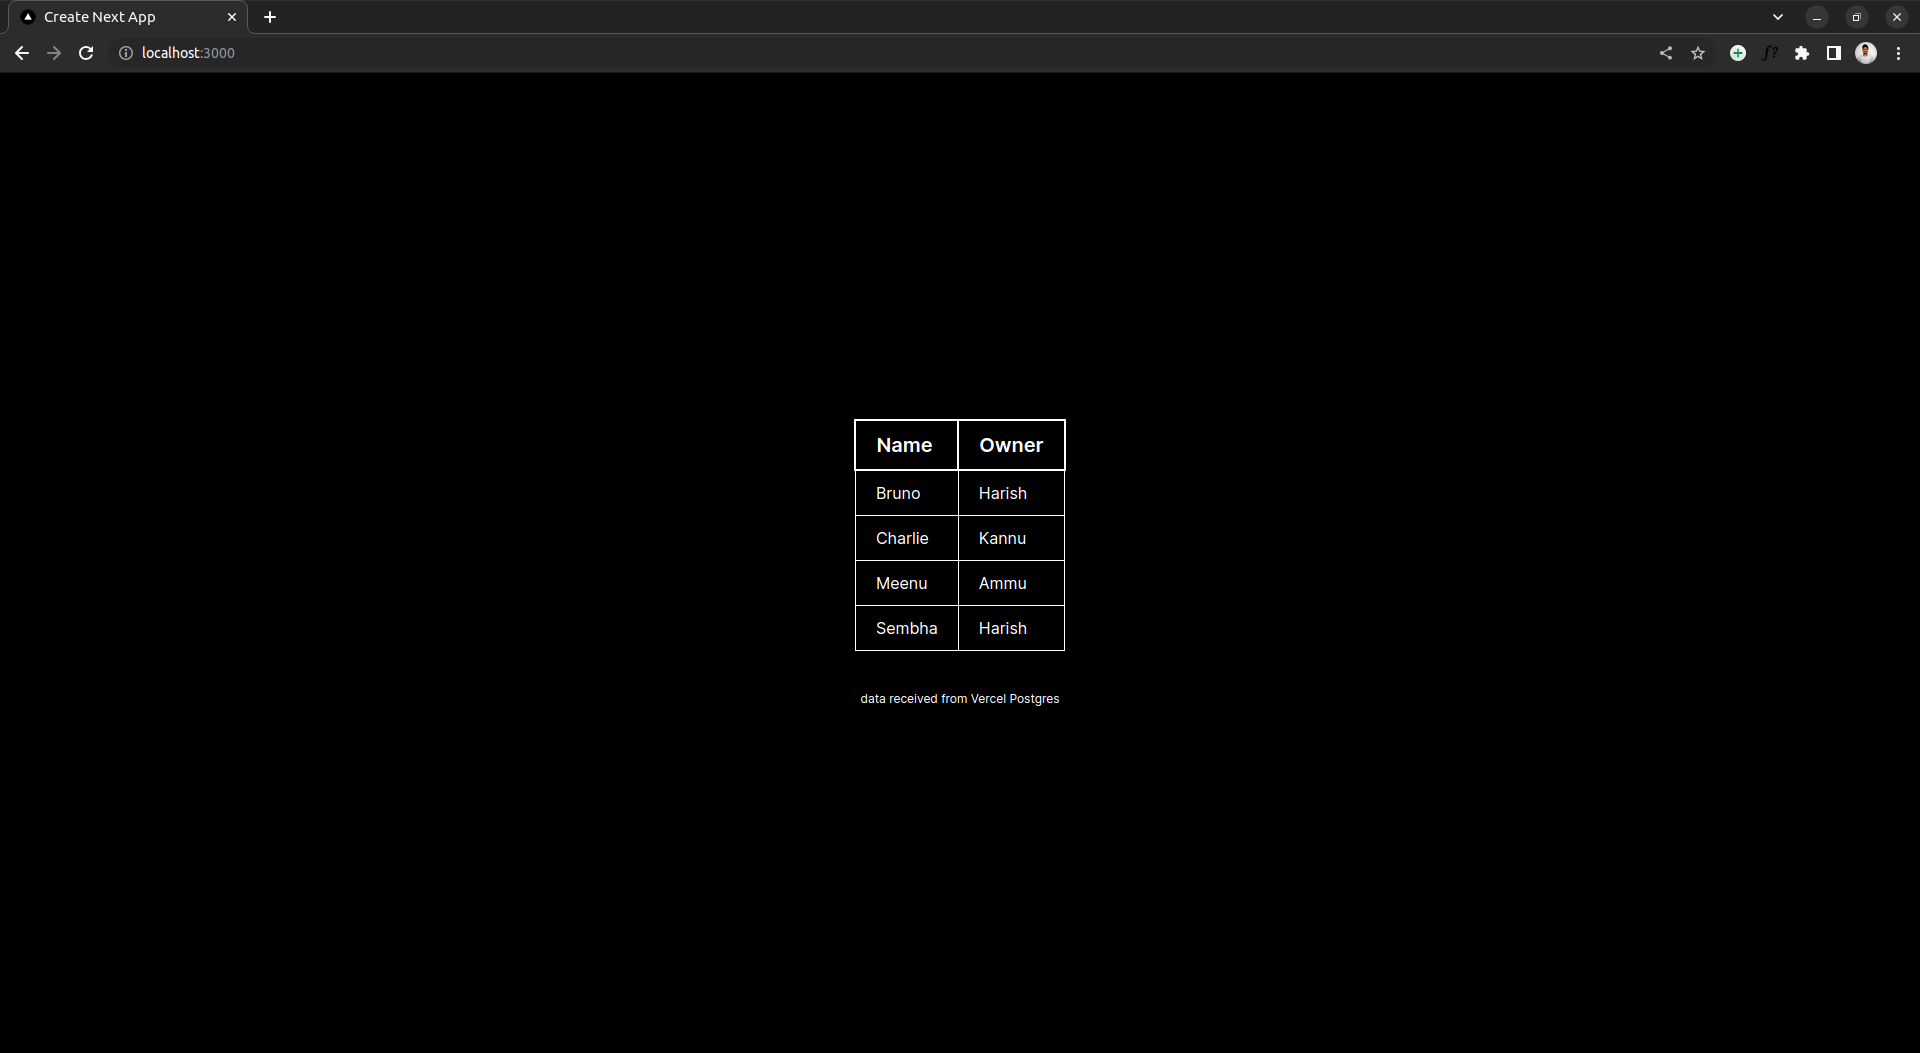
Here is how it looks when it is loaded:
Here is the final page.tsx
"use client"
import { useEffect, useState } from "react"

export default function Home() {
  const [pets, setPets] = useState([]);
  const [loading, setLoading] = useState(true);

  const getData = async () => {
    await fetch('/api/get-pets')
    .then( res => res.json() )
    .then( data => {
      setPets(data.data.rows);
      console.log(data.data.rows);
    })
    .catch( err => console.log(err) )
    .finally( () => {
      setLoading(false);
    })
  }

  useEffect(() => {
    getData();
  }, [])

  return (
    <main className="h-screen flex justify-center items-center">
      {
        loading?
          <div>
            Getting data from Vercel Postgres database...
          </div>
        :
          <div className="w-fit flex flex-col justify-center items-center">
            <table className=" border border-white">
              <thead className="font-semibold text-xl">
                <tr className="">
                  <td>
                    Name
                  </td>
                  <td>
                    Owner
                  </td>
                </tr>
              </thead>
              {
                (pets.length > 0)?
                <tbody>
                  {
                    pets.map((pet:any, index) => (
                      <tr>
                        <td>
                          {pet.name}
                        </td>
                        <td>
                          {pet.owner}
                        </td>
                      </tr>
                    ))
                  }
                </tbody>
                :
                <tbody>
                  No data available
                </tbody>
              }
            </table>
            <div className="mt-10 text-xs ">
              data received from Vercel Postgres
            </div>
          </div>
      }
    </main>
  )
}
Wrapping up
Yay!!! We have completed our objective of exploring Vercel Postgres database.

Here is our final home page.
Feel free to check the whole project on GitHub.
I hope you have enjoyed working on this project as much as I did. Please let me know your comments and suggestions.