Read with Claude
 Read with ChatGPT
NextJS app deployed on Amazon EC2
Hola readers!!! Vanakkam Makkale!!!
In this blog, we’ll explore the process of deploying Next.js on EC2, giving us full control over our hosting environment.
While platforms like Vercel and Netlify offer convenience and simplicity, they do have their limitations. By hosting on EC2, we will gain the power to customize our server environment, optimize performance, and even reduce costs in the long run. So grab a cup of coffee, sit back, and get ready to unleash the power of Next.js on EC2. Let’s dive in! 😁
Prerequisites
We will need the following things:
- AWS Account, use this documentation to create one.
- Administrative user (optional but a good practice), use this documentation to setup one.
Note: As long as you have created your AWS account less than 12 months ago, and have not already exceeded the free tier benefits for Amazon EC2, it won’t cost us anything to complete this tutorial because we will be selecting options that are within the free tier benefits. Otherwise, you’ll incur the standard Amazon EC2 usage fees from the time that you launch the instance until you terminate the instance (which is the final task of this tutorial), even if it remains idle.
Setting up EC2 instance
Let’s open AWS Console in the browser and search for “EC2”, this will take us to EC2 Dashboard.
Click on “Instances” in the sidebar. We will be served a page similar to this:
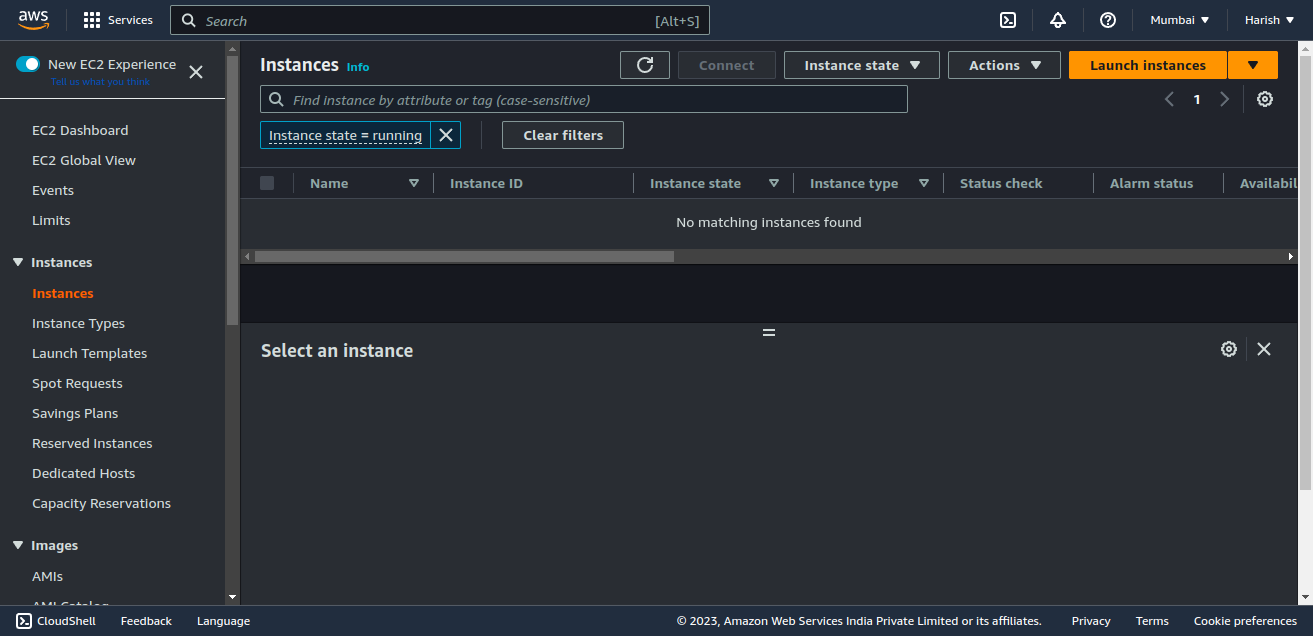
Note: AWS keeps on updating their UI (Console) so there might be differences on how we get to the EC2 Dashboard or Instances page 🙂.
Step 1
Click on “Launch Instances” button.
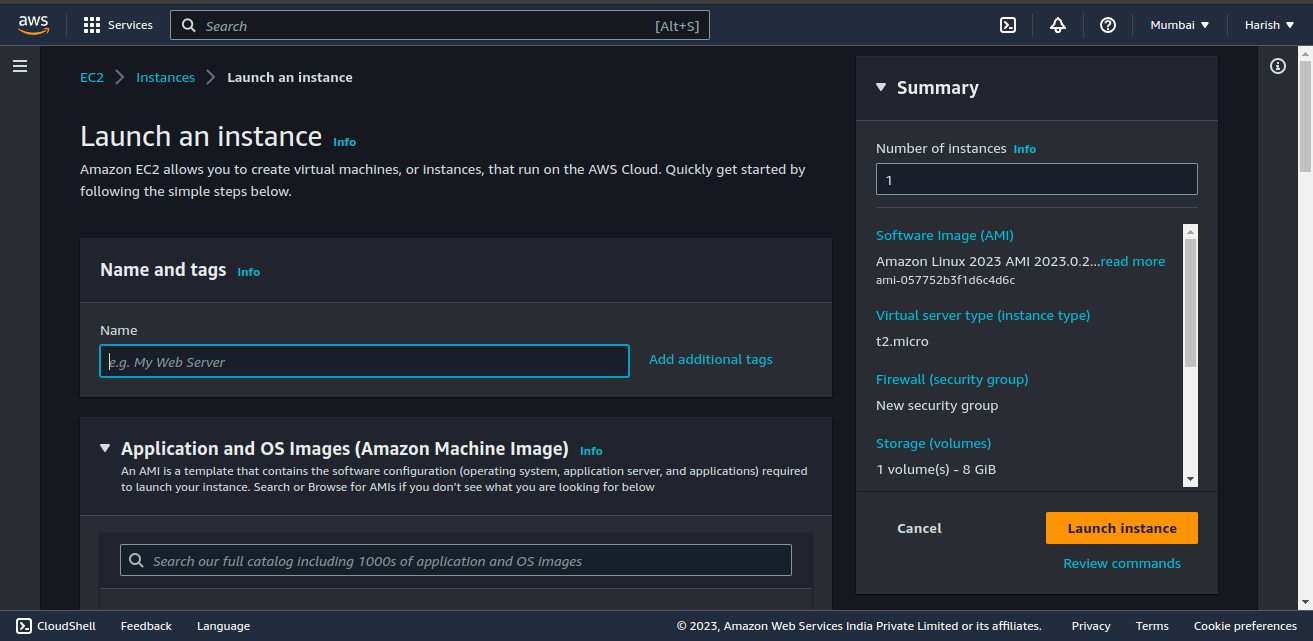
Step 2
Let’s give a name for our server like as simple as “NextJS App Server”. Tags will help us to identify the specific server, especially when we have more than one instance running.
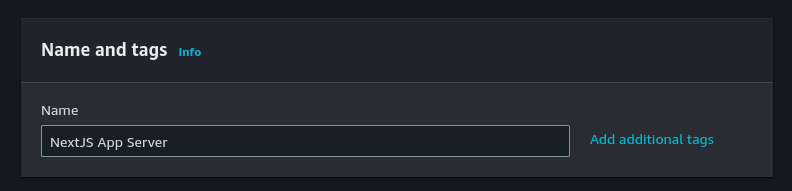
Step 3
Select an AMI (Amazon Machine Image) . We will be using Ubuntu Server 22.04 LTS AMI for this blog and it is eligible for free tier usage 😉.
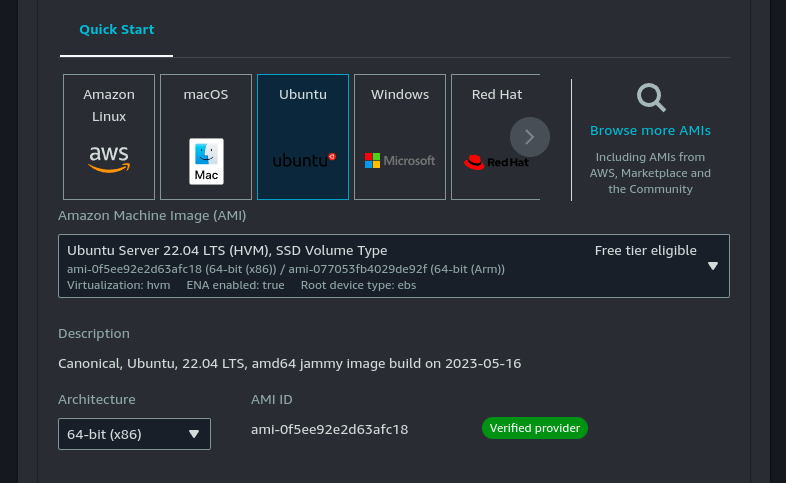
Basically, an AMI (Amazon Machine Image) is a pre-configured template that contains the necessary software, operating system, and configurations required to launch an instance (virtual server) on AWS. Think of an AMI as a snapshot of a specific server setup, including the operating system, applications, and any additional software that is needed. AMIs are the foundation for creating EC2 instances and provide a quick and efficient way to replicate and deploy server environments.
The Ubuntu image gives us the vanilla version of the OS, allowing us to install the dependencies we require.
Step 4
Select “t2.micro” as our Instance Type, which also comes under free tier 😉.
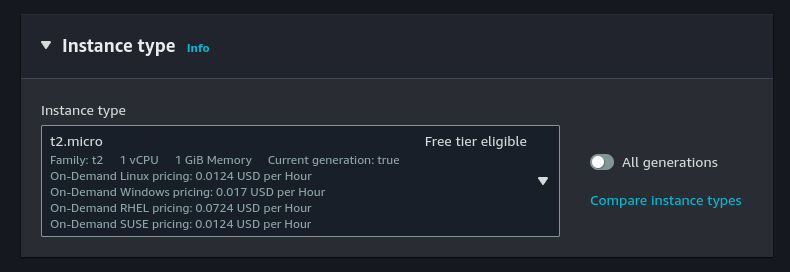
We can choose difference Instance type depending on our hardware requirements. In a nutshell, we have to choose bigger or advanced Instance type for more compute power.
Step 5
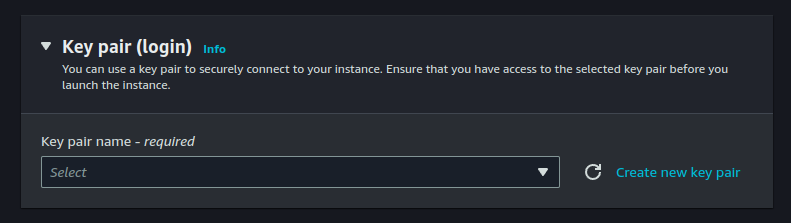
EC2 instance requires a key-pair to connect to it through SSH. If you already have a key-pair then choose it and move to step 7 or click on the “Create new key pair” button.
Step 6
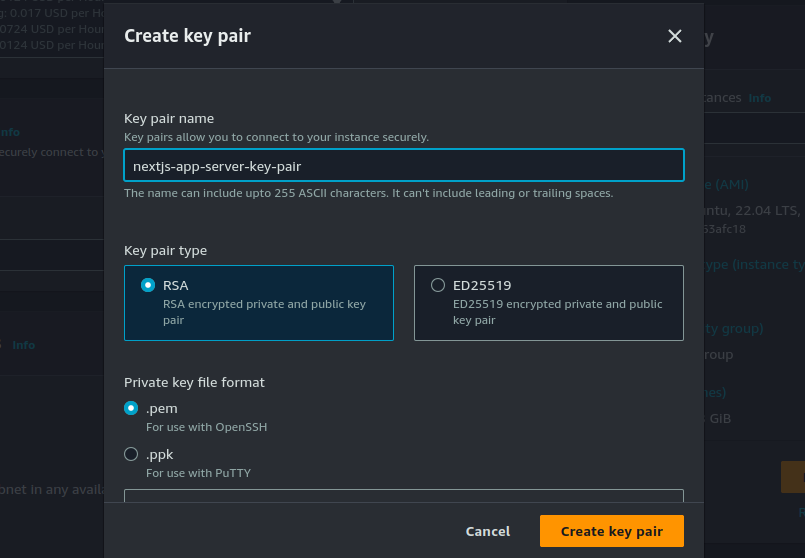
Give a name to the key-pair and we can use default options for other fields. Click on “Create key pair” and it will automatically download the .pem file. Then, choose the newly created key-pair for our EC2 instance.
Step 7
Let us use the default Network settings, that is Default VPC and other options.
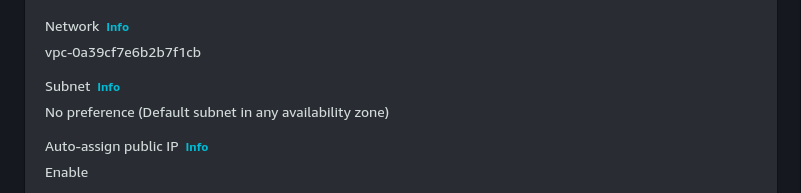
Please use this documentation, to learn more about VPC.
Step 8
We can create a new Security Group for our instance or if you have one, feel free to use it. So, select the “Create security group” option and then check the “Allow SSH traffic from anywhere” and “Allow HTTP traffic from the internet”. Most probably we will use this instance as a web server so it does make sense to have HTTP requested allowed to our instance. If you have SSL certificate then you check the “Allow HTTPS traffic from the internet”.
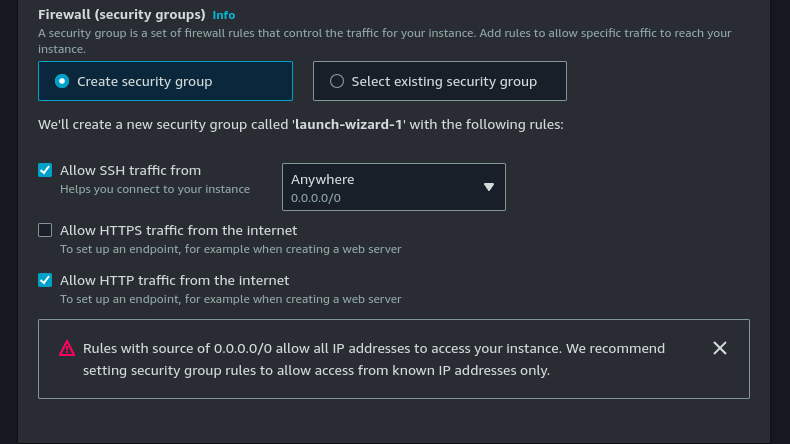
Security Groups are like firewall for our instances in AWS. It is important to note that if you allow a specific protocol, then by default all other protocol or requests from any other IP address which is not specified in the rule will be denied.
Step 9
Again, let’s use the default options for our storage, that is 8GB GP2 root volume.
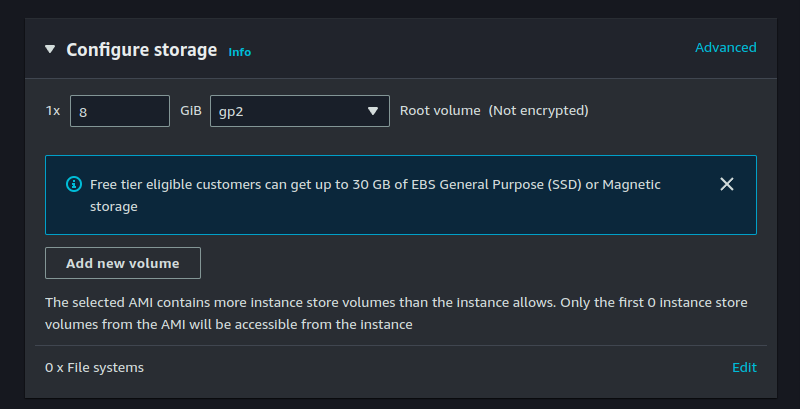
EC2 instances will, by default, have root volumes which cannot be changed once created but can be replaced by a new volume (technically, we can detach a root volume but the instance will not run without a root volume attached to it).
Step 10
Check the summary and click on “Launch instance”.
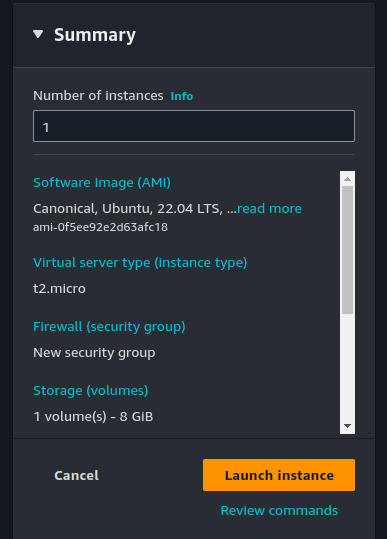
Take a sip of your coffee ☕ while AWS is launching our instance.
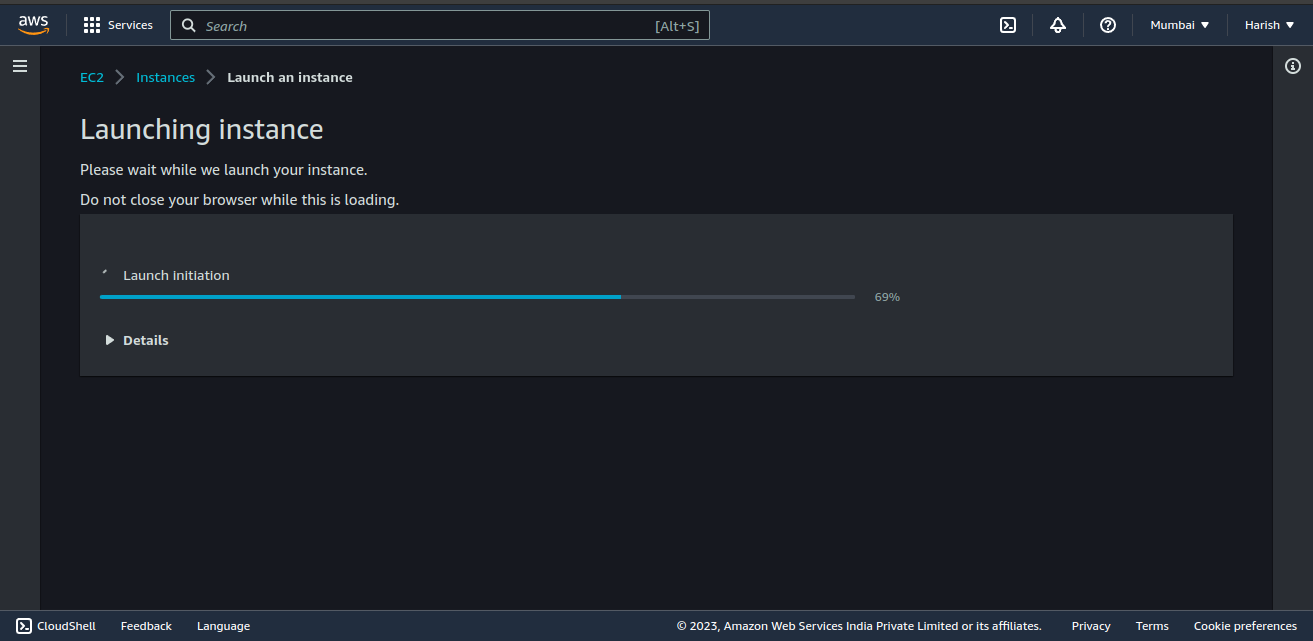
Successs!!! Our instance was initiated successfully.

Initially, our newly created instance will be in “Pending” state for few seconds.
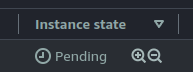
And if the instance state changes to “Running”, then we can start to use the instance.
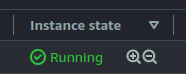
After launching an instance, it will be listed in our “Instances” page.
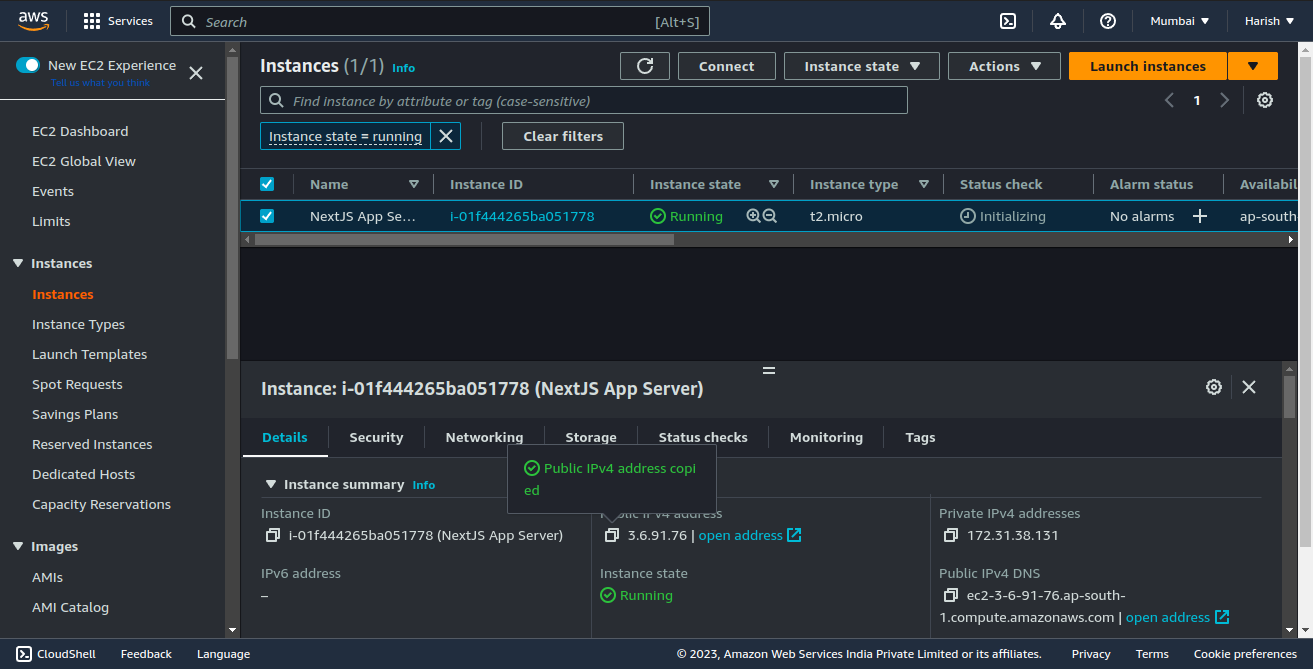
Our instance will be assigned a Public IPv4 address by AWS, which we will be using to access/connect to the EC2 instance.
Note: Please note that the Public IP address (allocated by AWS) will be changed when we restart the instance unless we implement any technique to maintain/use the same IP address like elastic IP.
Connect to the instance
Let’s connect to the instance from our local machine.
I am using Ubuntu OS in my local machine, so if you are using Linux or MacOS these steps will be the same, but if you are using window or facing any difficulty in connecting, please feel free to drop a comment or refer this documentation.
let’s open a terminal in the same directory, where we have downloaded or saved the key-pair (.pem) file.
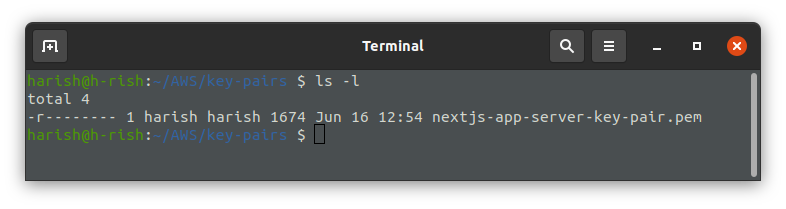
For SSH connections, we must set the permissions of the key-pair (.pem) file so that only we can read the file. To see the permissions of the file, use:
ls -l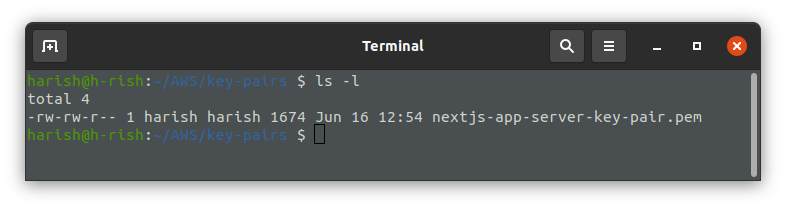
Change the permission of the file to 400 (read permission only to the user), by using: chmod 400 <KEY_PAIR_NAME>.pem
chmod 400 ./nextjs-app-server-key-pair.pemNow, we have changed the permissions of the key-pair (.pem) file.
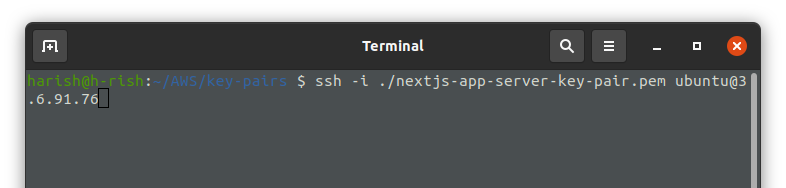
We can connect to our instance using instance’s Public DNS name or IPv6 address or IPv4 address. (AWS documentation mentioned to use either Public DNS or IPv6 address, but now I will be using IPv4 address. It is absolutely your choice of using any of these things).
Use the following command to connect to the instance using
Public IPv6 address:
ssh -i /path/key-pair-name.pem instance-user-name@instance-IPv6-addressor
Public DNS name:
ssh -i /path/key-pair-name.pem instance-user-name@instance-public-dns-nameor
Public IPv4 address:
ssh -i /path/key-pair-name.pem instance-user-name@instance-public-IPv4-addressThe default username for Ubuntu AMIs is “ubuntu”, so let’s use it.
Check out the default usernames for other AMIs here. While connecting to the server using the username and IP is the norm, you can setup a custom host name to quickly connect by following this article:
How to SSH to a remote server with a custom Host name (ssh coffeed)?
Once you ssh into the server, you will be greeted by the following message:
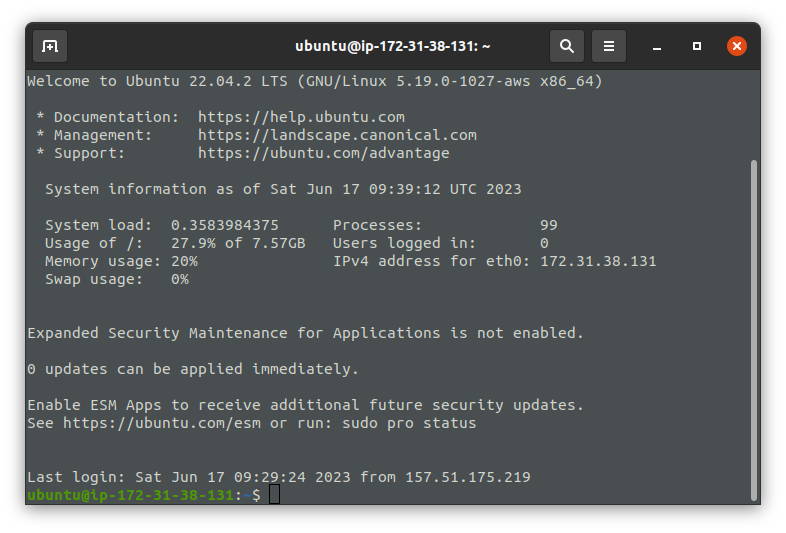
Now, we can see that we have connected to the instance as our terminal shows the username and private IP address of the instance.

Always it is a good practice to update our system or server, so let’s do it right away.
sudo apt update && sudo apt upgradeDeploying NextJS App on EC2
Ufffff!!!!😮💨 It was a long procedure to create an EC2 instance.
Let’s move on to creating a Next.js project and deploying it.
Connect to the instance and change to root user, by
sudo suSetting up the requirements
Next.js requires a node server. For our case, let’s install nvm, for managing node versions, by using
curl -o- https://raw.githubusercontent.com/nvm-sh/nvm/v0.37.2/install.sh | bashClose and reopen your ssh connection to start using nvm
or
activate nvm, by
. ~/.nvm/nvm.shThen, let’s install node using nvm
nvm install nodecheck if it is installed properly, by
node -v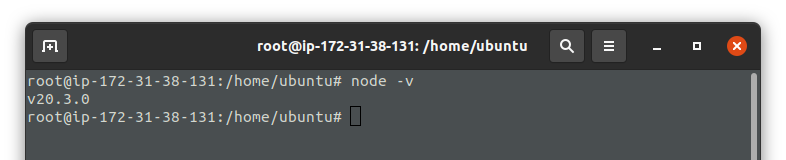
nvm install v16

nvm use v16
By default, node comes with npm, so there is no need to install it separately. To check the version of npm, use
npm -vLet’s install PM2, using
npm i -g pm2PM2 is a process manager for the JavaScript runtime Node.js, we will discuss why we are using this tool in the later half of this section.
Then we can install our web server, Nginx.
sudo apt install nginxAfter installing nginx on ubuntu, by default, the service will be running in the background.
To check if it is working,
— Take note of the public IPv4 address of our instance
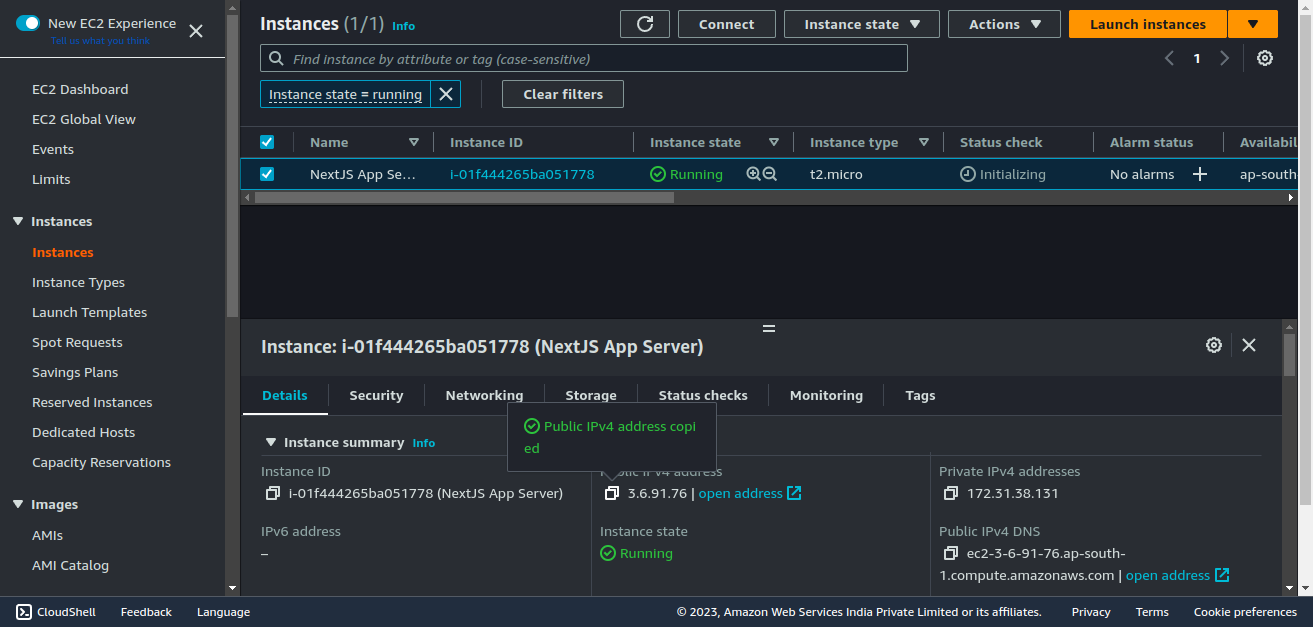
— Open a browser and type “https://<Public_IP_address>”

Note: We cannot use https request as the security group of our instance was configured not to allow this request.
If we get the Nginx home page, then the web server is ready to be configured.
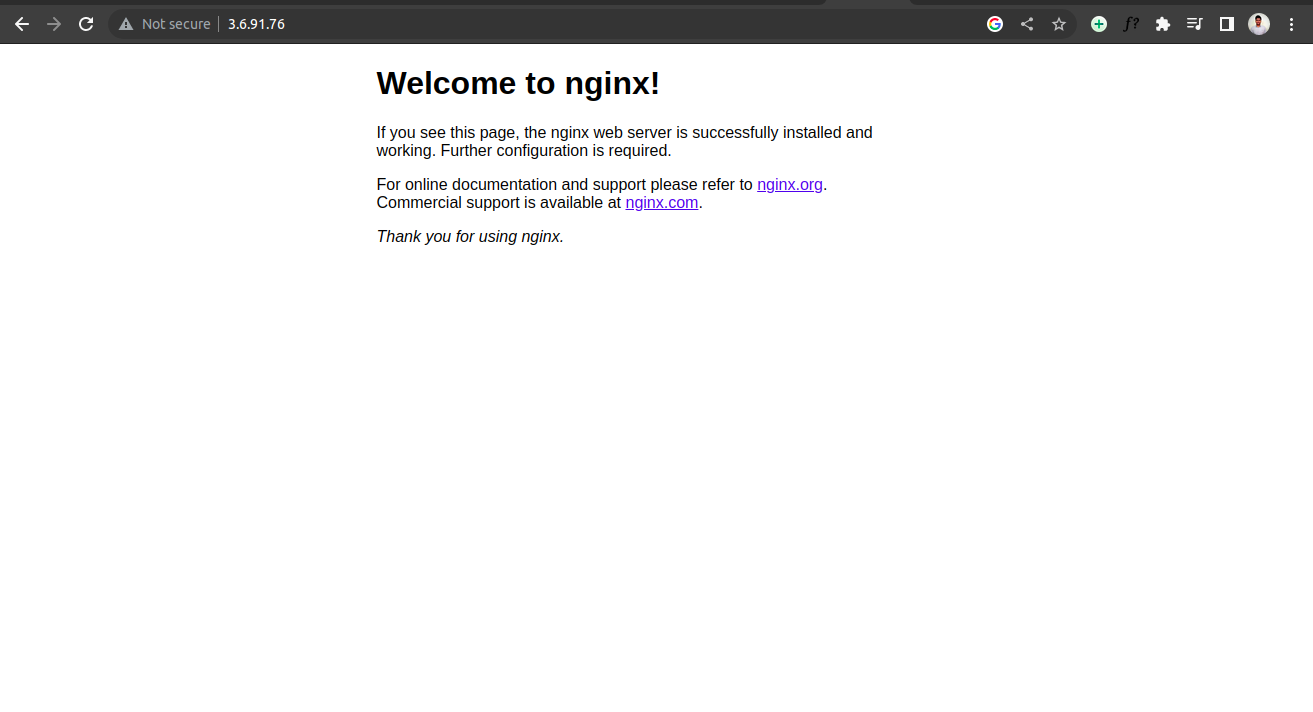
Setting up a new project
Change the directory to “/var/www”
cd /var/www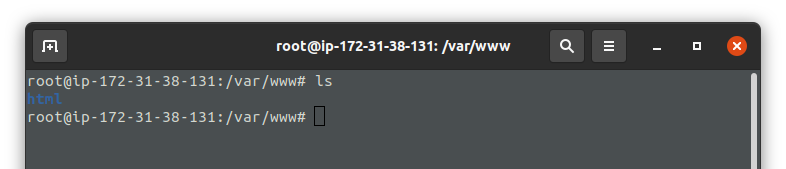
After using “ls” command in the directory we can see a html file, which is the default home page for Nginx.
Now, let’s create a next project, using
sudo npx create-next-app@latest <Project_name>
(no need to use sudo keyword if we are using the root user)
sudo npx create-next-app@latest next-projectConfigure the project by choosing the options.
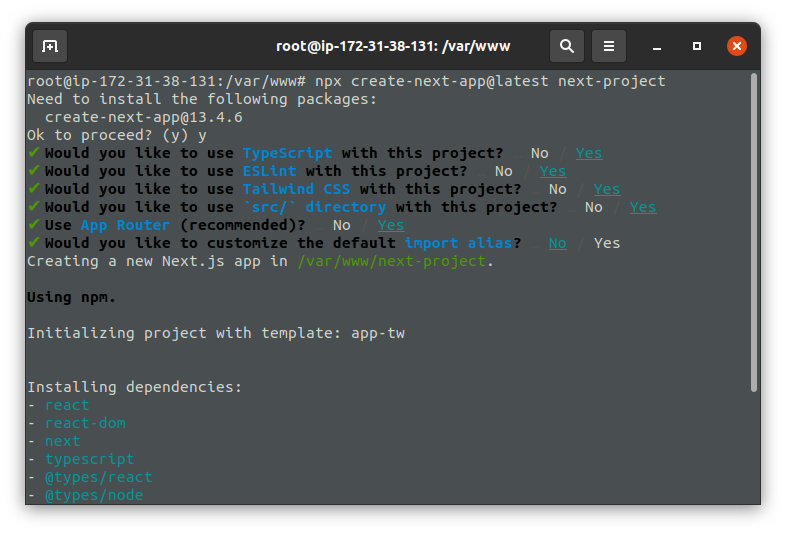
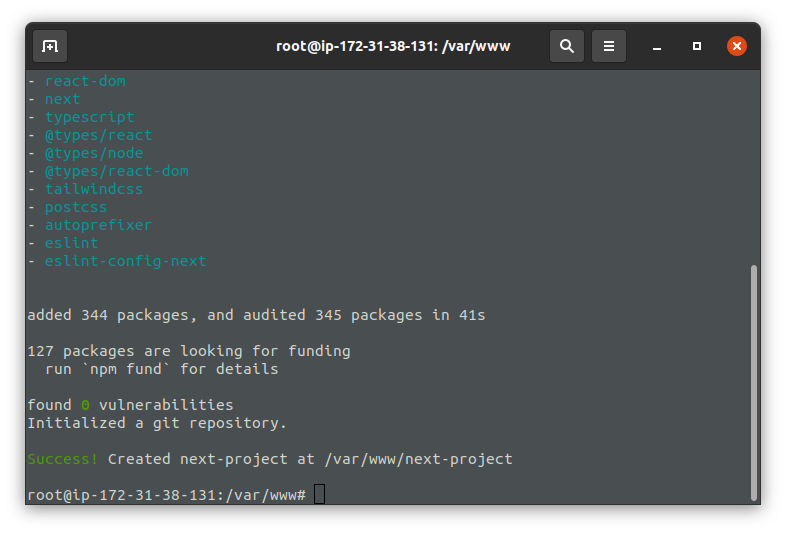
Instead of creating a new project, we can also clone it from a repository after installing git.
Using “ls”, we can see that the new project was created.

Change the directory to our project, by using cd ./<Project-name>
cd next-projectand let’s install all the dependencies (this is not necessary for newly created project but this is required if you are cloning your poject from GitHub or other platforms)
npm installLet’s build our project
npm run build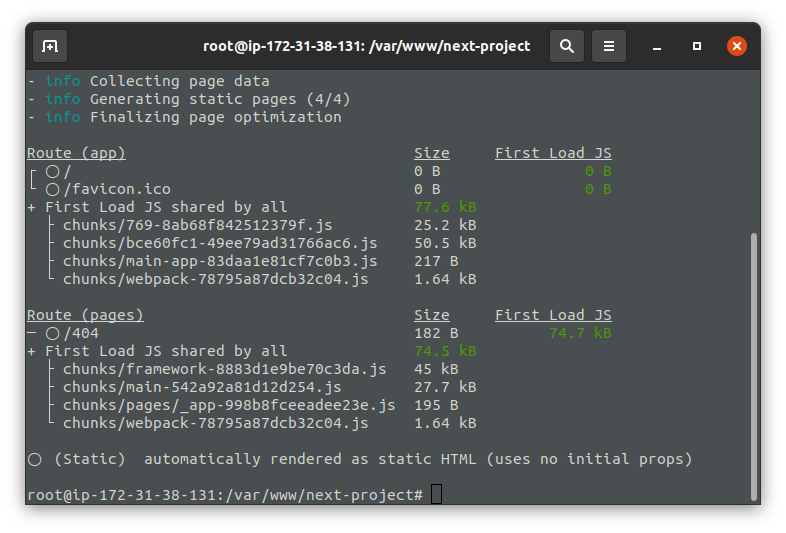
We will use a tool called PM2 to make sure that our Next.js application is always running. PM2 will even restart the Next.js application if it goes down. Start the Next.js application using PM2:
pm2 start npm --name "next-project" -- run devor
pm2 start npm --name "next-project" -- startThis command will start the Next.js application with the name “nextjs” using the npm run dev or npm start command. PM2 will automatically restart the application if it crashes or if the server reboots.
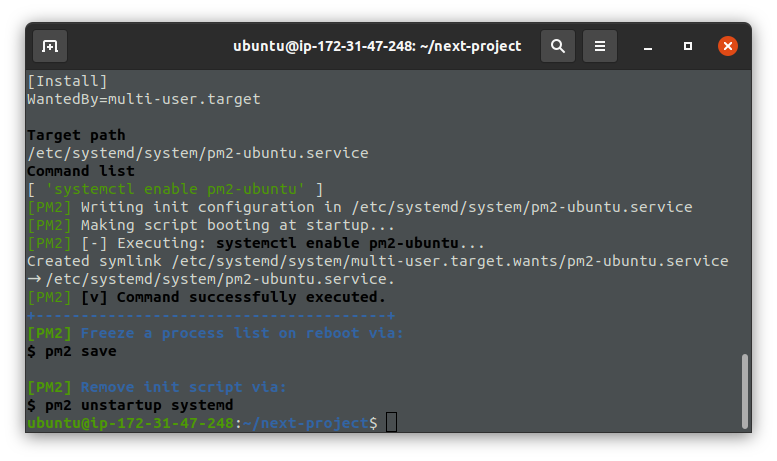
To ensure PM2 starts on boot, run:
pm2 startupThis command will generate a script that you can copy and paste into your terminal to enable PM2 to start on boot, like this
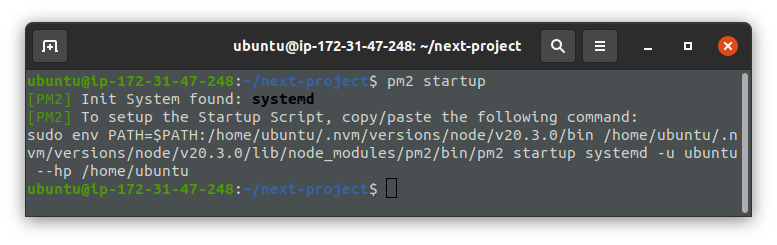
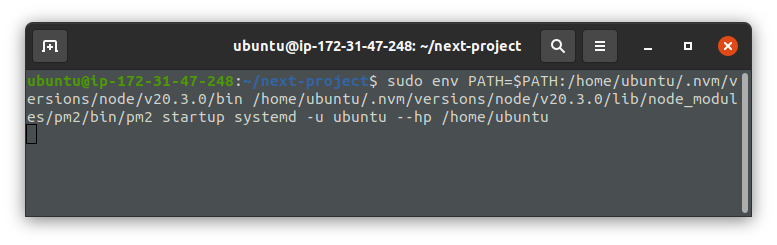
Save the current PM2 processes:
pm2 save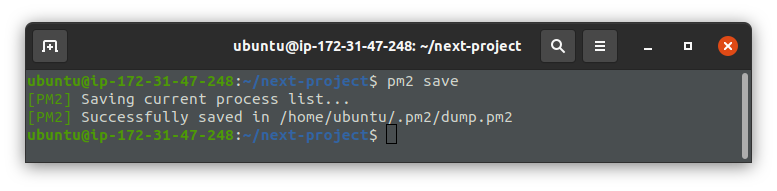
Configure Nginx Server
Now, our NextJS app is running and now we have to point the Nginx server to our NextJS app (Node server).
Lets change our directory, by using
cd /etc/nginx/sites-availableWe can see there is a default site in the directory which is the default home page for Nginx server.

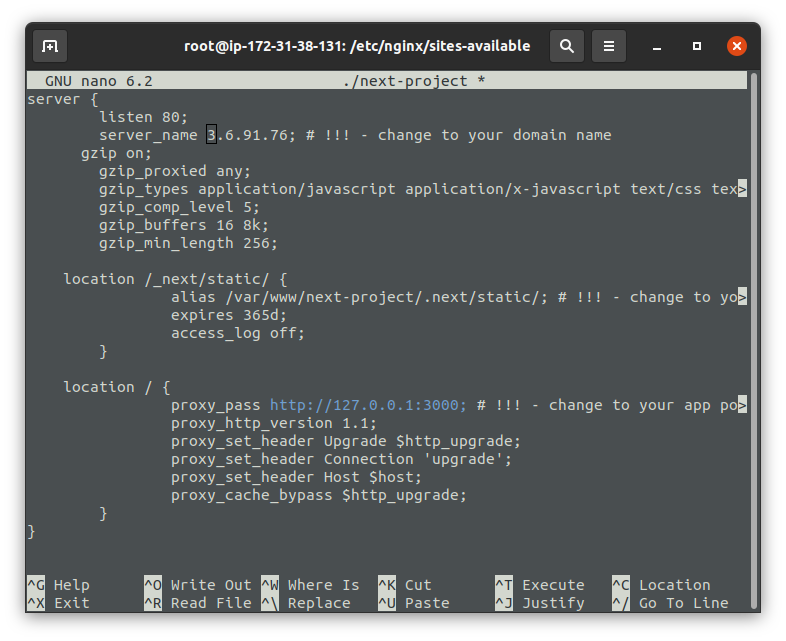
sudo nano ./next-projectCopy and paste the below code into the newly created file and change the values server_name, proxy_pass (NextJS app port — like http://localhost:3000) and the location path.
server {
    listen 80;
    server_name <IP_ADDRESS>; # Change to your IP adress or domain name
    gzip on;
    gzip_proxied any;
    gzip_types application/javascript application/x-javascript text/css text/javascript;
    gzip_comp_level 5;
    gzip_buffers 16 8k;
    gzip_min_length 256;

    location /_next/static/ {
        alias /var/www/<FOLDER_NAME>/.next/static/; # Change to your app name
        expires 365d;
        access_log off;
    }

    location / {
        proxy_pass http://127.0.0.1:3000; # Change to your app port
        proxy_http_version 1.1;
        proxy_set_header Upgrade $http_upgrade;
        proxy_set_header Connection 'upgrade';
        proxy_set_header Host $host;
        proxy_cache_bypass $http_upgrade;
    }
}

sudo ln -s /etc/nginx/sites-available/next-project /etc/nginx/sites-enabled/Test the Nginx configuration for any syntax errors, by
sudo nginx -t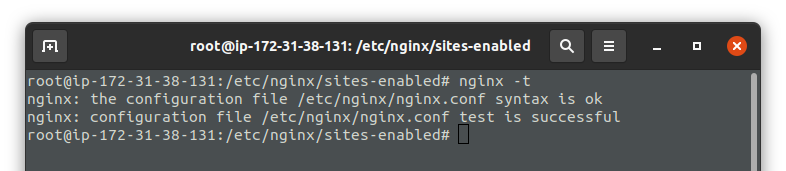
If the configuration test is successful, restart Nginx:
sudo service nginx restartWrapping up
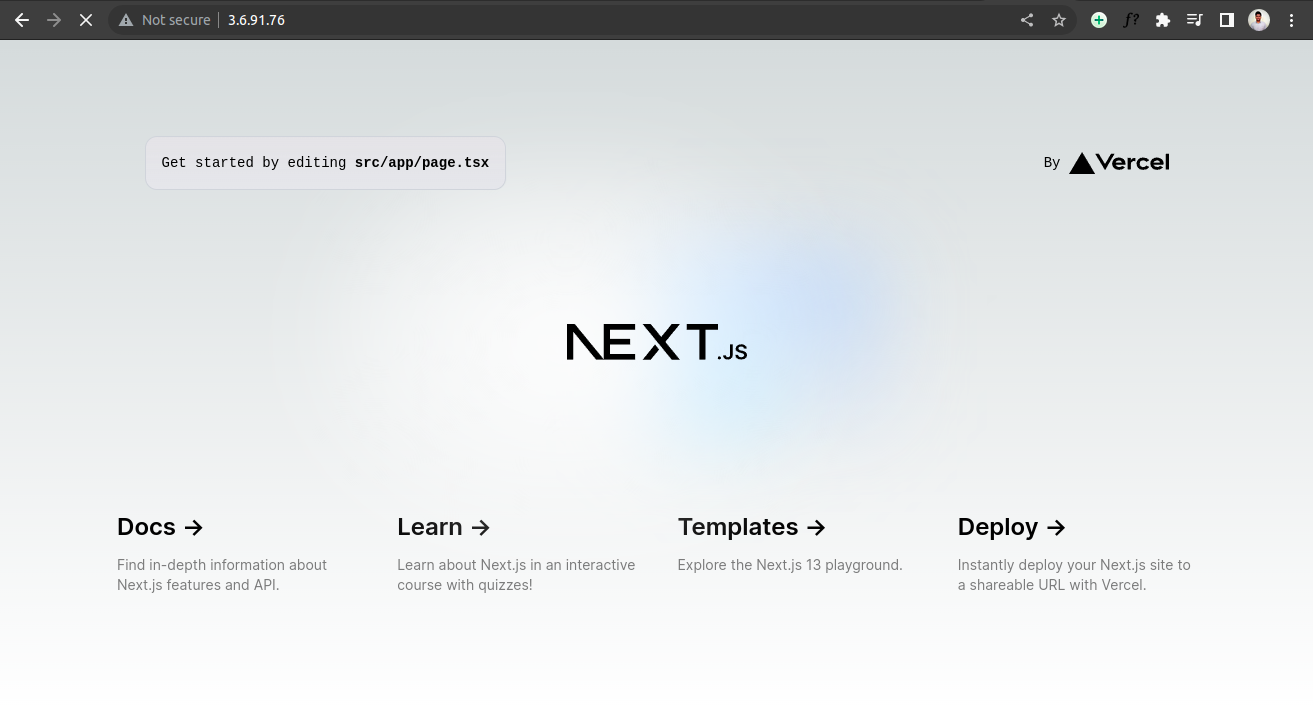
Finally!!! we have completed the deployment and now if we go to the public IP address (http request) in our browser, we will be able to see the default home page of NextJS
Alert!!! Keep In Mind

meme from iFunny.co (link)
(Just Kidding)
But do not forget to terminate the instance if you do not need it anymore. We can easily terminate an instance by selecting the instance and select Actions > Terminate Instance in the Instances page.
Hope you have liked and enjoyed this blog. Share your thoughts, suggestions or questions if you have any.