Read with Claude
 Read with ChatGPT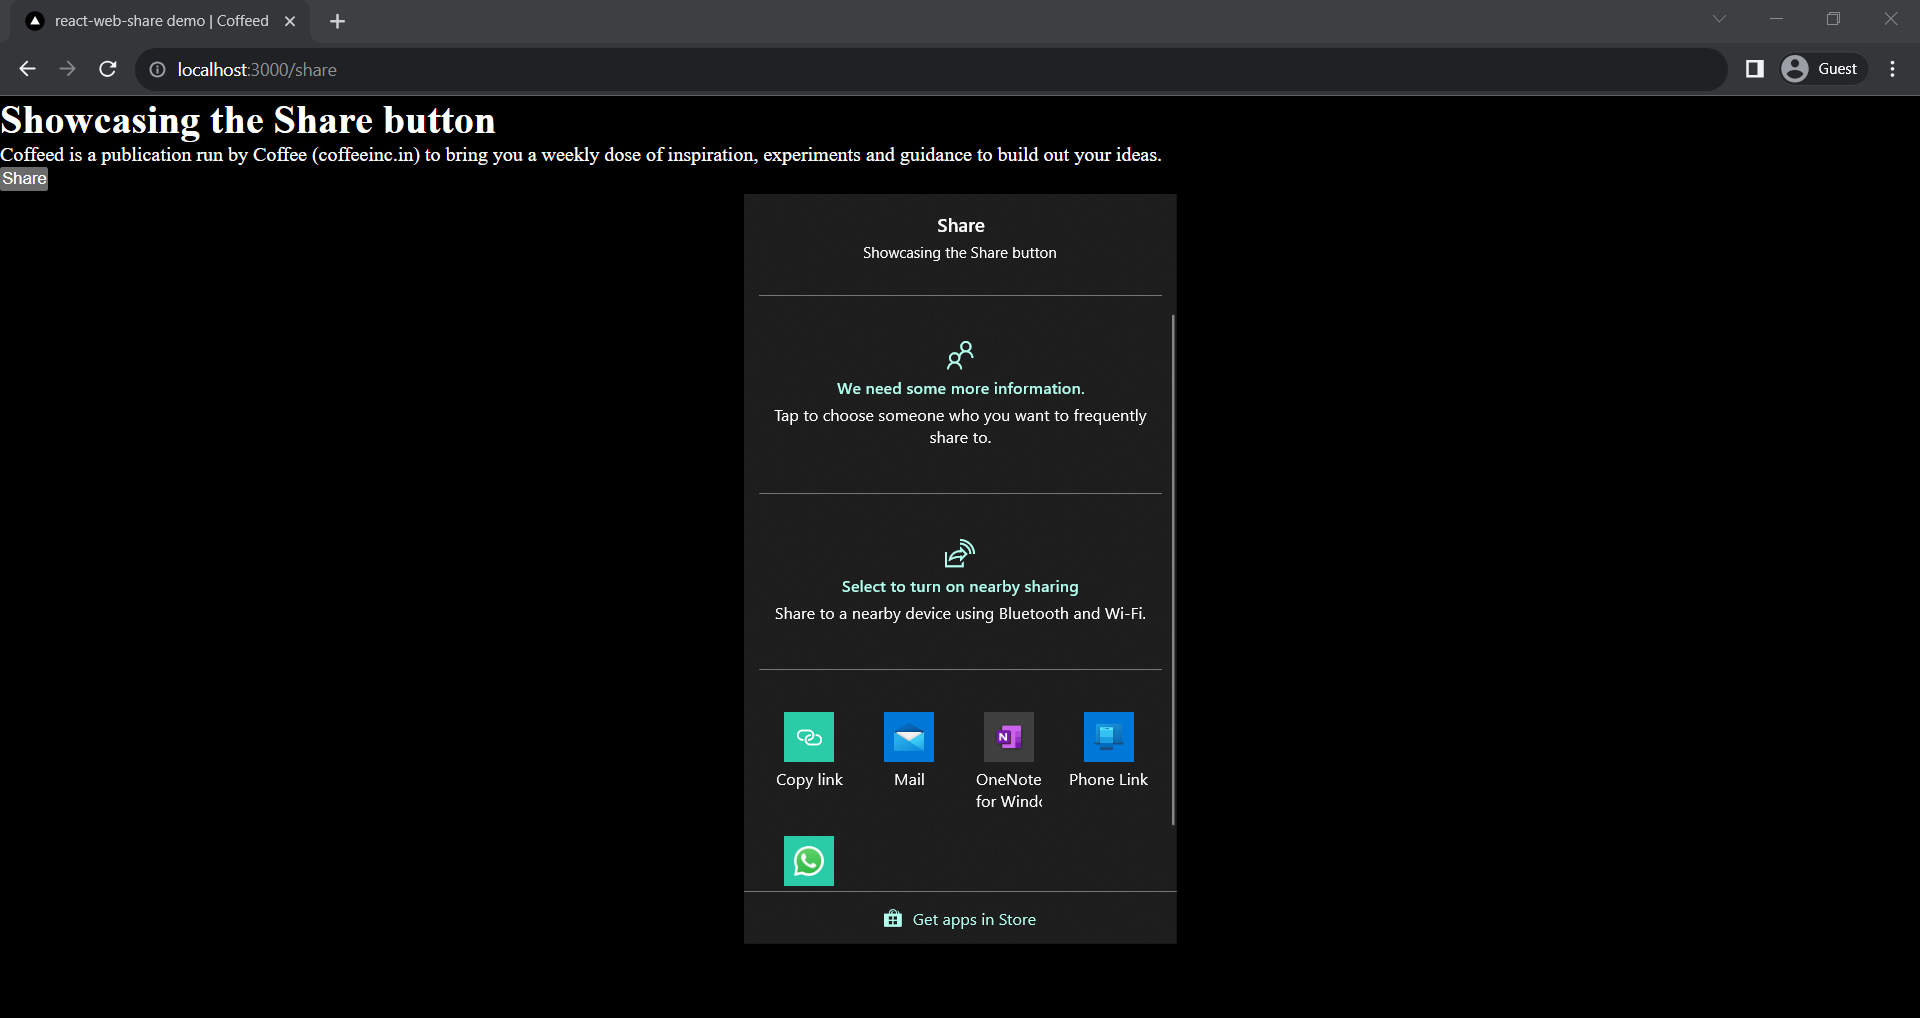
Top highlight
Sharing content on the web has become an essential part of modern online experiences. Providing a seamless way for users to share articles, images, and other types of content across various social media platforms increases user engagement and helps spread the word.
react-web-share is a powerful library that simplifies the process of implementing web sharing functionality in your React applications. In this tutorial, we’ll explore how to use react-web-share in a Next.js project.
Prerequisites
Before we get started, make sure you have the following prerequisites in place:
- A Next.js project set up.
- npm or yarn available on PATH.
Installing react-web-share
To use react-web-share in your Next.js project, you need to install it first. Open your project directory in the terminal and run the following command:
yarn add react-web-shareOnce the installation is complete, you can import and use react-web-share in your components.
Using react-web-share
Now, let’s walk through the steps to use react-web-share in your Next.js project.
Step 1: Import react-web-share
Create a new file called ShareButton.js in your components folder. In the React component file, import the necessary modules:
import { RWebShare } from "react-web-share";Step 2: Implement the Share Button
You can create a share button that, when clicked, opens the native sharing dialog for the user. Here’s an example of a simple button component:
import { RWebShare } from "react-web-share";

const ShareButton = ({ title, text, url }) => {
    return (
        <RWebShare
            data={{
                text: text,
                title: title,
                url: url,
            }}
        >
            <button>Share</button>
        </RWebShare>
    );
};
export default ShareButton;
react-web-share takes 3 main parameters:
- title — used for subject/title in apps, which support it.
- content — used for the body of the message in apps, which support it.
- url — used for copy link
You can send these parameters from the page where you want to use the ShareButton
Step 3: Use the ShareButton
Now, you can use the ShareButton component in your Next.js application. Here’s an example of how to do this in a page component:
import React from "react";
import ShareButton from "../components/ShareButton";

const post = {
    title: "Showcasing the Share button",
    content:
        "Coffeed is a publication run by Coffee (coffeeinc.in) to bring you a weekly dose of inspiration, experiments and guidance to build out your ideas.",
    url: "https://blog.coffeeinc.in"
};
const ShareCoffeed = () => {
    return (
        <div>
            <h1>{post.title}</h1>
            <p>{post.content}</p>
            <ShareButton
                title={post.title}
                text={post.content}
                url={post.url}
            />
        </div>
    );
};
export default ShareCoffeed;
In this example, replace {post.title}, {post.content}, and {post.url} with your actual title, content and url data.
Step 4: Styling (Optional)
You can style the ShareButton component to match your application’s design by adding CSS or using a CSS framework like Tailwind CSS or Bootstrap.
Step 5: Testing
Now, when a user clicks the “Share” button, the native sharing dialog will open, allowing them to share your content on various social media platforms or through other sharing channels.
Share on windows
Conclusion
Implementing web sharing functionality in your Next.js application using react-web-share is a straightforward process. This library simplifies the complex task of interacting with native sharing dialogs, making it easier for your users to share your content with their network.
By following the steps outlined in this tutorial and customizing the code to your needs, you can enhance the social sharing experience of your web application. Happy sharing!